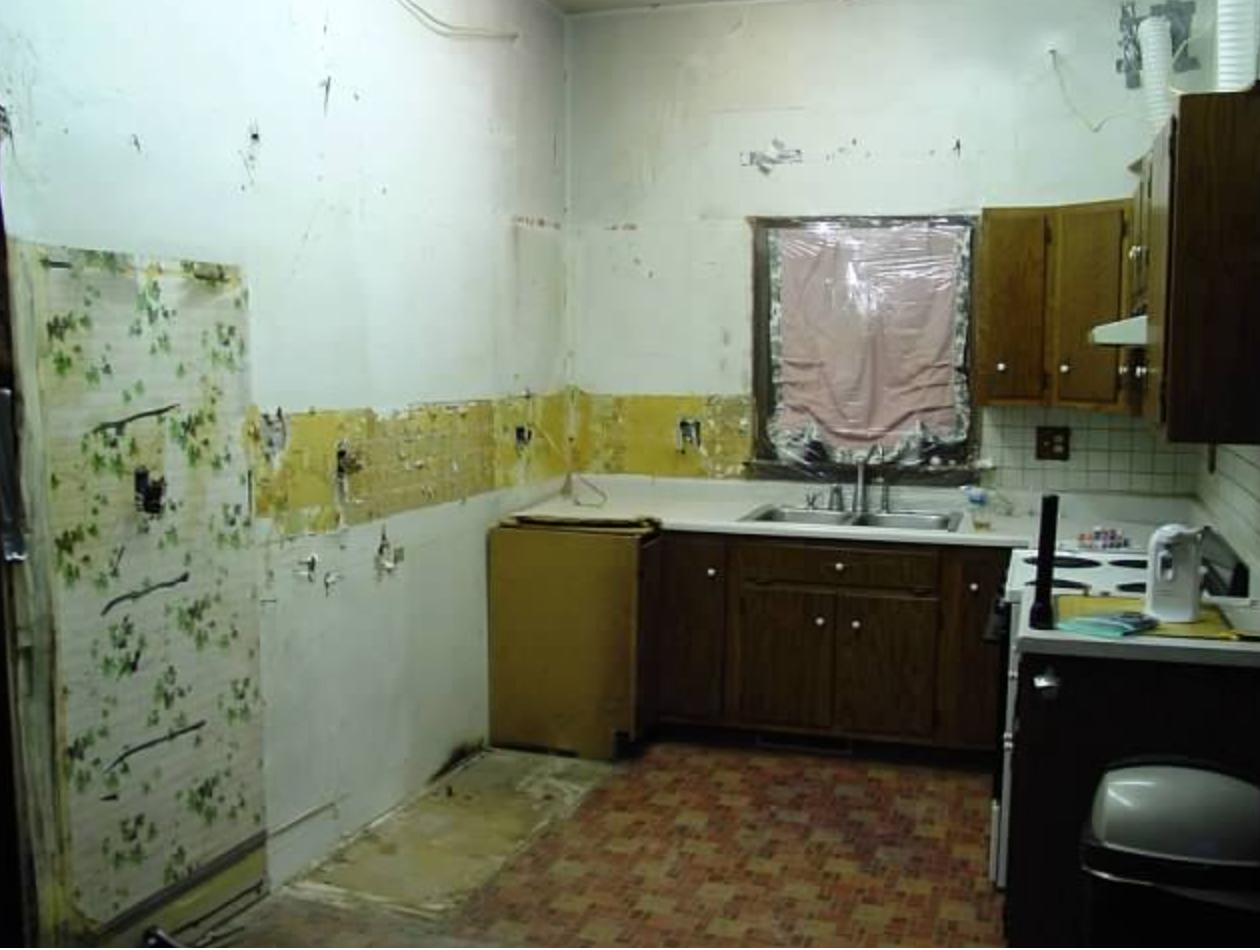
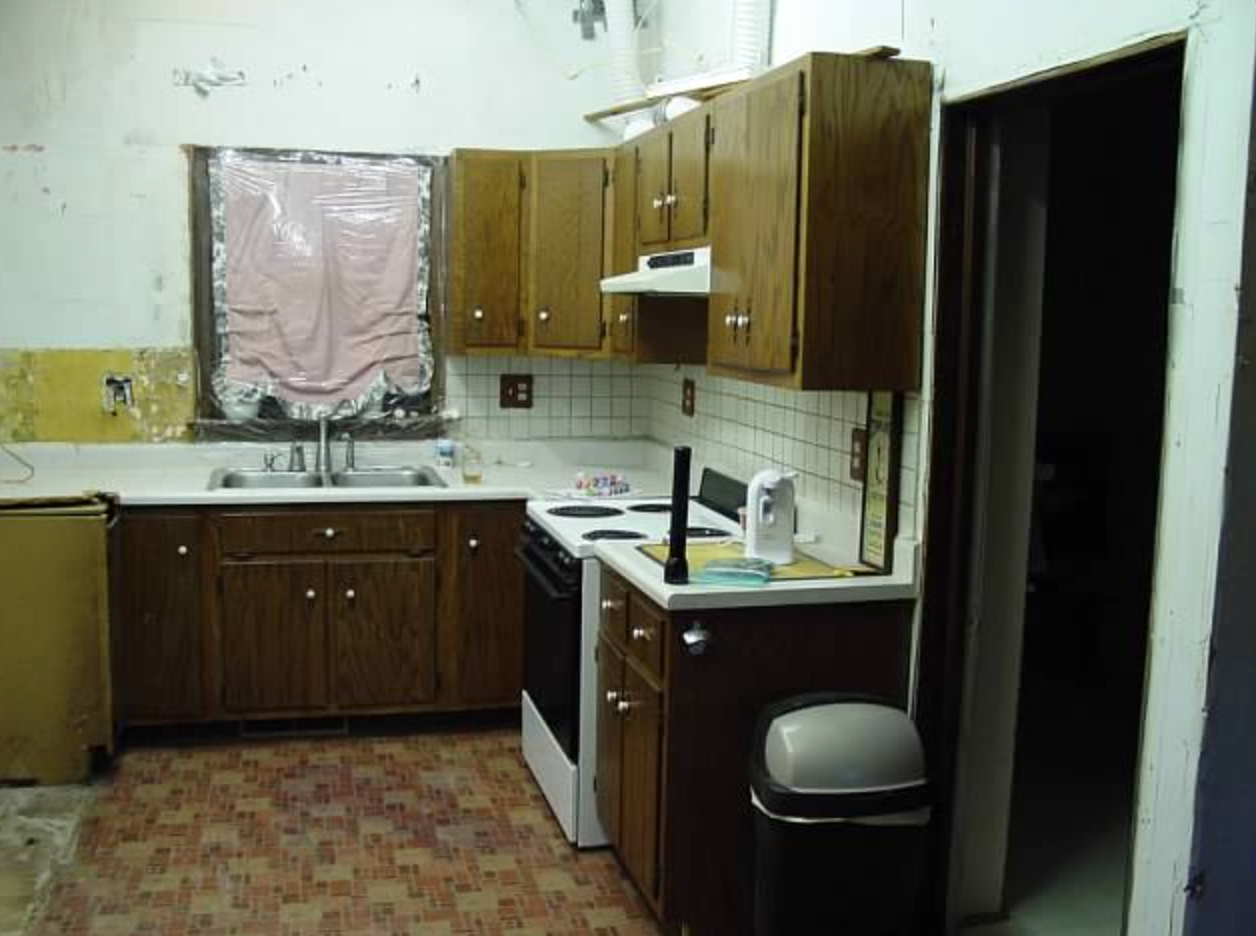
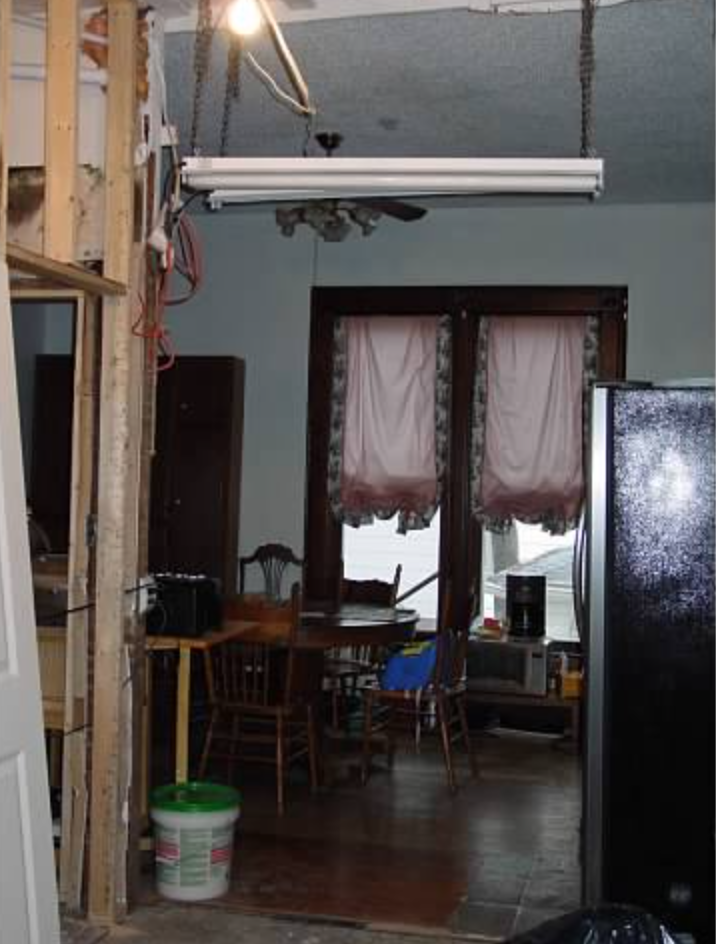
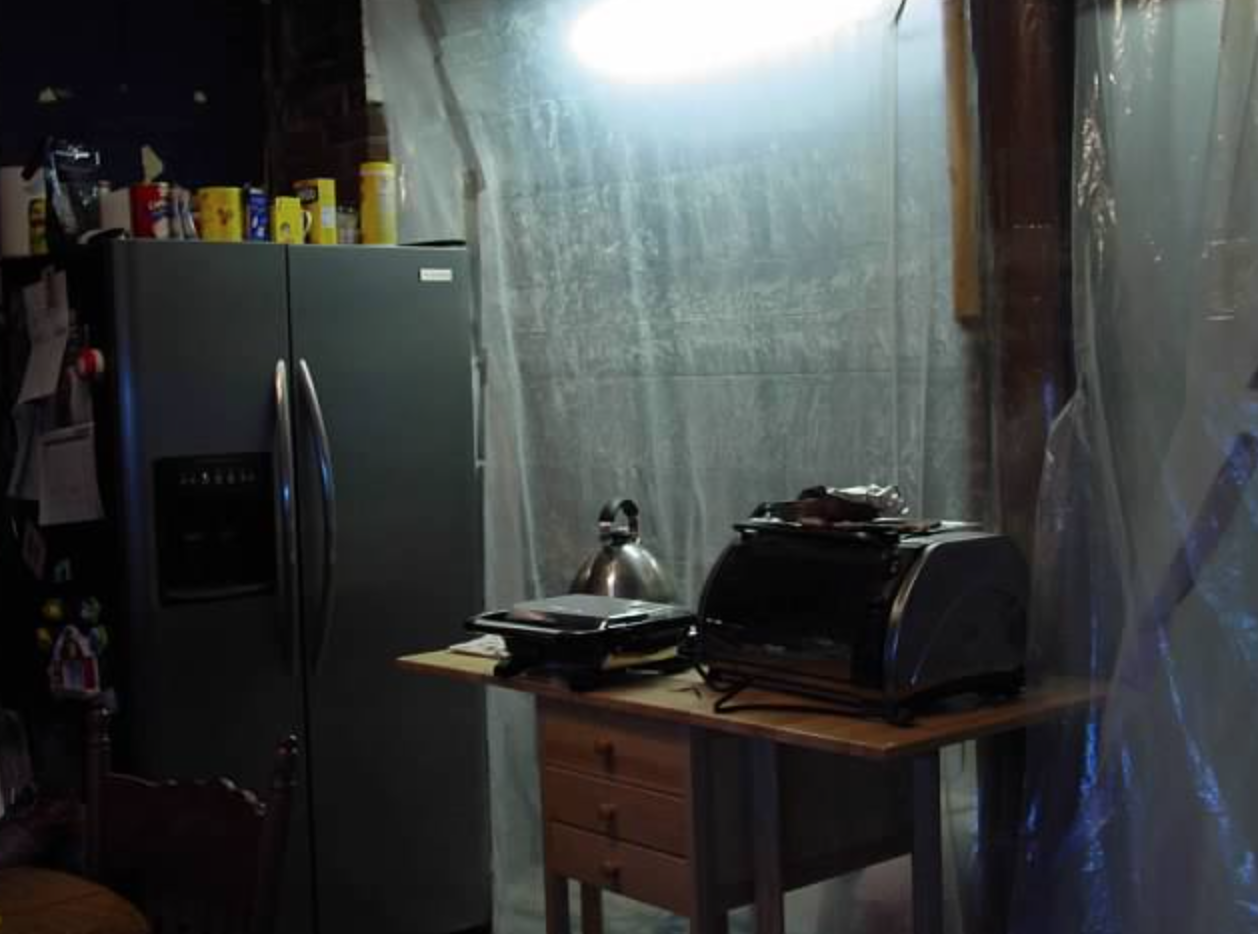
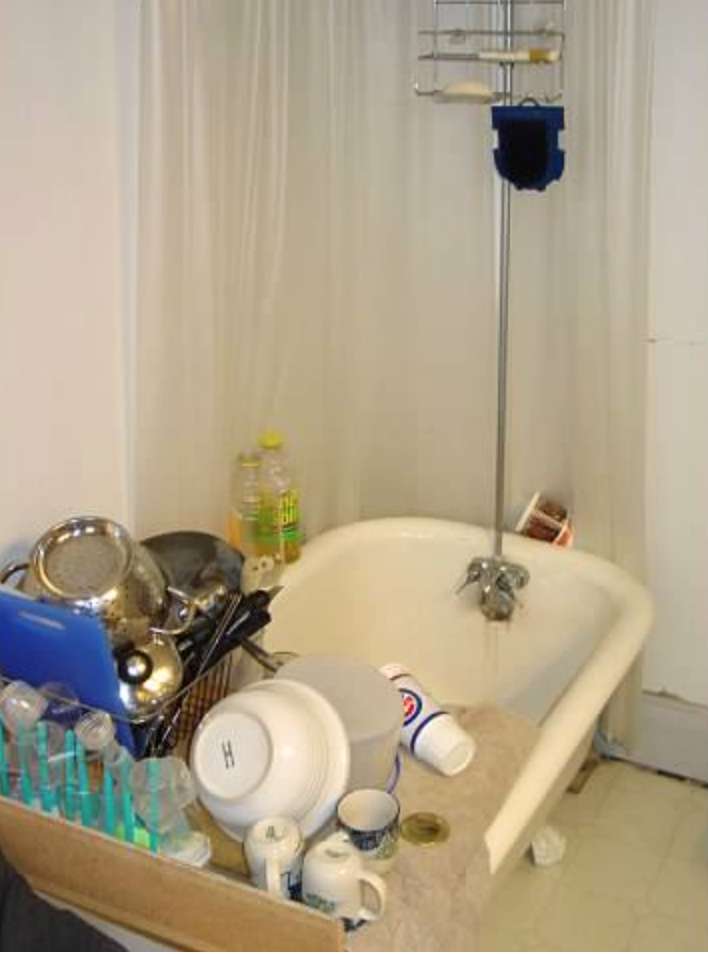
A few weeks ago, I made panini sandwiches for supper. Each and every time I make these warm grilled wonders, we are taken back to our kitchen remodel years ago. We laughed about how we ate panini’s at least 3-4 times a week, sometimes more! We lived in a nearly 100-year-old house at the time (it turned 100 two years ago)! It was our first house and will always be remembered with so much love and memories of the blood, sweat and tears we poured into it. I knew from the second I first walked through the heavy front door that it was going to be our house! I fell in love with the tall ten foot ceilings, original woodwork, stained glass windows, pocket doors, ornate staircase, and all the quirks and charm that it carried through the years. We were lucky that it was livable and most of the woodwork was in original condition. The kitchen had been remodeled in the 80’s sometime and we knew that would be a big project that we would tackle one day. It had wood paneling covering one wall, a lovely faux brick linoleum floor, old appliances, and this lovely drop ceiling with fluorescent lighting. We lived with the old kitchen and all its brown beauty for about four years before we started remodeling the kitchen. We had already remodeled our upstairs bathroom all on our own and the help of my mom and dad, which included removing a second kitchen and expanding the bathroom to about three times its size, updating all the electrical and pluming, gutting and building new walls and finishing the drywall, building a custom shower, tiling the floor and shower, and who knows what else I’m forgetting! With the help of my mom and dad, we knew the kitchen project would be do-able, it would just take more time and more money! I was on maternity leave with our second daughter and had been out to dinner with some friends and I came home to find my husband had started demo on the kitchen. I guess we were starting our kitchen remodel 🙂
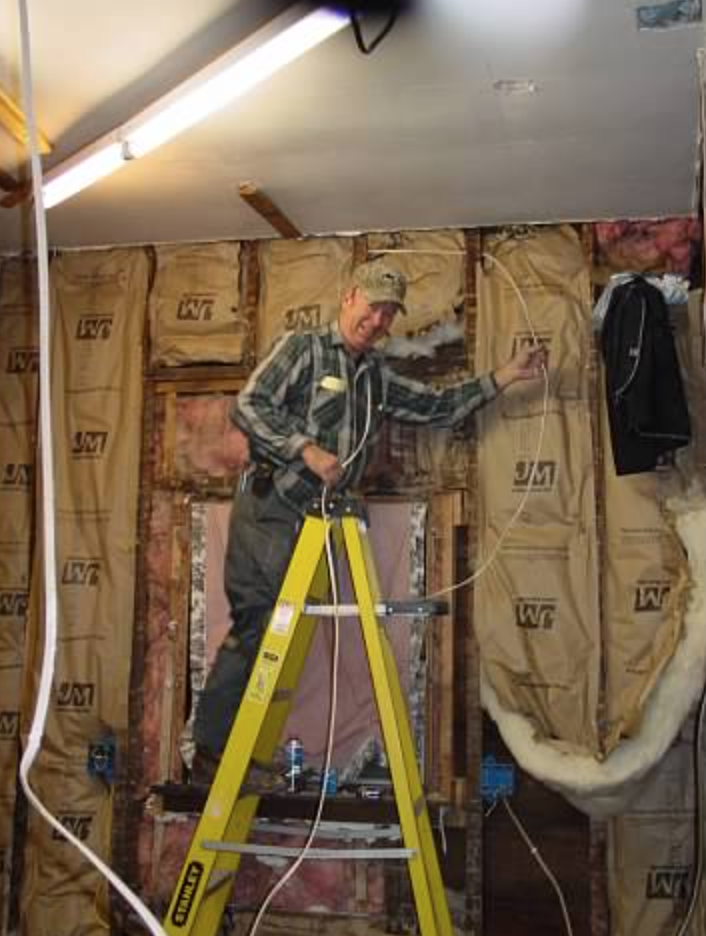
The demo duo – AKA, my dad and husband were great at tearing out the old stuff!
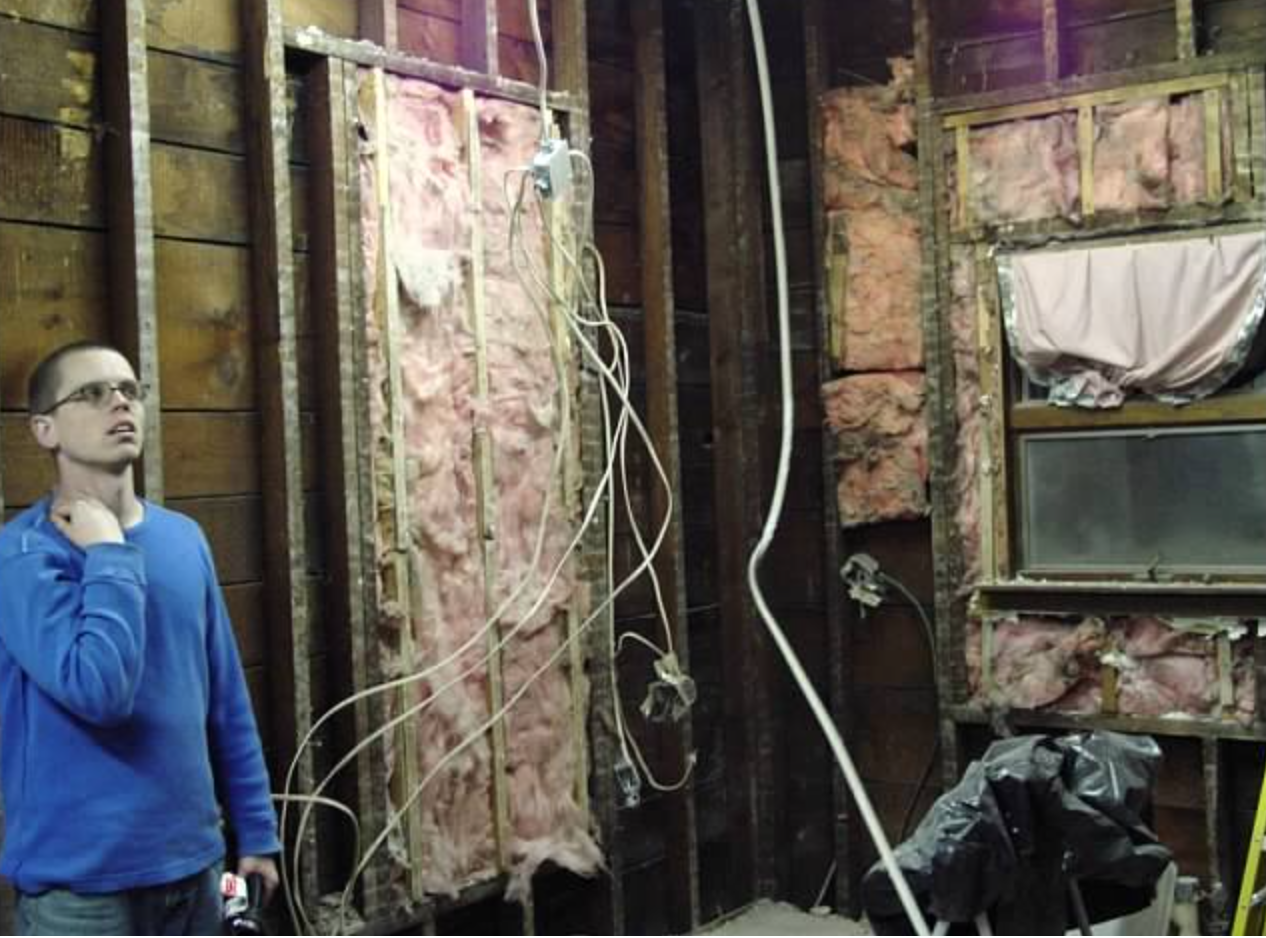

Insulation and wiring are my dad’s areas of expertise. In his book, a house cannot have enough insulation, and he knows a thing or two about wiring and doing it the correct way. We could not have done this remodel without him. One of my favorite old house memories is my dad and his cousin upgrading our old knob and tube fuse panel to a safe and larger capacity breaker box. Hearing them giggle and joke all day long, telling stories and acting like they were 12 years old again was priceless.
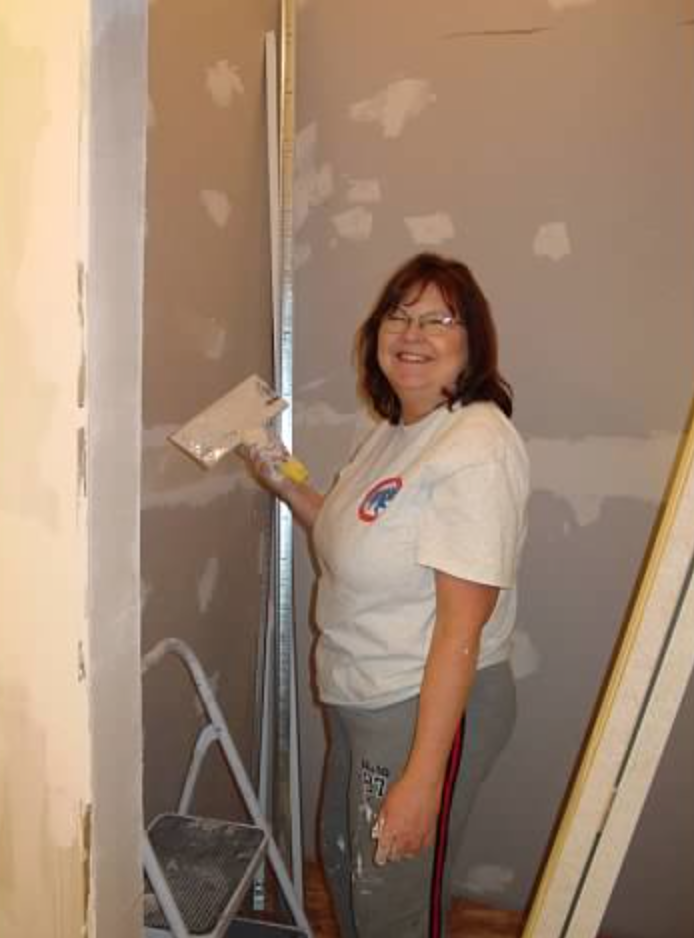
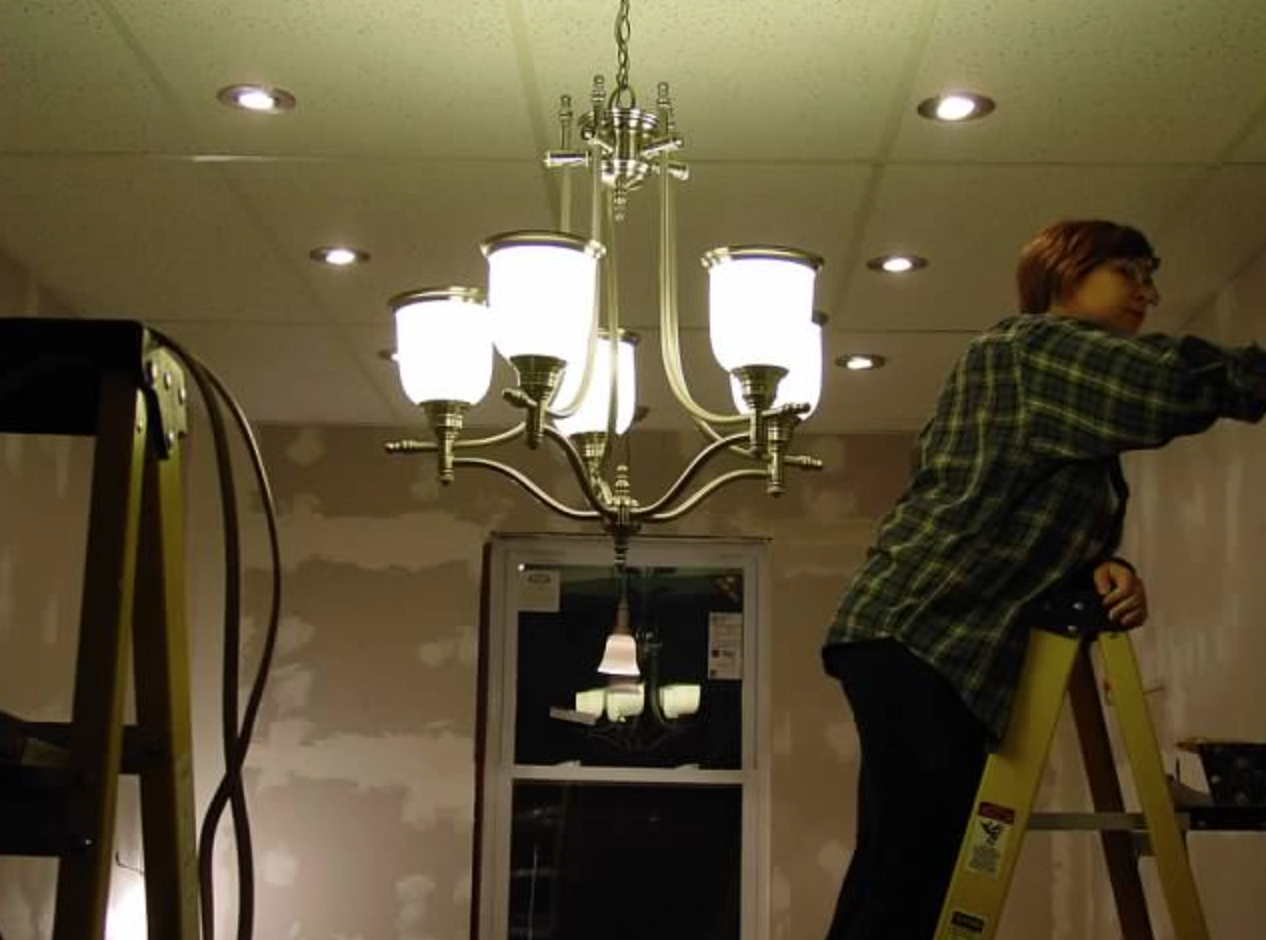
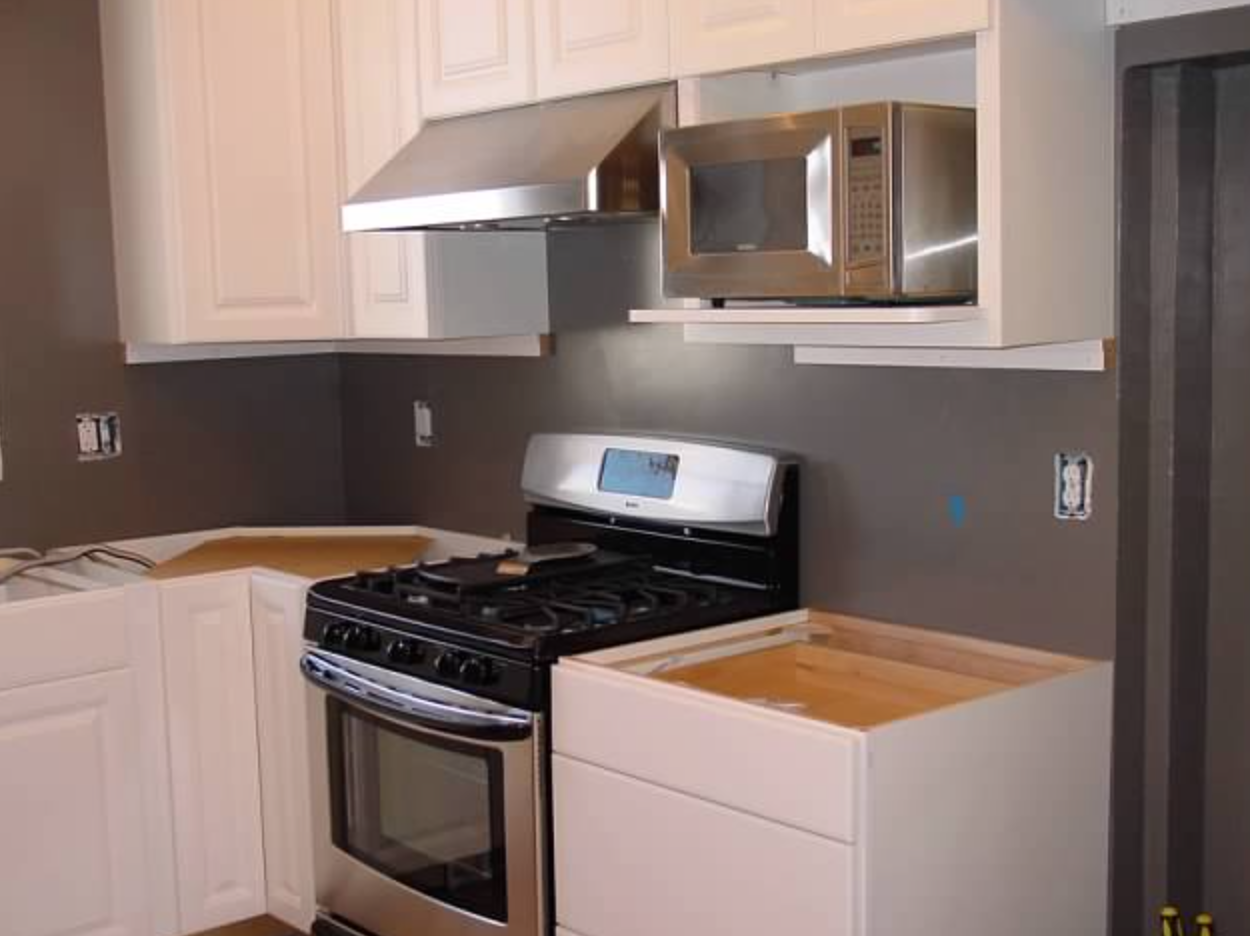
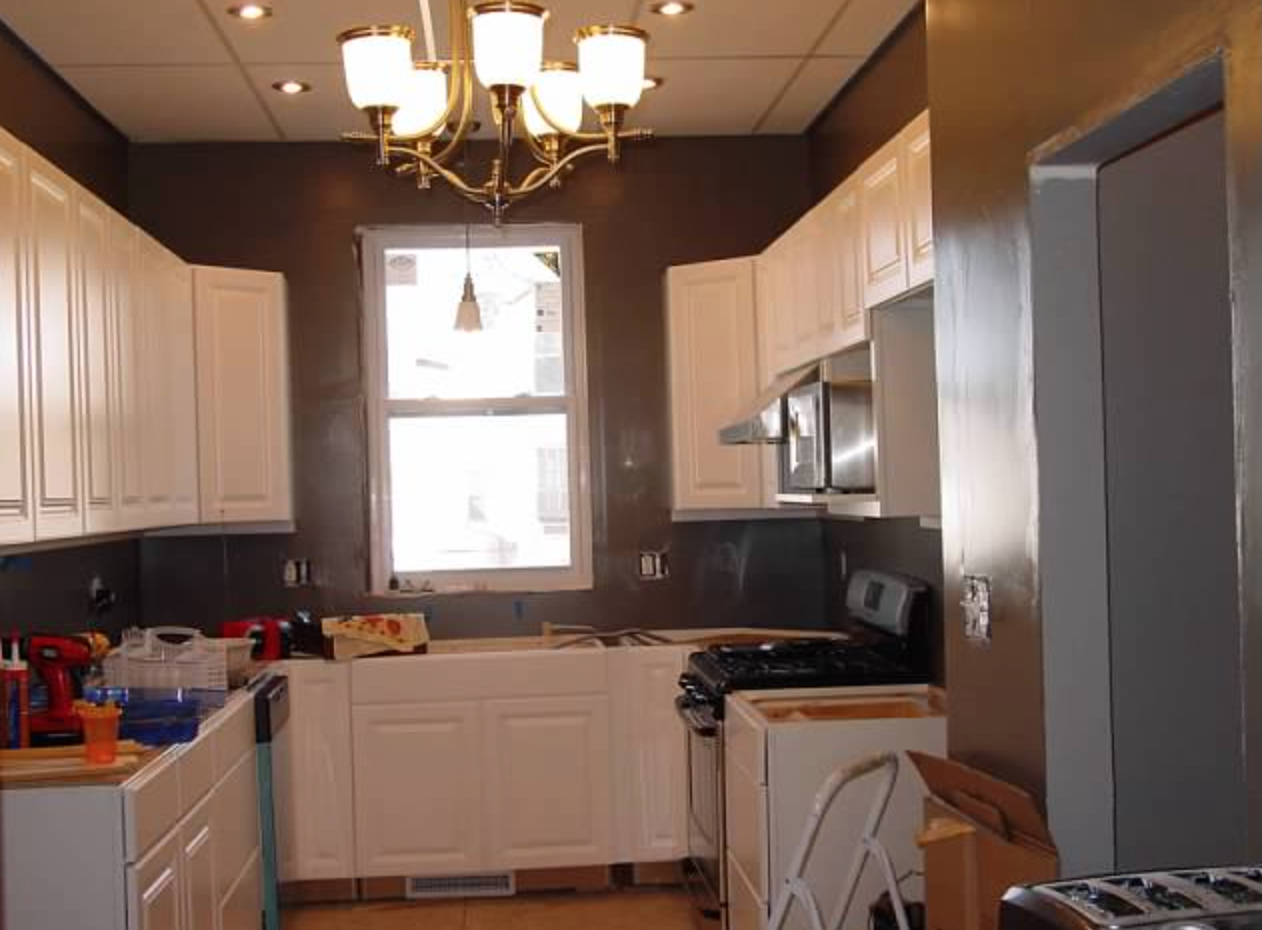
This project took a long time. Every night after work, my husband was working on it. Every weekend, we worked on it. There was no free time. There were no lazy Sundays, we had a kitchen to finish! I think little gaps and nooks conspired together over night so we would look at them in the morning and think we needed “just one more piece If trim!”
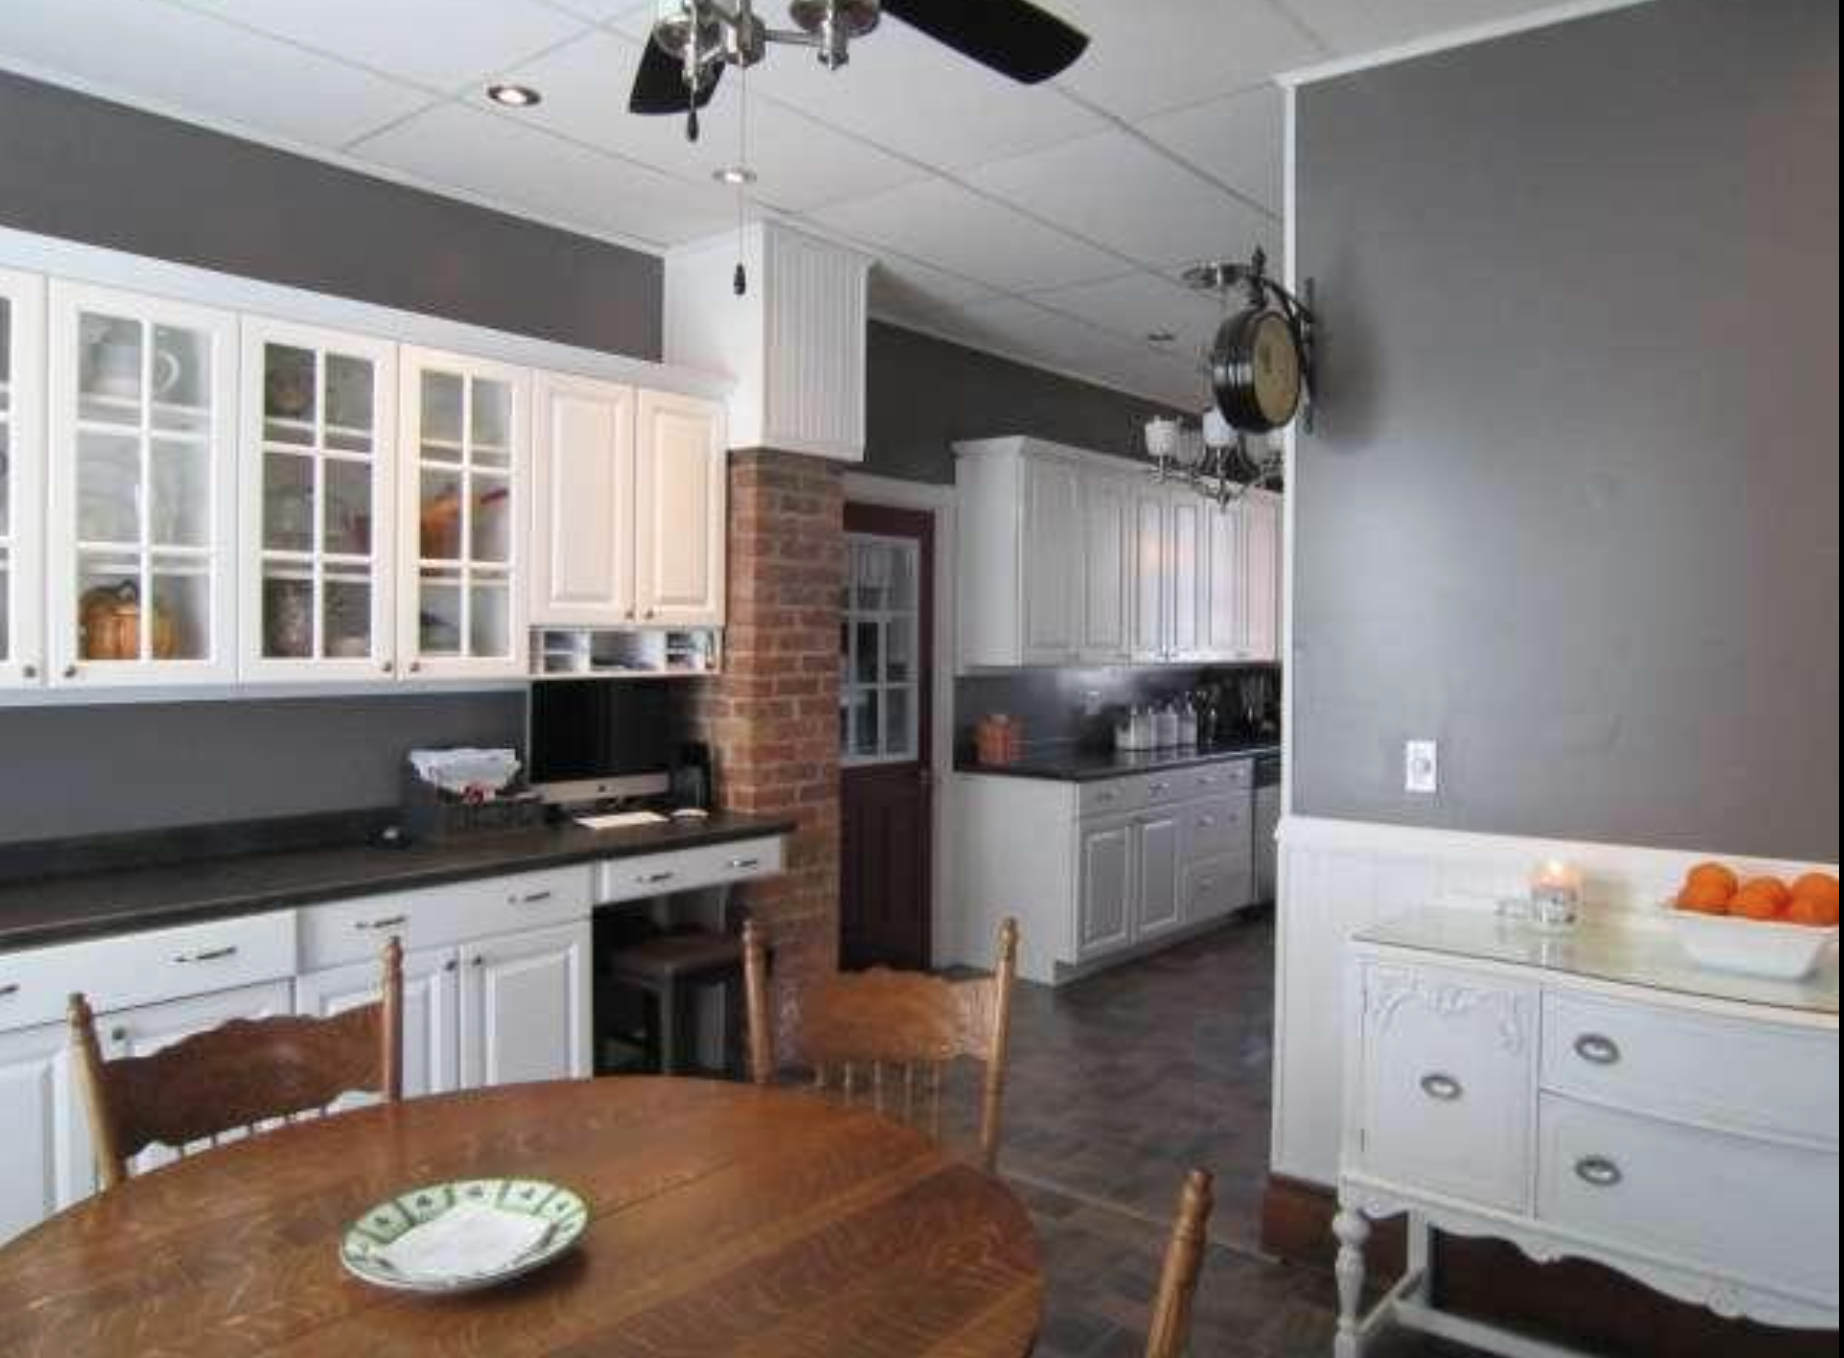
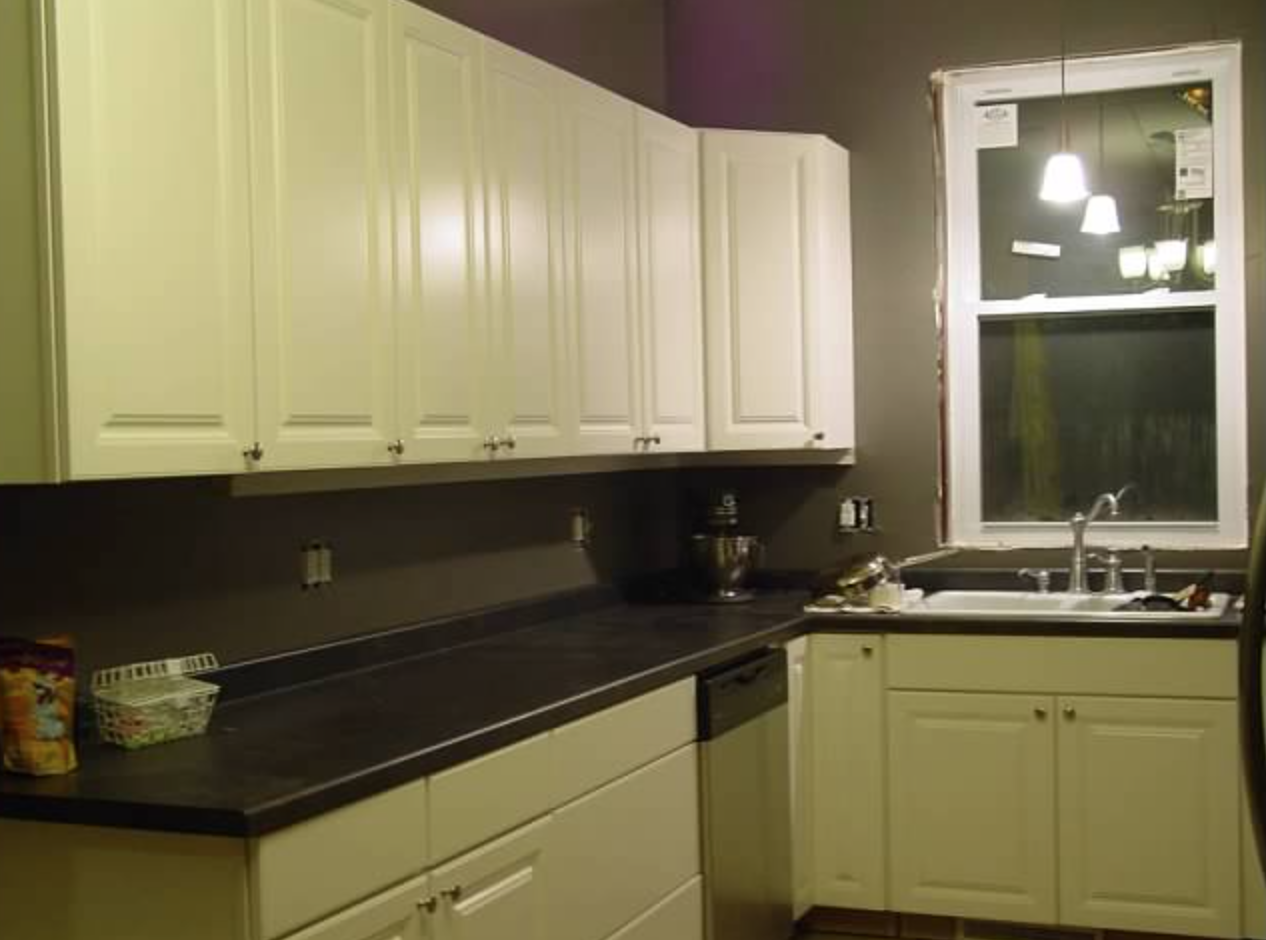
We loved that kitchen, we were proud of the hard work we did and laugh about the silly mishaps along the way. We’ve learned that we are not drywallers, nor do our walls look as good as the pros. This mamma will not be taping and mudding walls any time soon, that’s for sure! I think I still have nightmares about getting those seams just right!
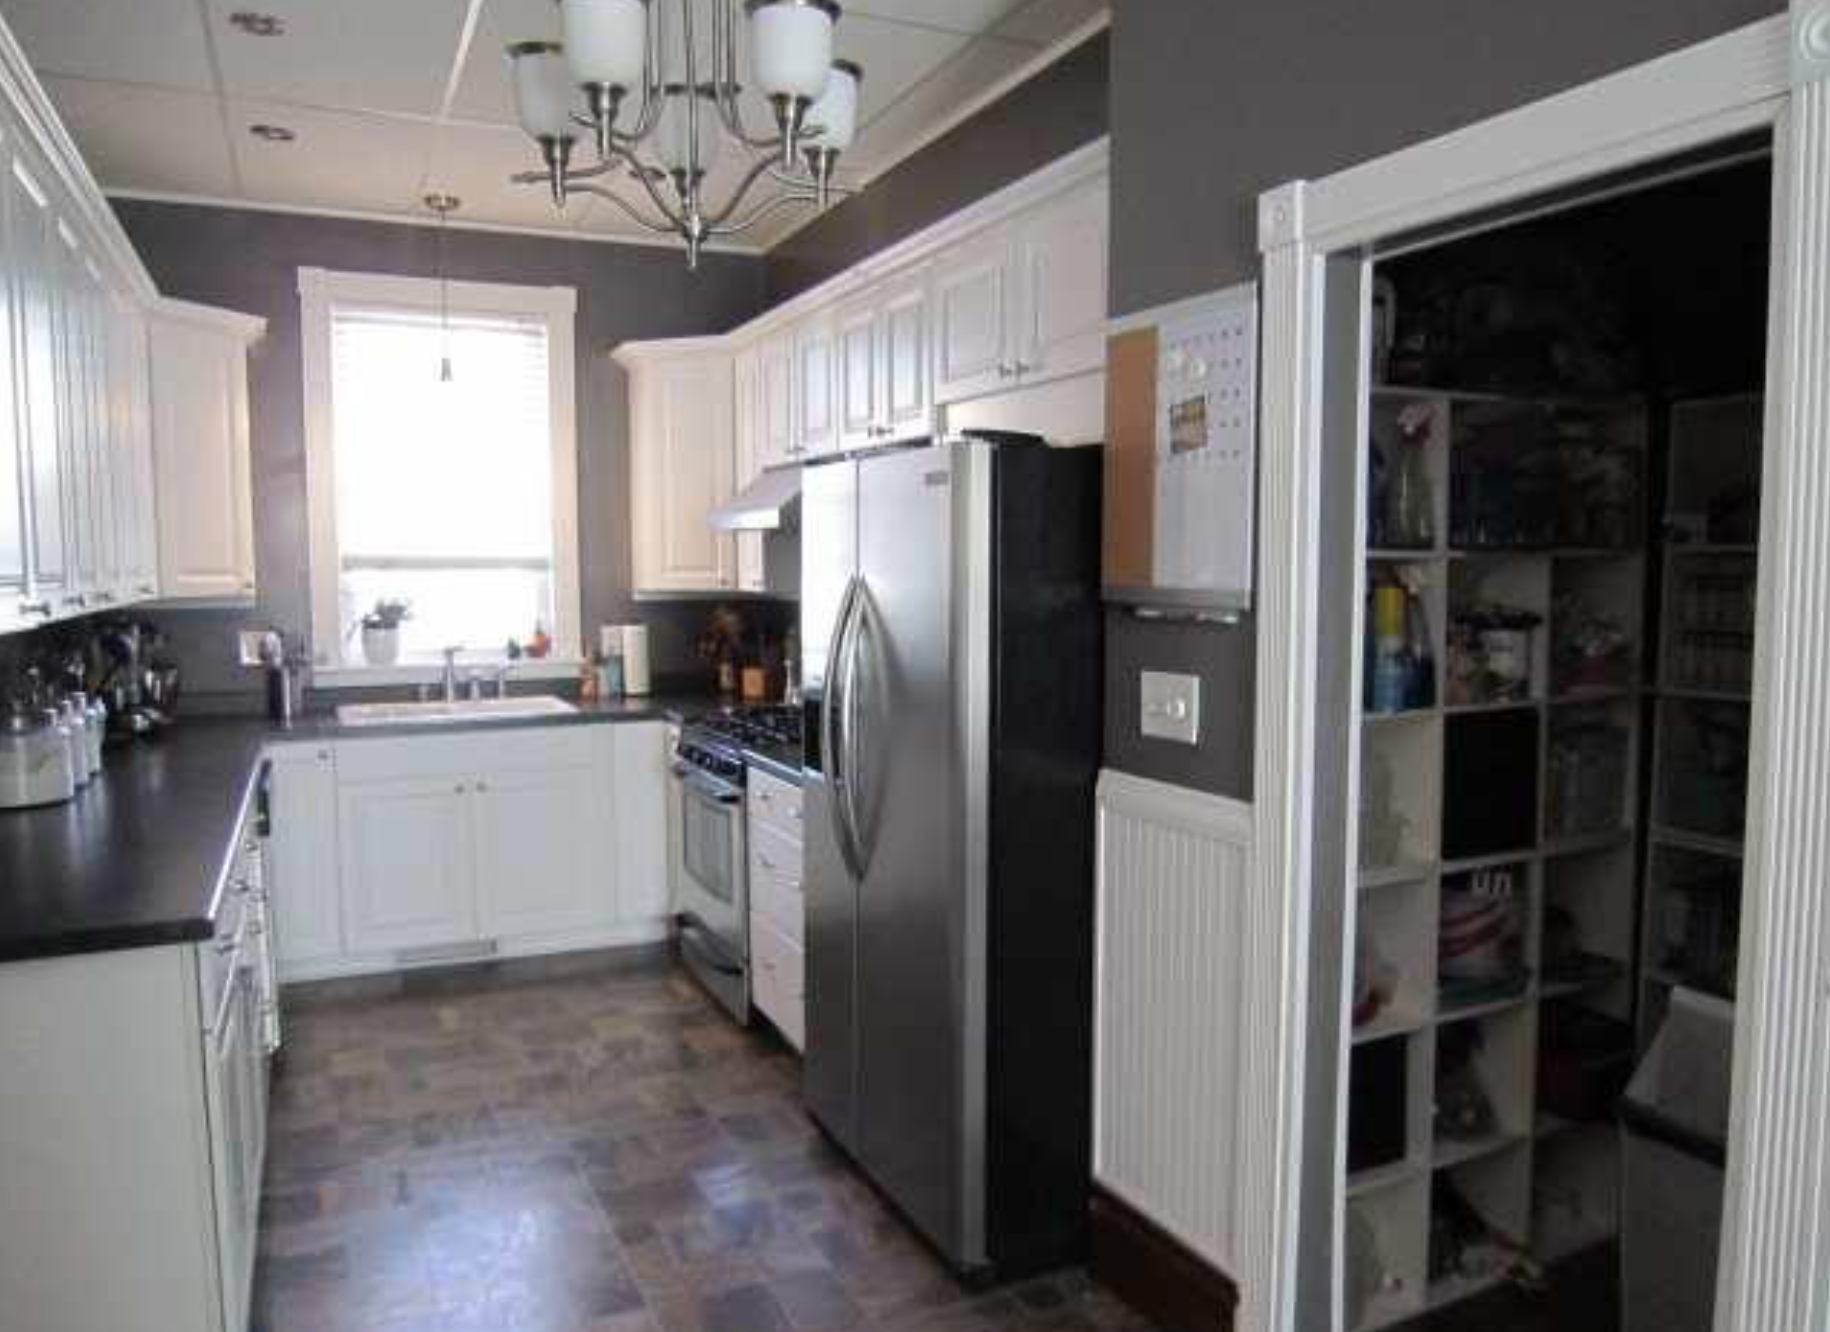
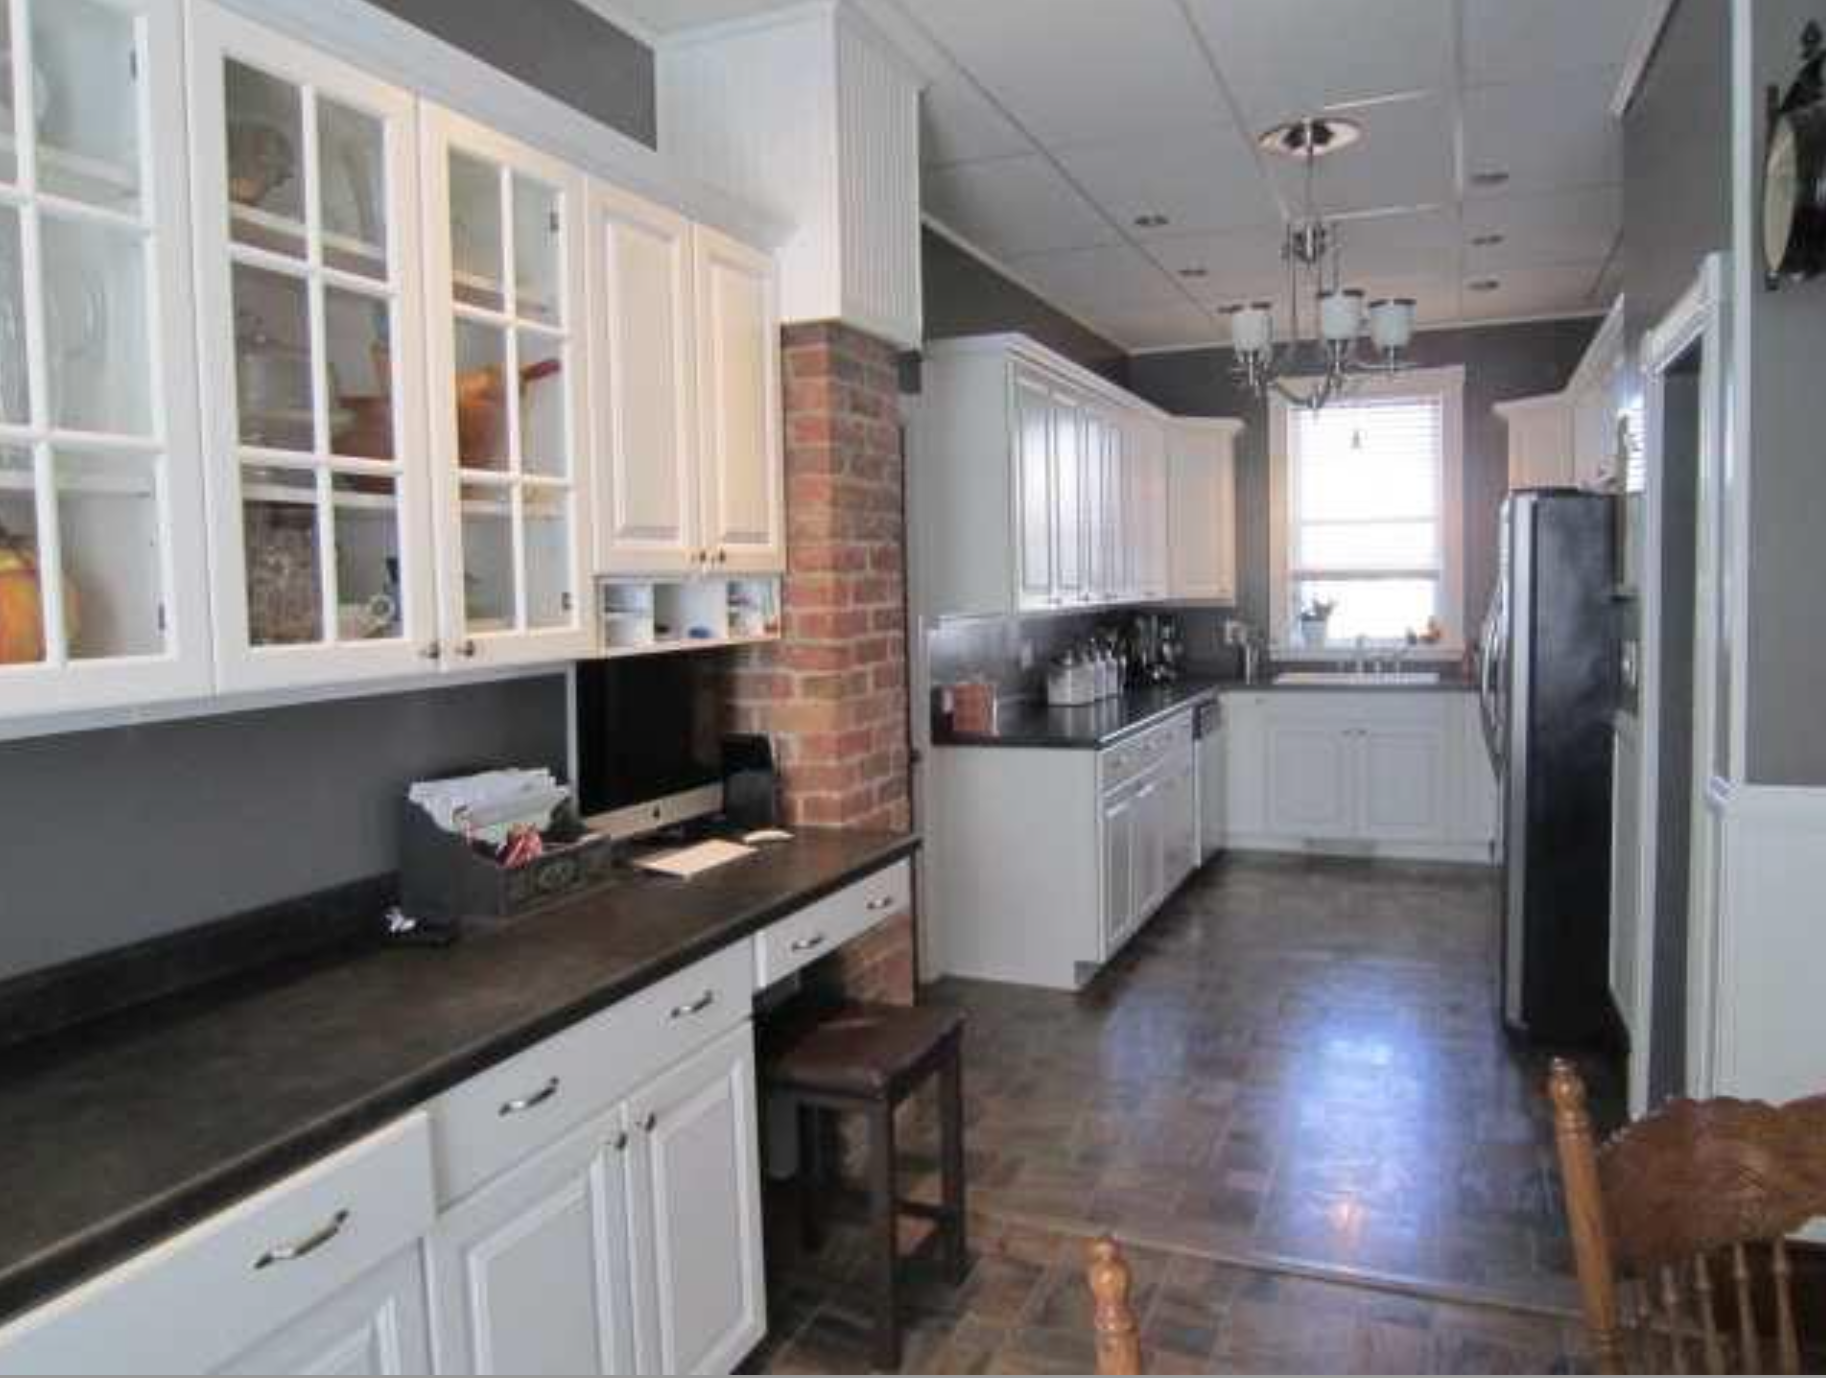
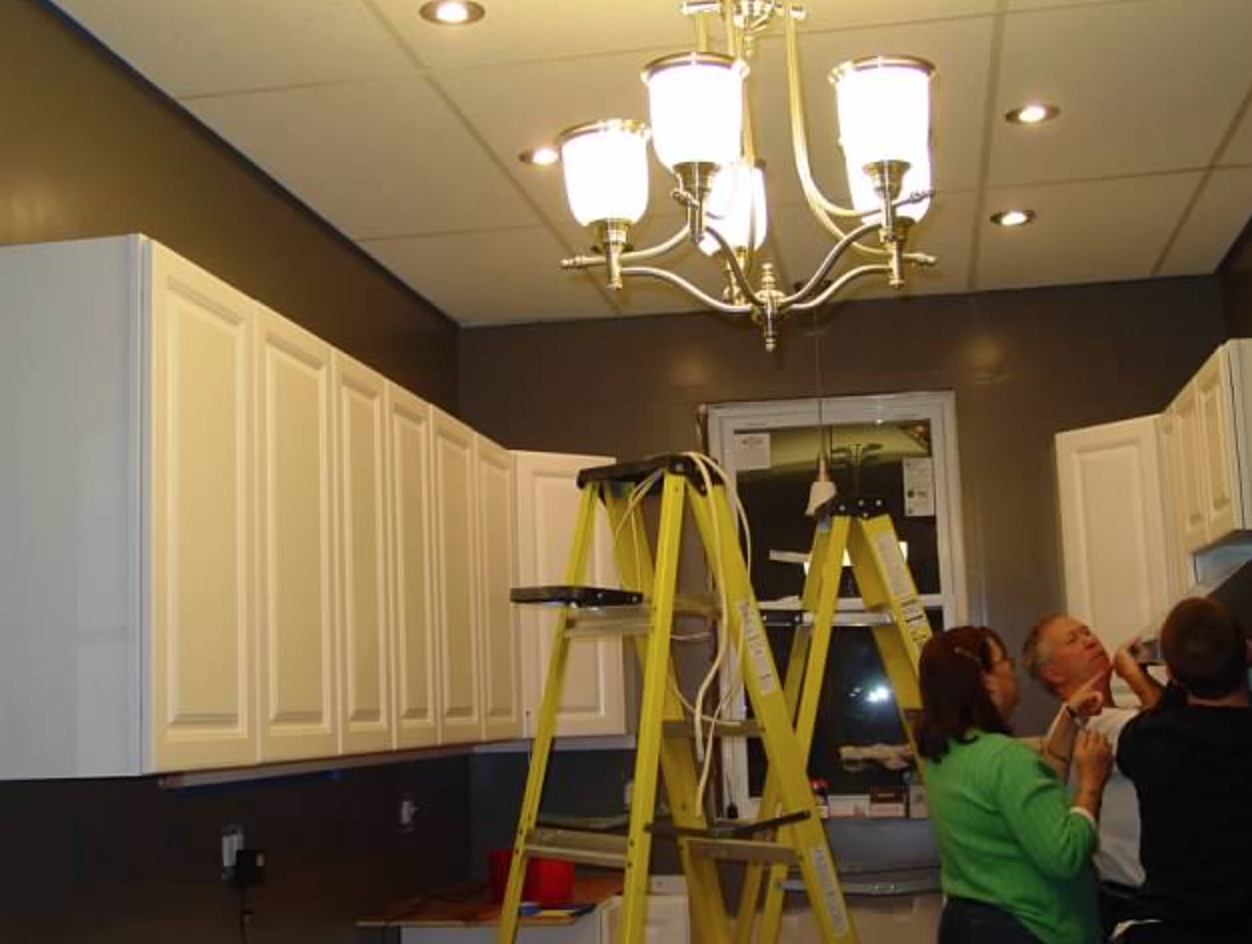
We are older and maybe a teeny bit wiser! We still have dreams of someday owning another old house and taking on these big projects, but we will leave the “fun” stuff like drywall to the pros. We have learned what materials we like, what we don’t like, regrets we had and ideas for future projects. My mother and father-in-law are going through a kitchen remodel now and I think of them as I see pictures of the progress! Hang in there! Kitchen sinks are over rated anyway 😉 Just Kidding!
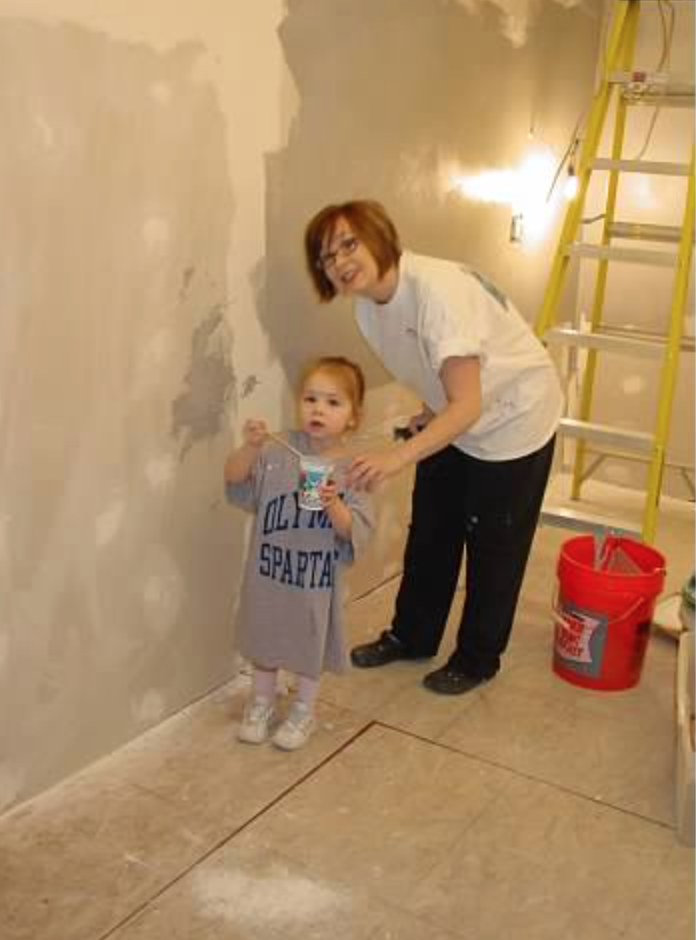
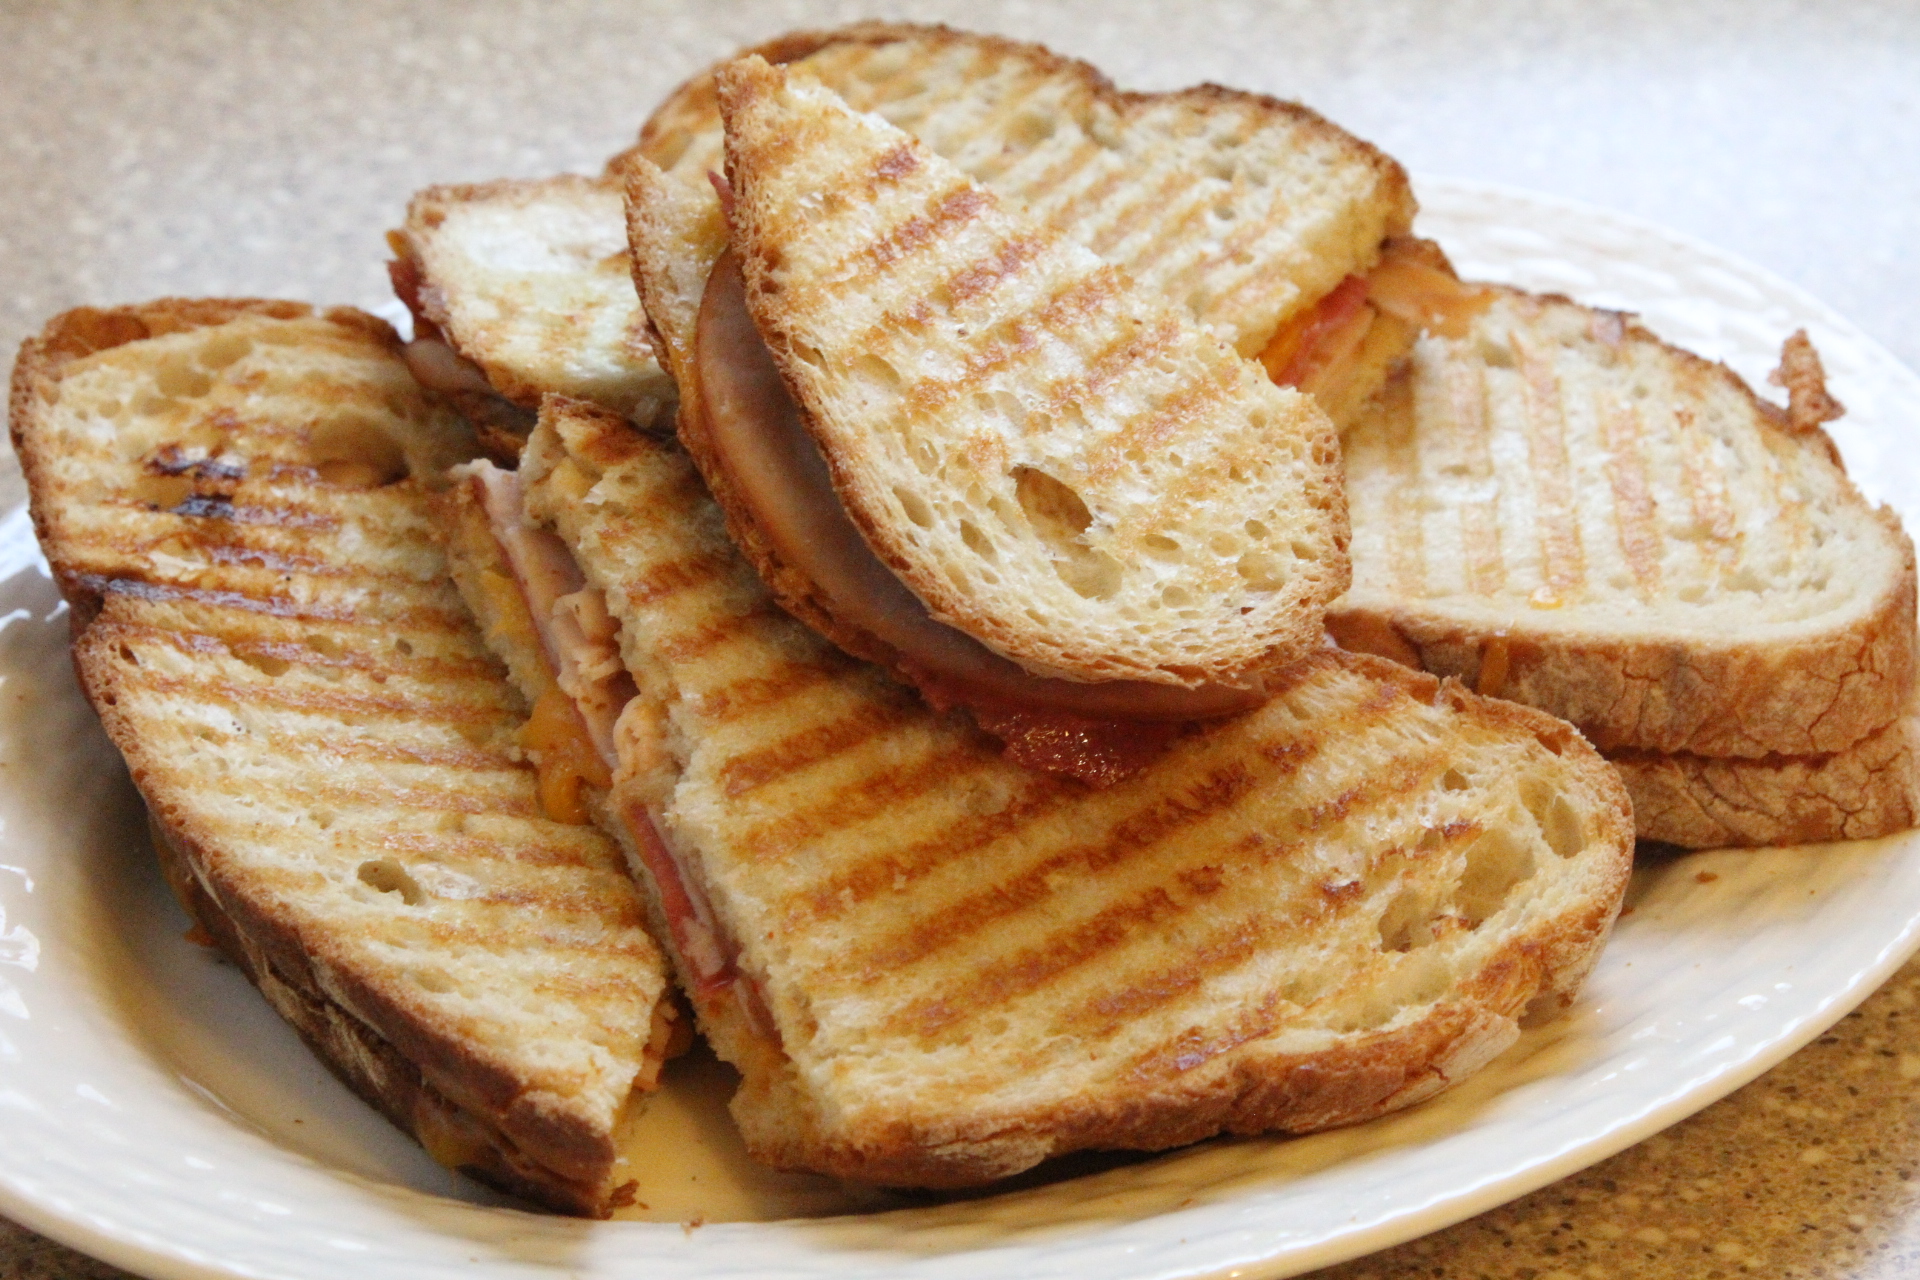
We made it through our kitchen remodel, thanks to my parents, cases of Rolling Rock, lots of laughter, a pretty content baby who usually loved her swing, a patient and helpful three-year old, and my trusty panini press! I think it was one of the best Christmas gifts ever given to me by my mother-in-law!

Panini’s helped to get us through that unforgettable kitchen remodel, and they are still a family favorite today! You can pile on whatever meats and cheeses you like, add veggies if you like, or just keep it simple! They are a quick meal that pleases everyone!
Panini Sandwiches
Ingredients:
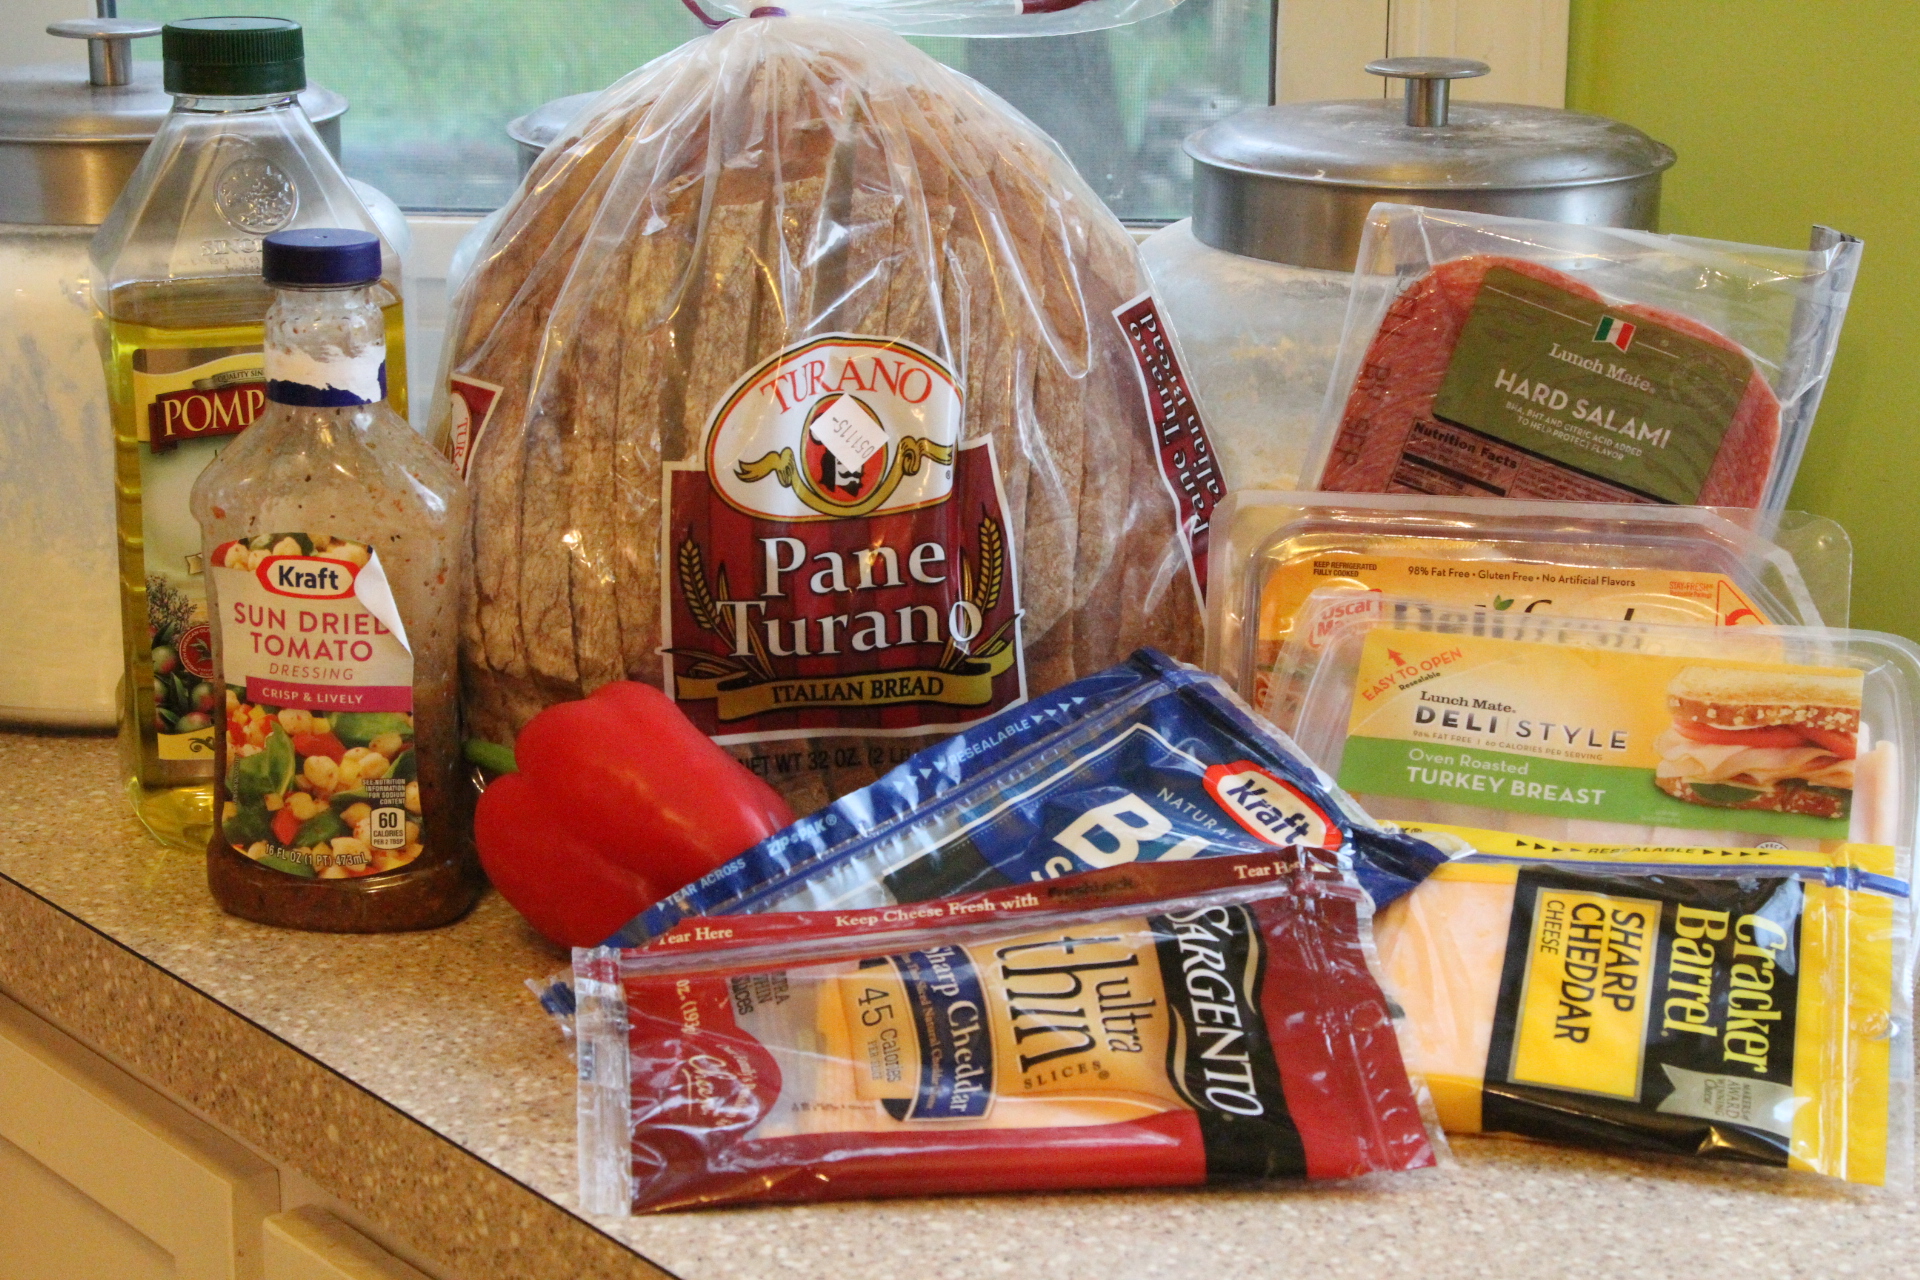
Good hearty sliced bread like sour dough, French, or Italian. You could also use loaves of bread, like Jimmy Johns Day Old Bread and press them. The Italian Turano bread I used was from Aldi.
Meat- whatever you like. I usually use turkey, salami, and pepperoni.
Cheese- sliced – whatever flavors you like, shredded is ok in a pinch.
Veggies, onions, pepper slices, olives, whatever you like.
Dressing – I like Roasted Red Pepper or Sun dried tomato type dressing. You could also use Olive oil and whatever herbs you like.
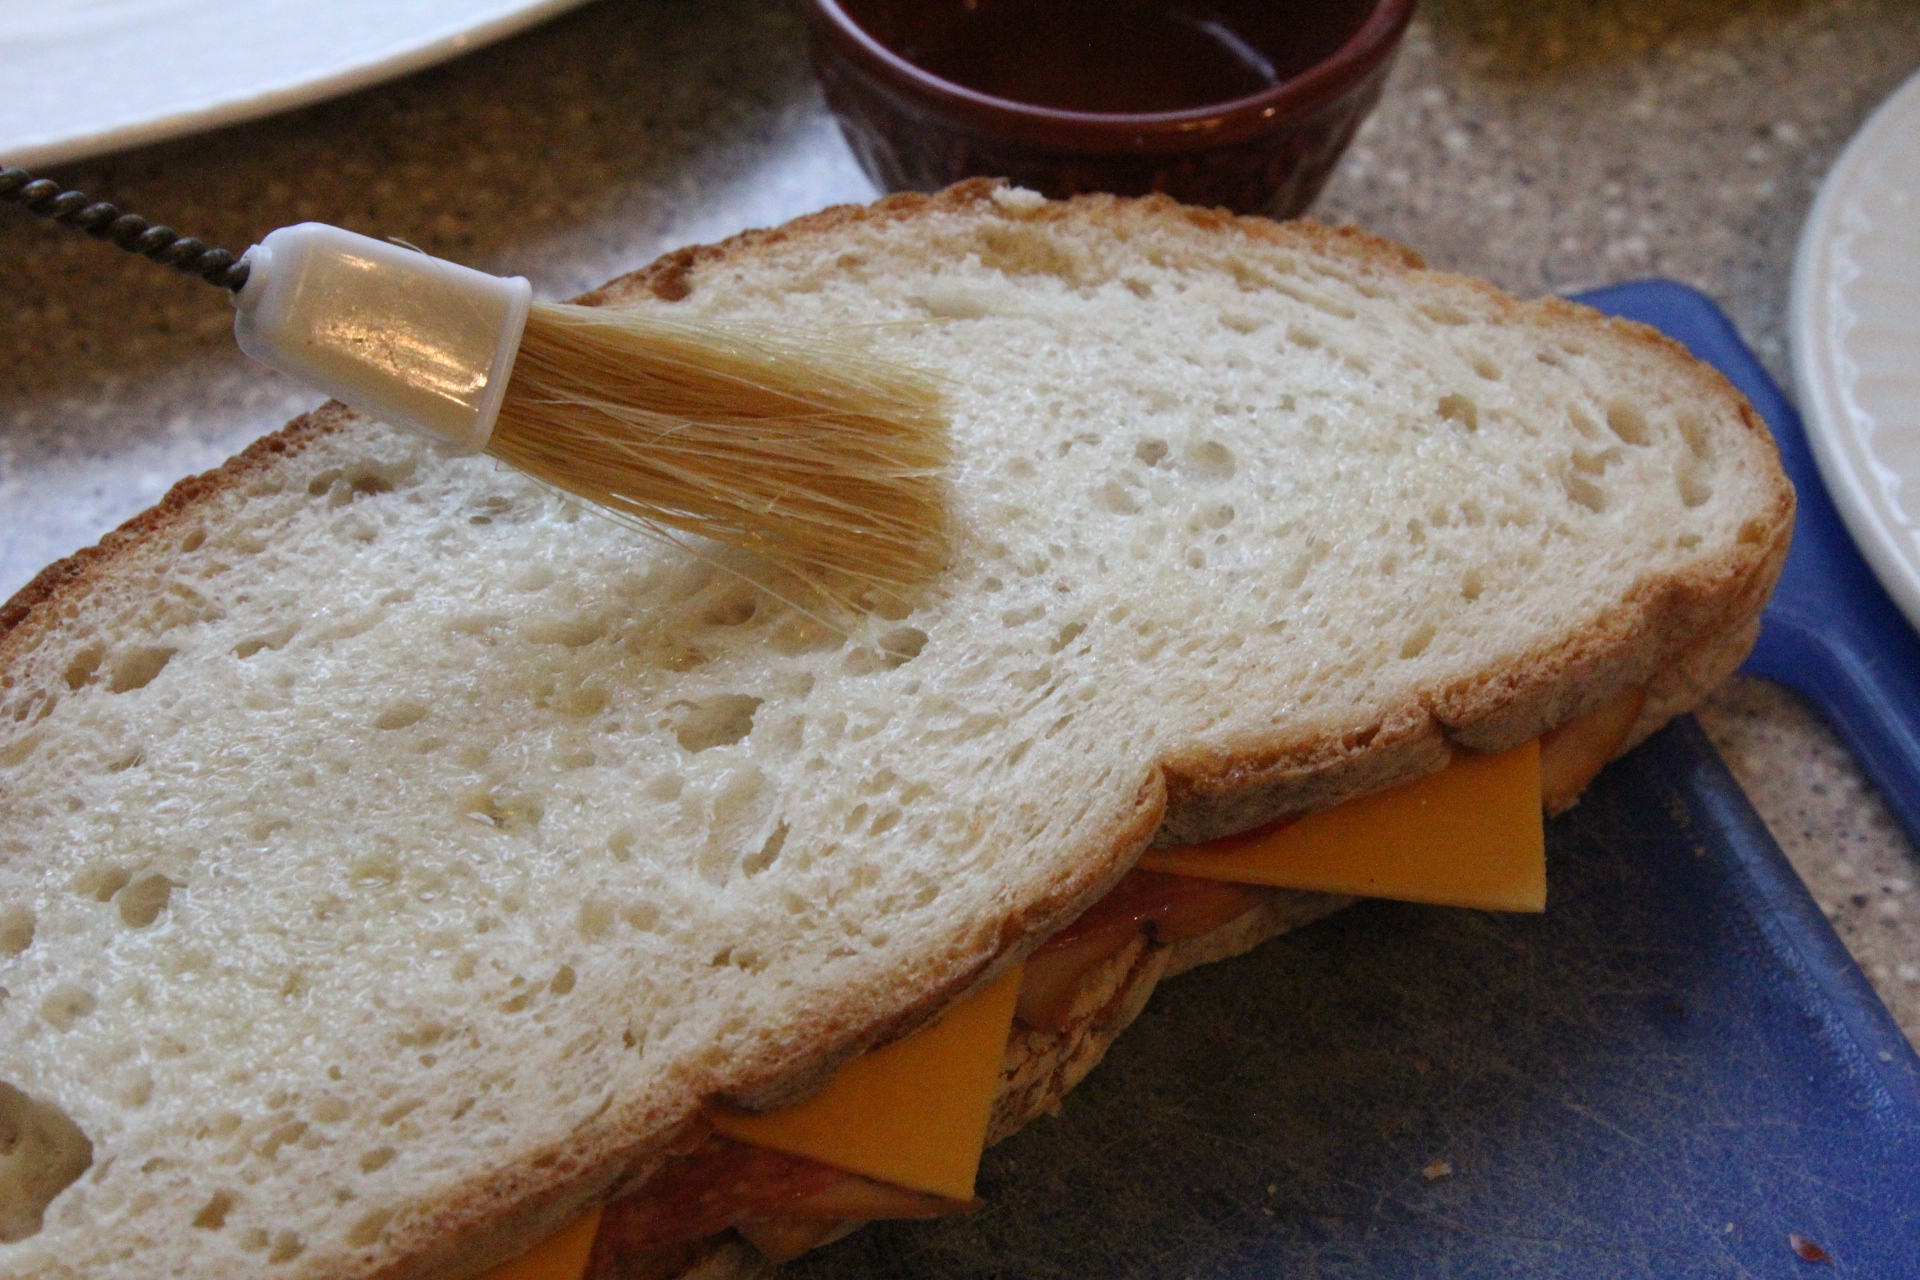
Olive oil for brushing on the top and bottom of the sandwich.
Here are some flavor ideas for you that I like!
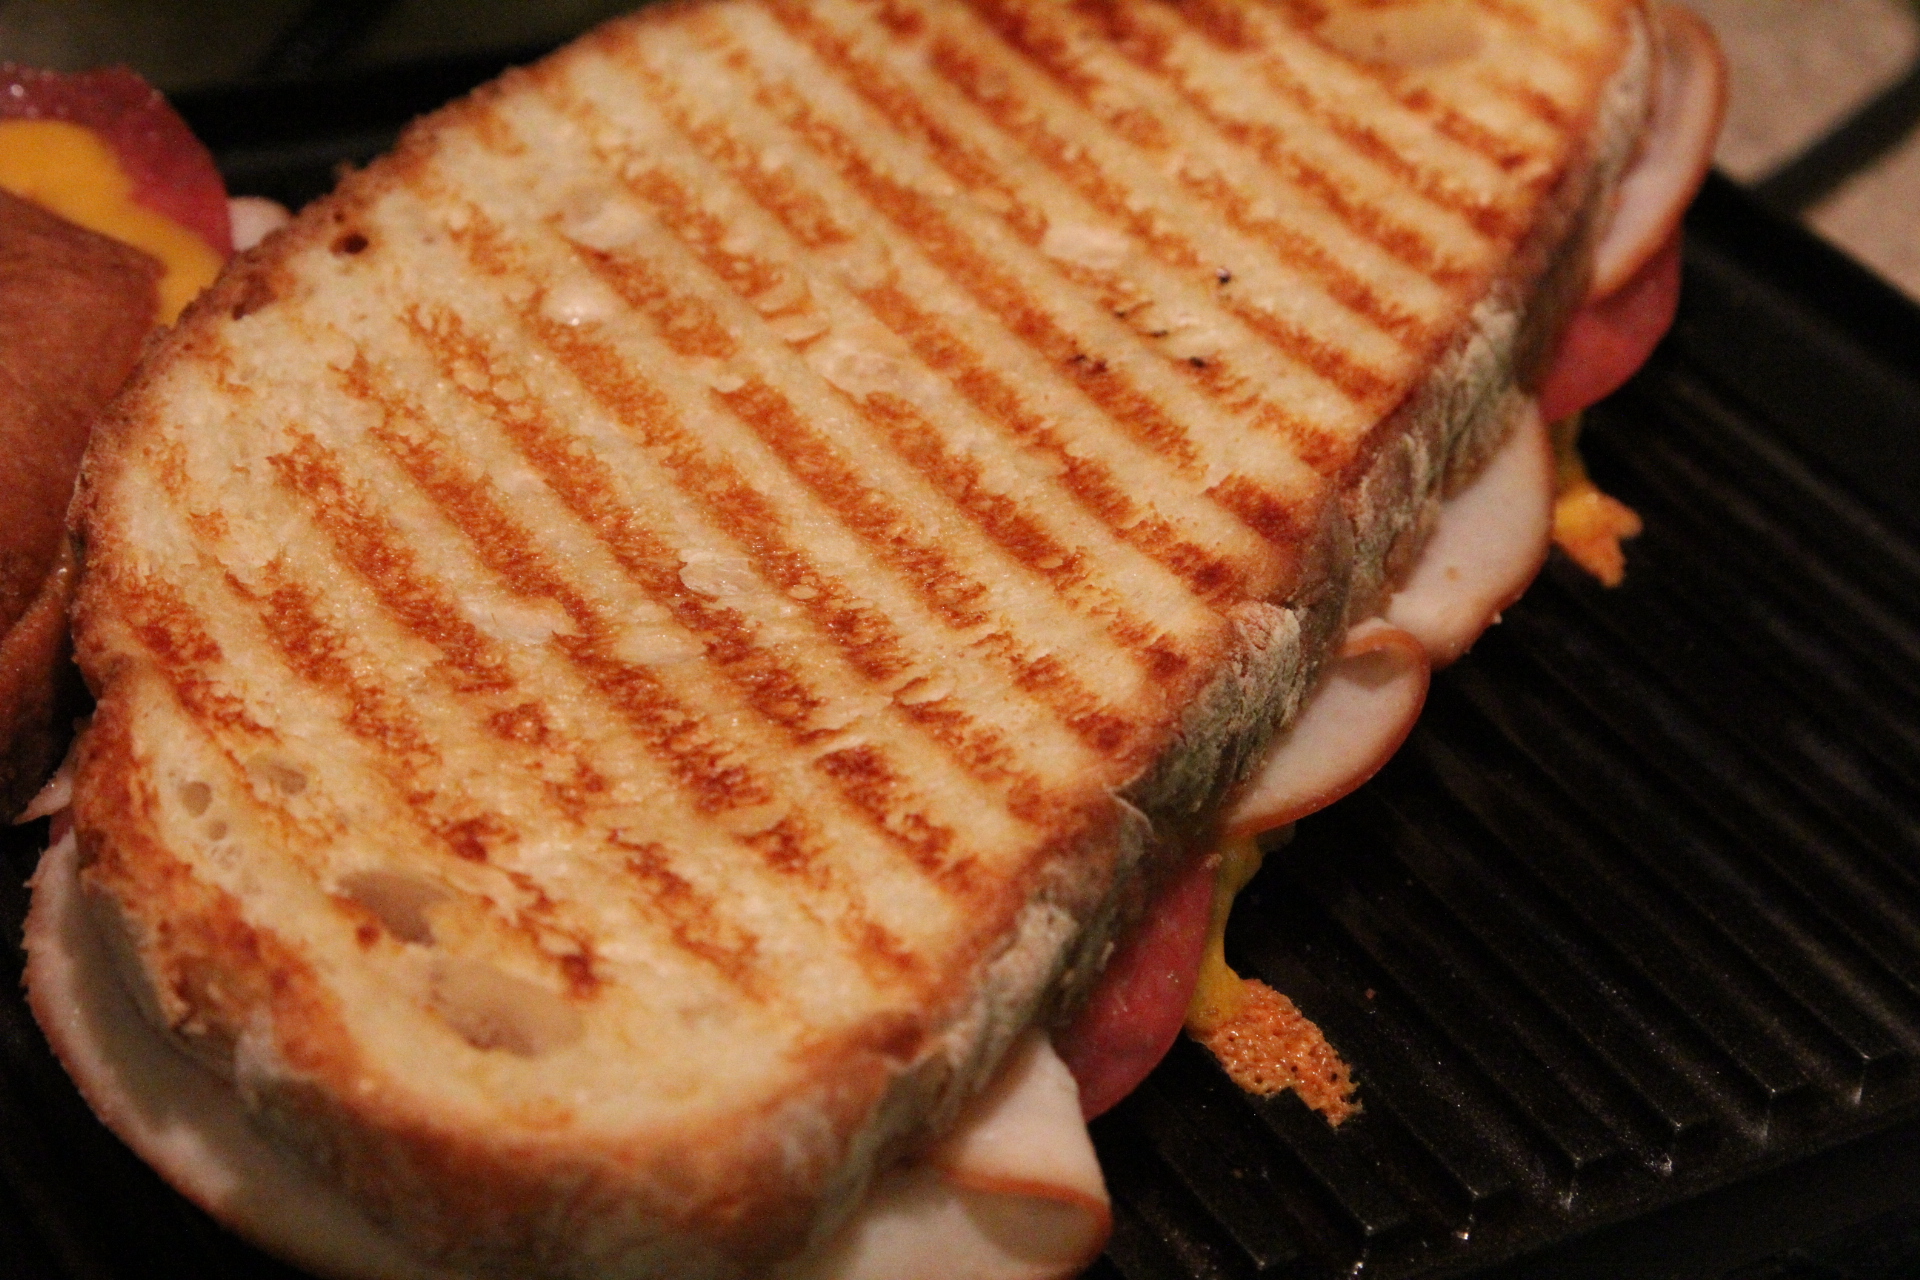
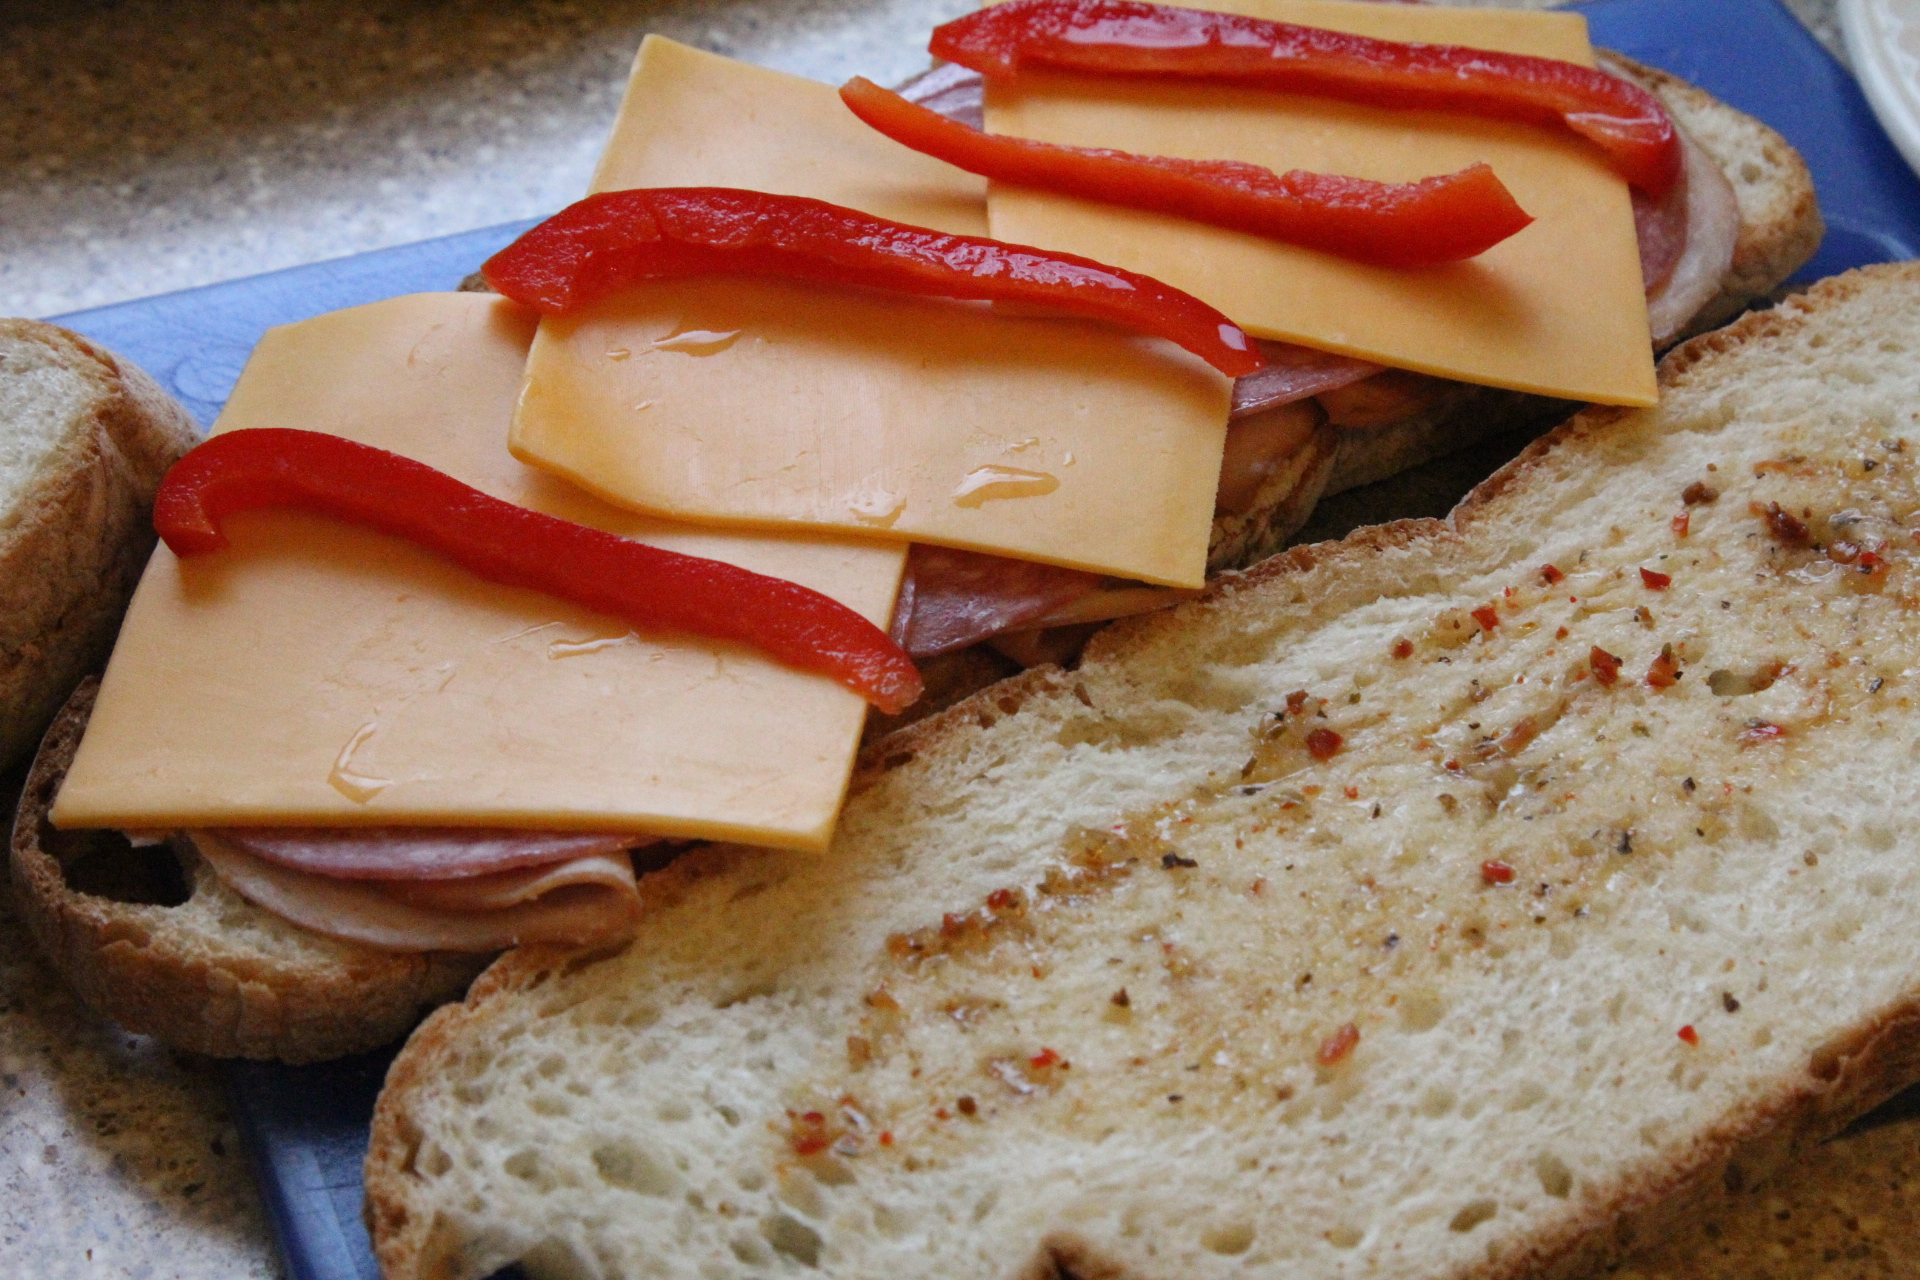
Turkey, salami, cheddar, mozzarella, red pepper with sun dried tomato dressing (as shown in the pictures)
Turkey, pepper jack or provolone cheese, sautéed onions and BBQ sauce
Meatballs (sliced in half), pepperoni, Mozzarella cheese, fresh basil with marinara sauce
Grilled chicken, provolone cheese, fresh basil, with pesto sauce
Grilled Chicken, Cheddar with a ranch buffalo sauce
Go with whatever flavor combinations you are craving and have fun experimenting!
Directions:
Heat Panini Press. If you don’t have one, you can use a large skillet and just weight the sandwich down with another pan to give it a little press.
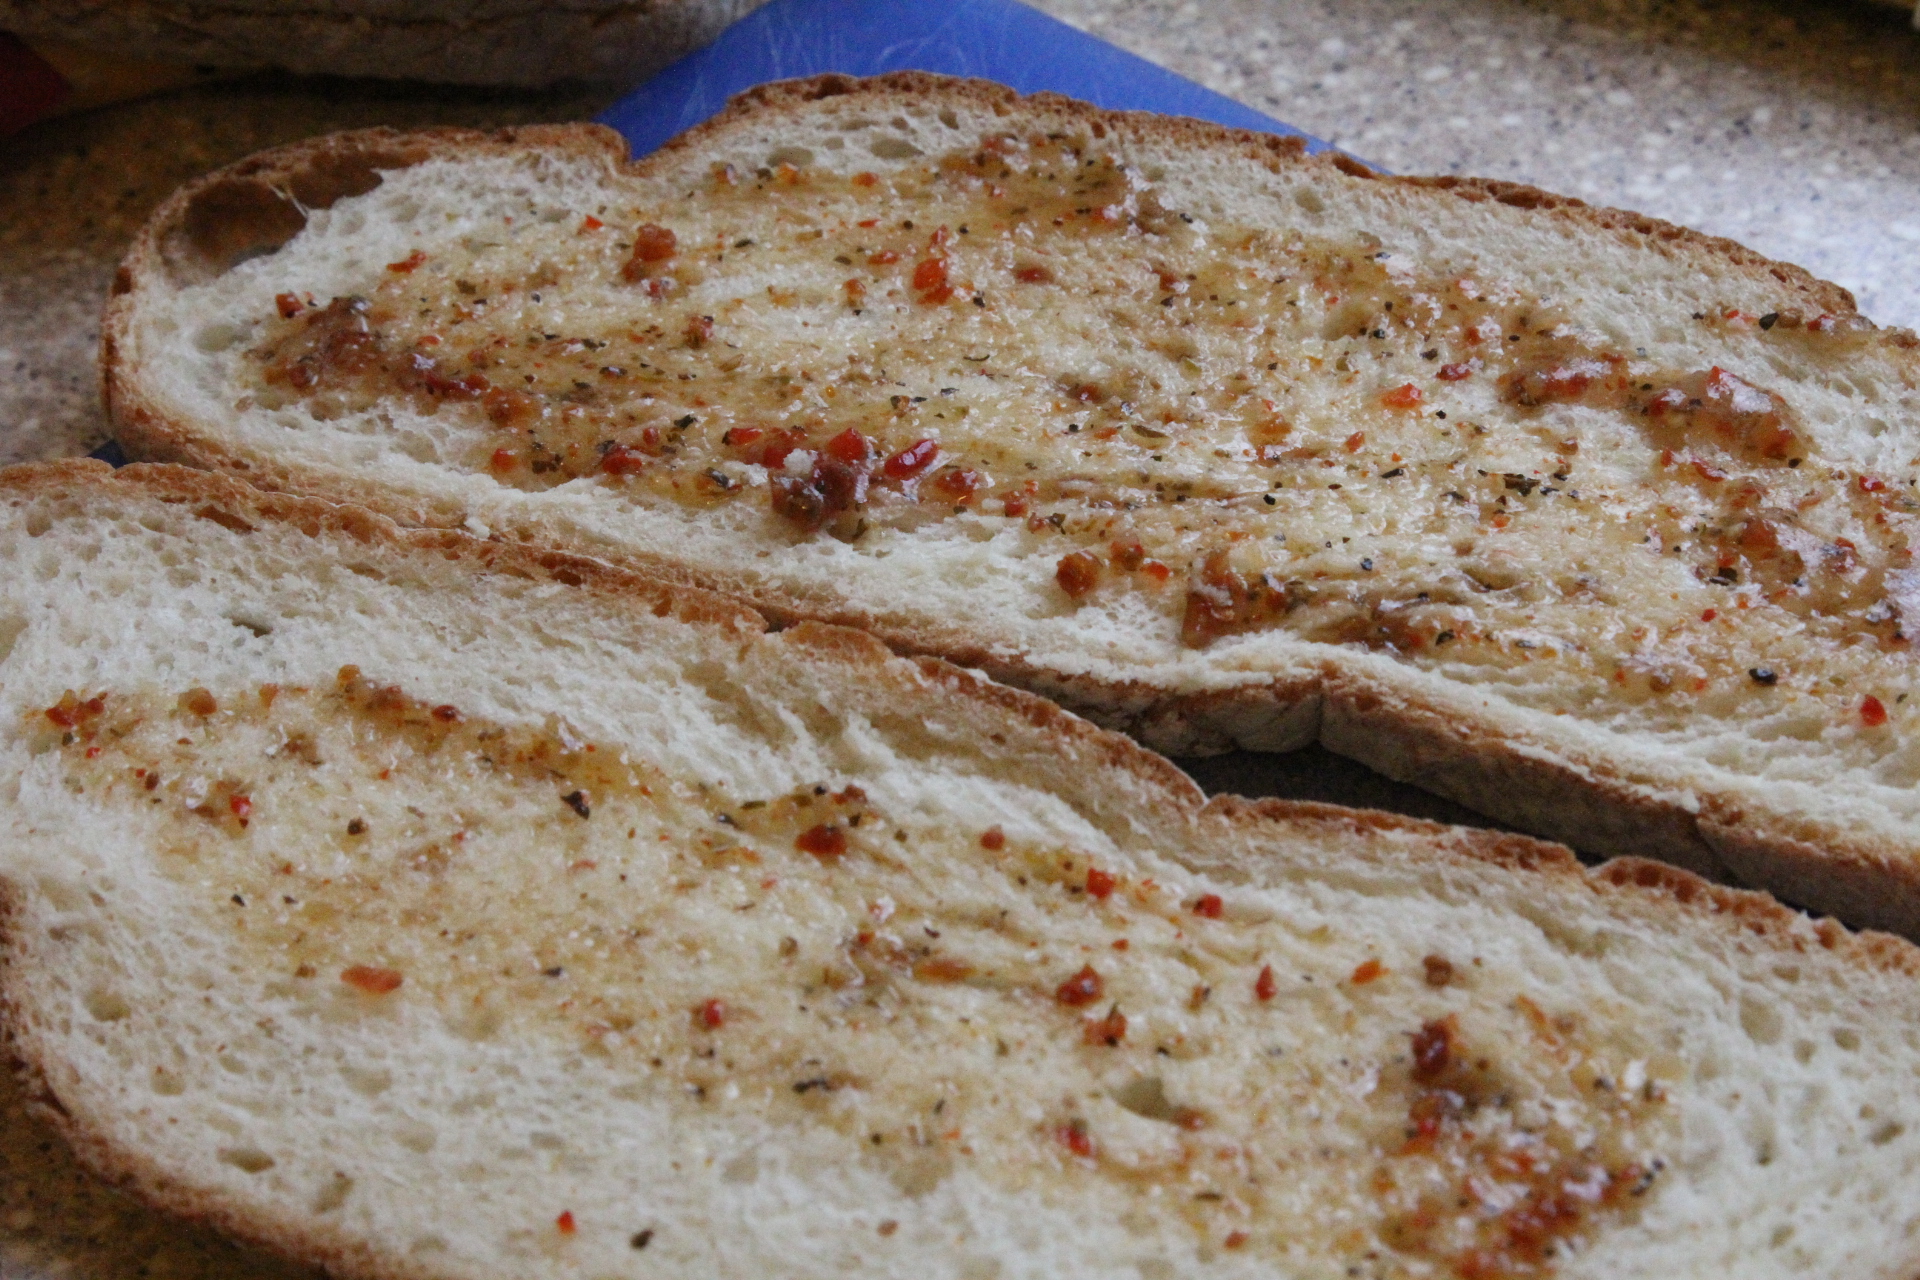
Spread on a little dressing or whatever sauce you like on the bread.
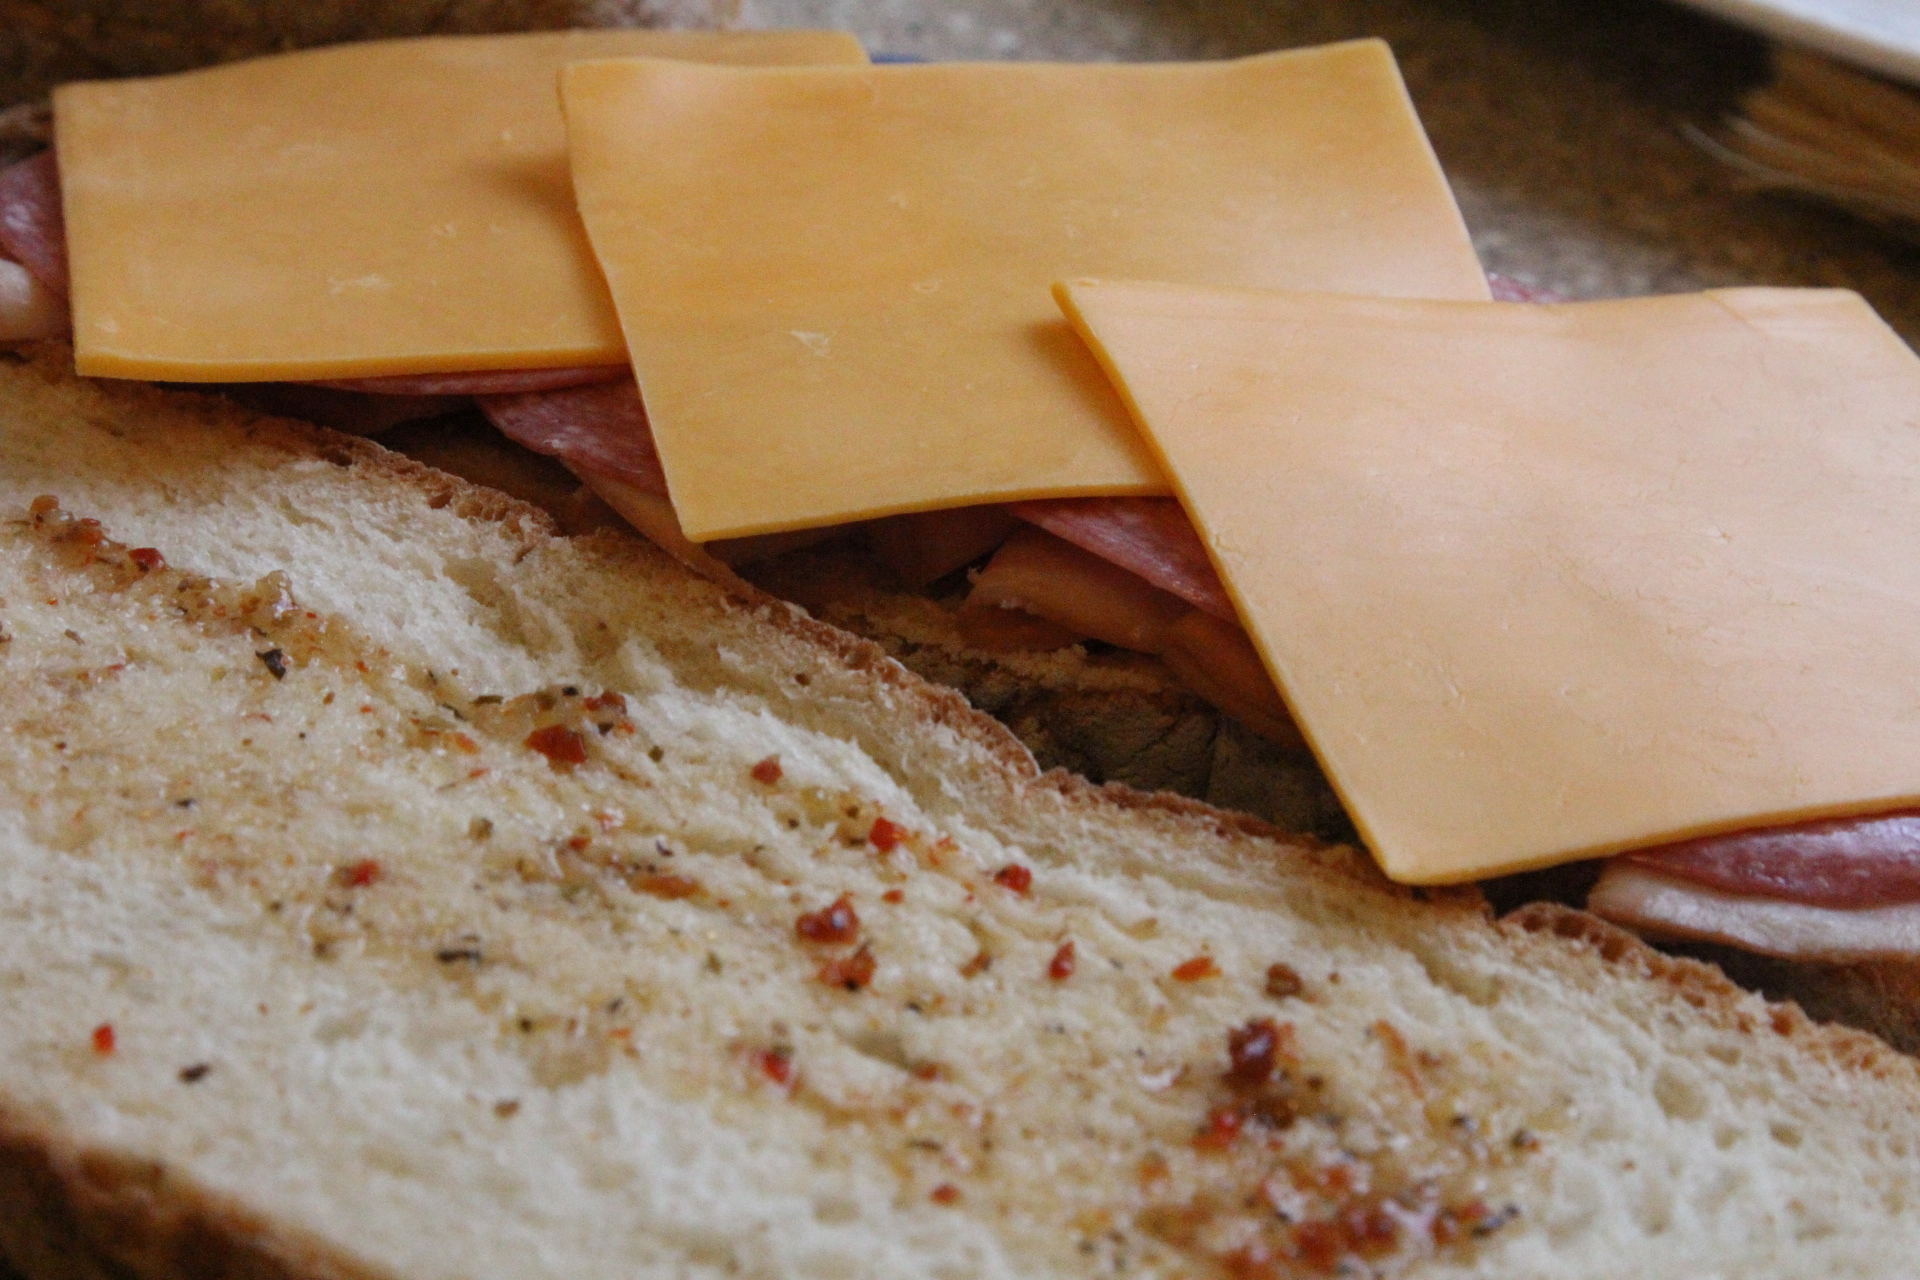
Layer on your meat, cheese, and veggies.
Brush the top and bottom of the sandwich with olive oil. I use light olive oil for brushing.
Place sandwich on hot panini press or into hot skillet.
Lower the lid to press the sandwich. Use another smaller skillet if you don’t have a panini press.
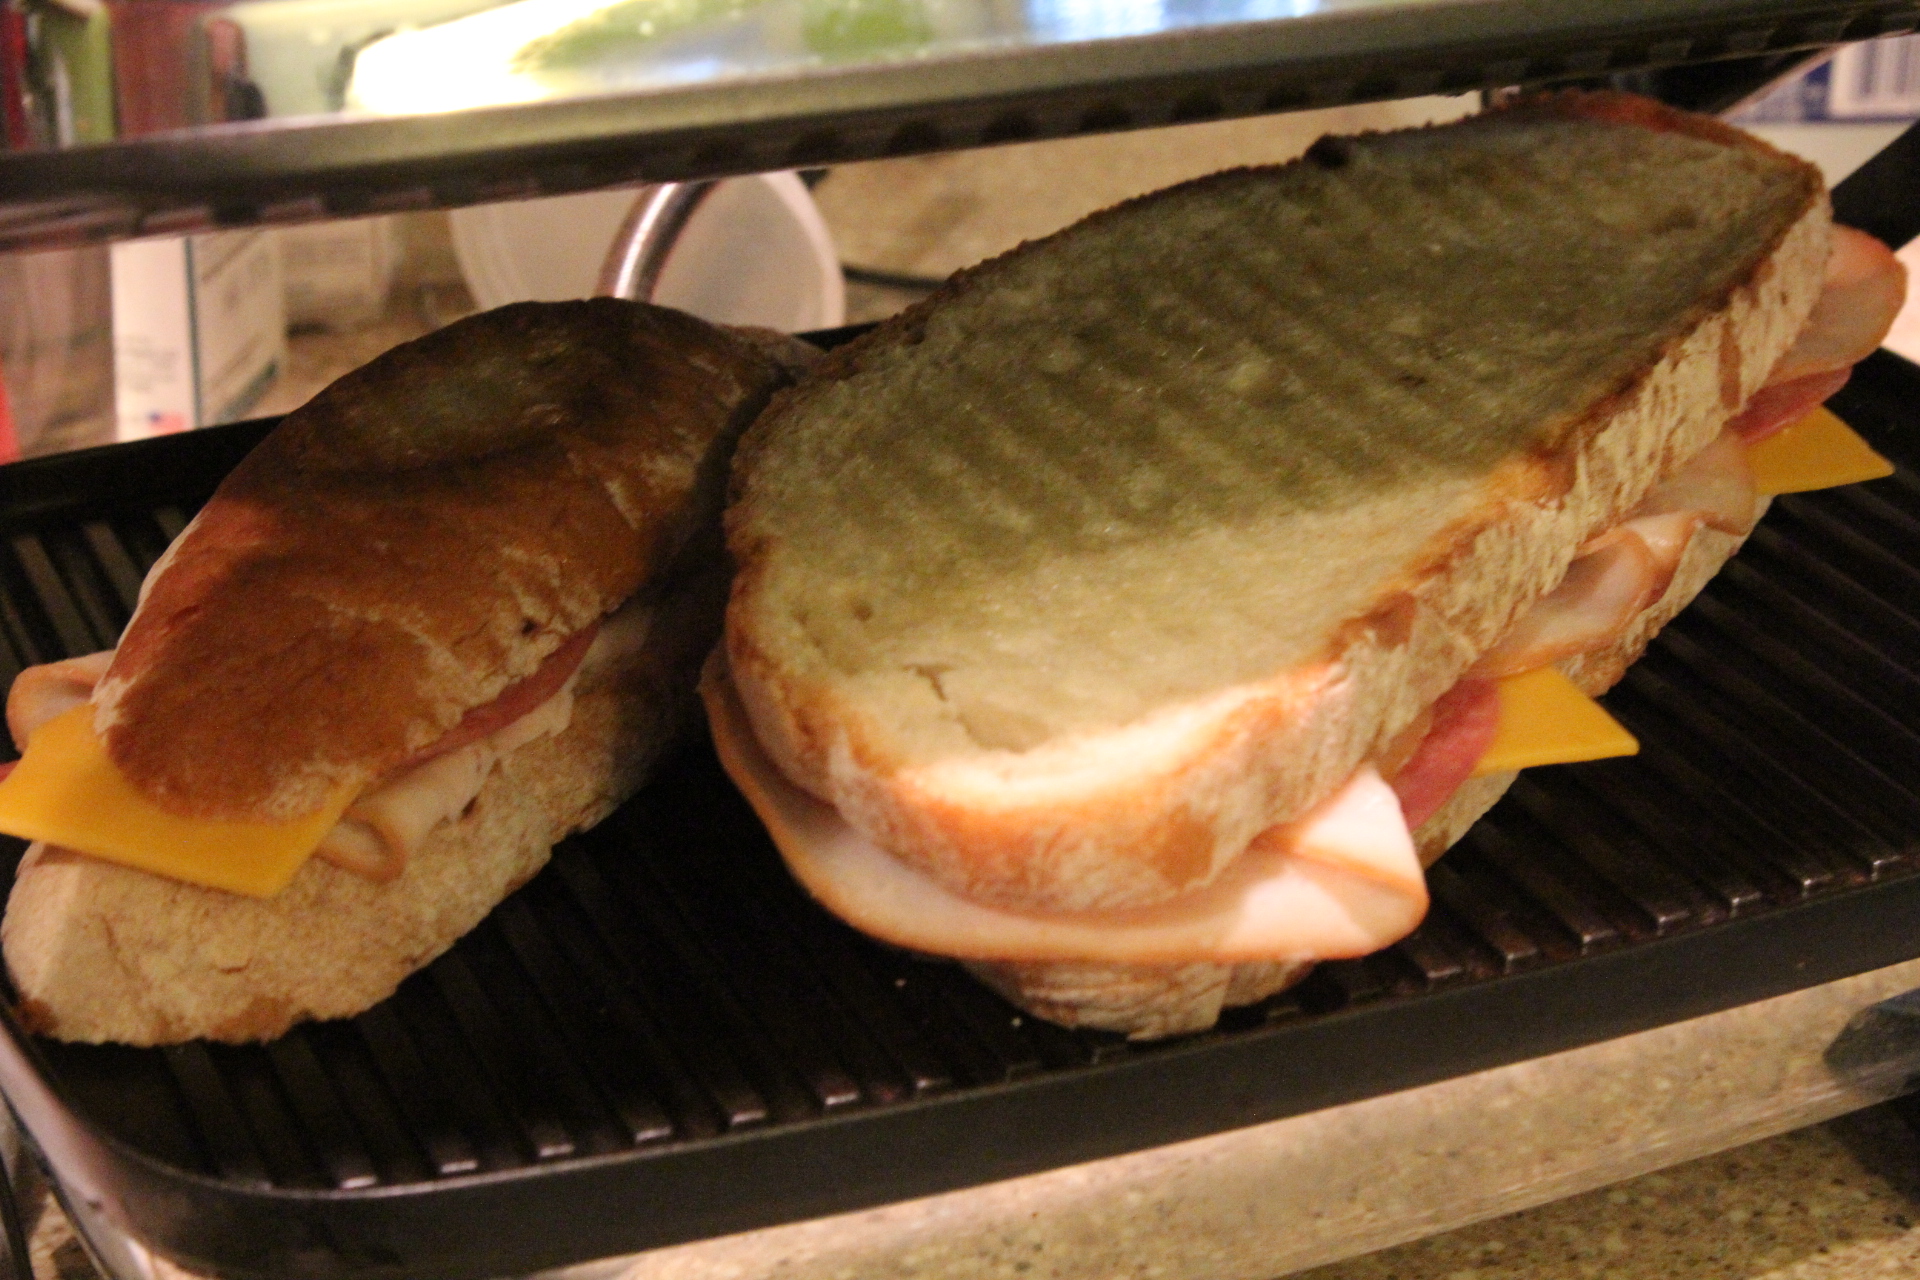
Flip over after 2-3 minutes, or until golden brown on the first side if using a skillet.
If using a panini press, just keep an eye on the sandwiches and remove once the bread is golden and toasted and cheeses are melted.
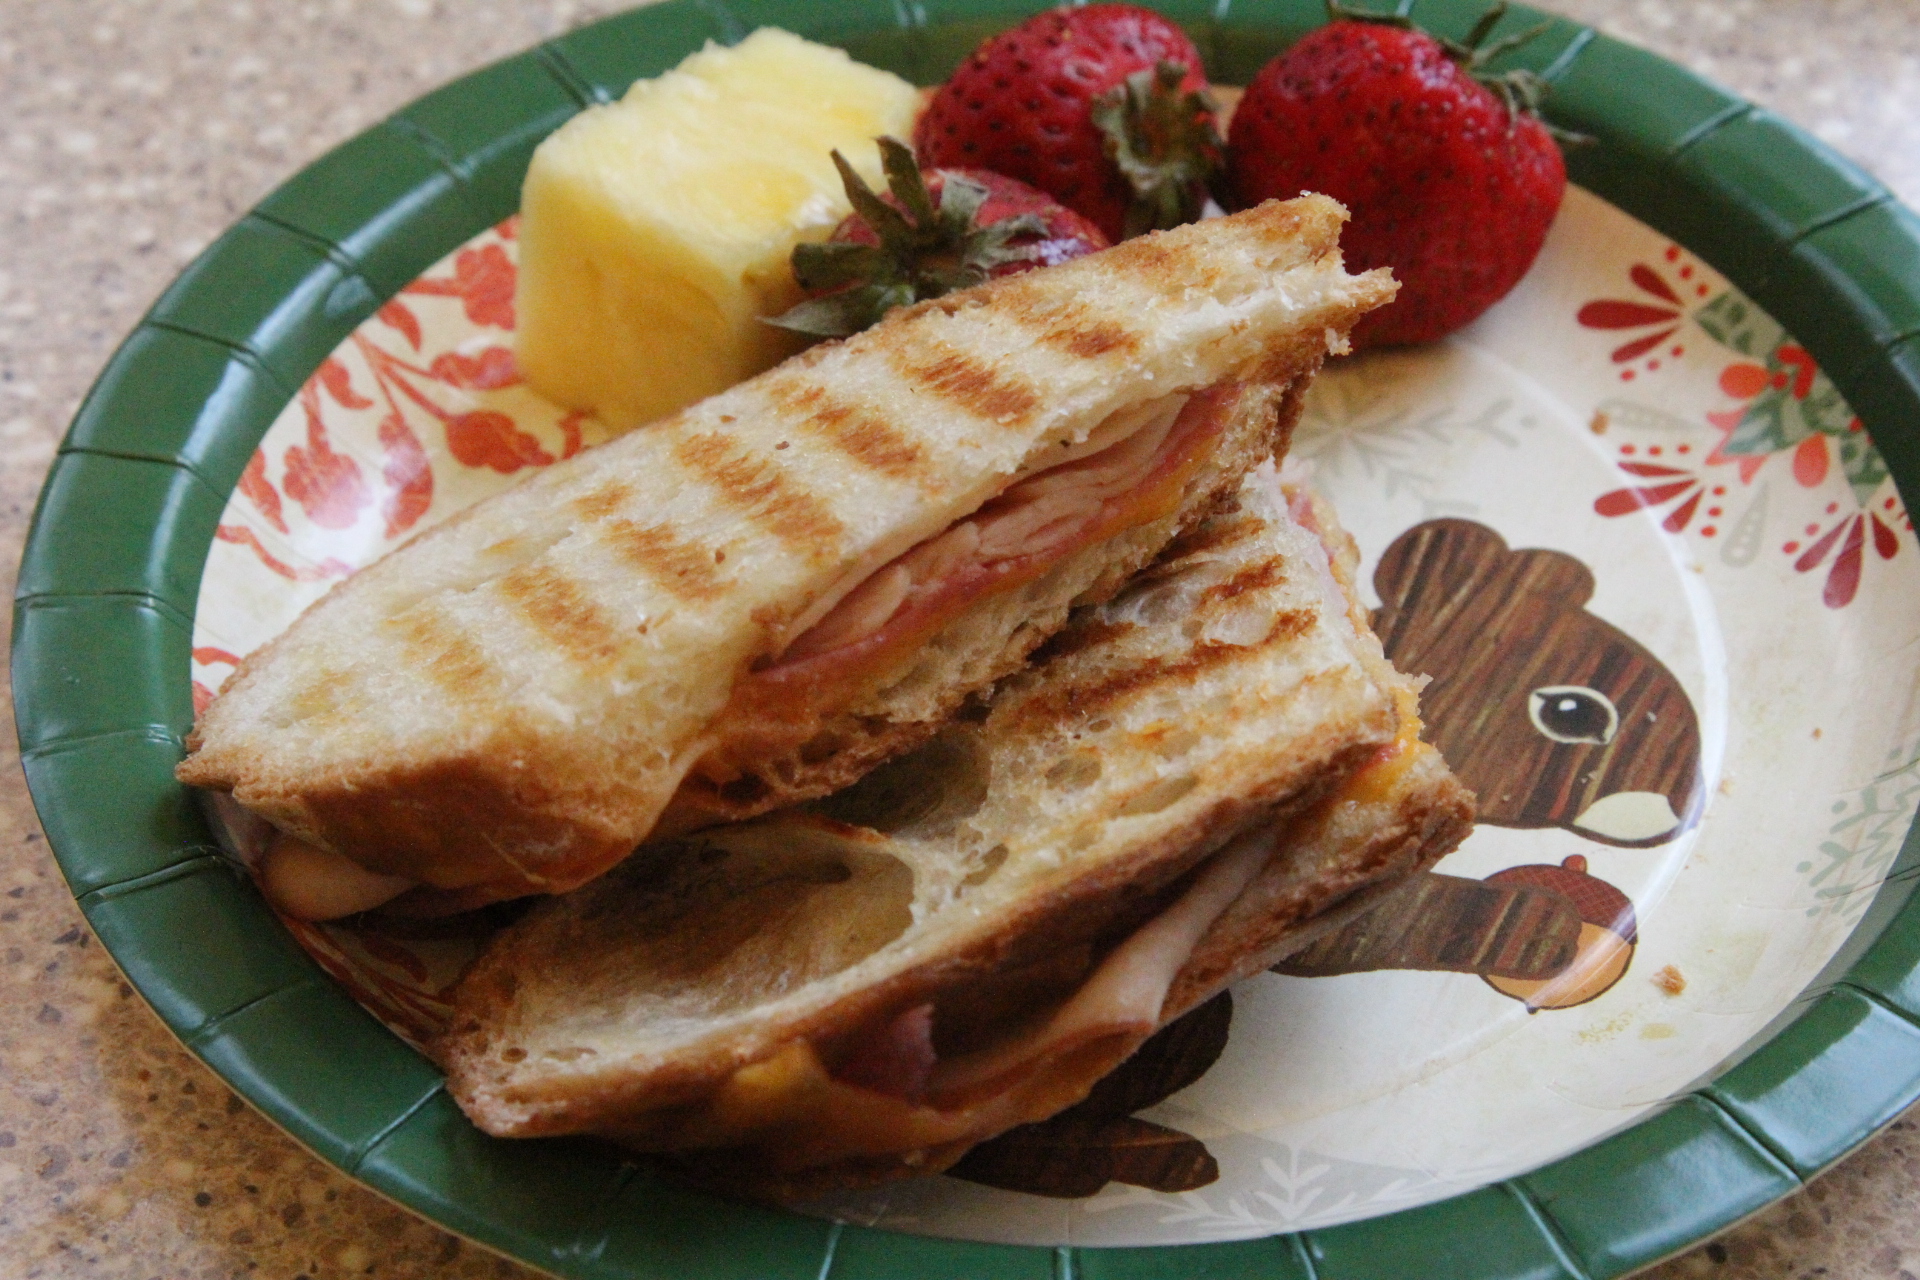
Enjoy!

