
I’ve posted how I make homemade pizzas before, but since the weather is nicer out and most of us will be firing up our grills a lot more, I thought I’d share how I grill pizza. When it’s really hot out, it’s nice to not have to heat up your kitchen with the hot oven going. Grilling pizza is easy and gives the crust a great texture with a bit of bite to it. The pizzas are not perfect circles and have a very rustic look, but I love the taste and grilled crust texture. Who cares what odd shape they are!
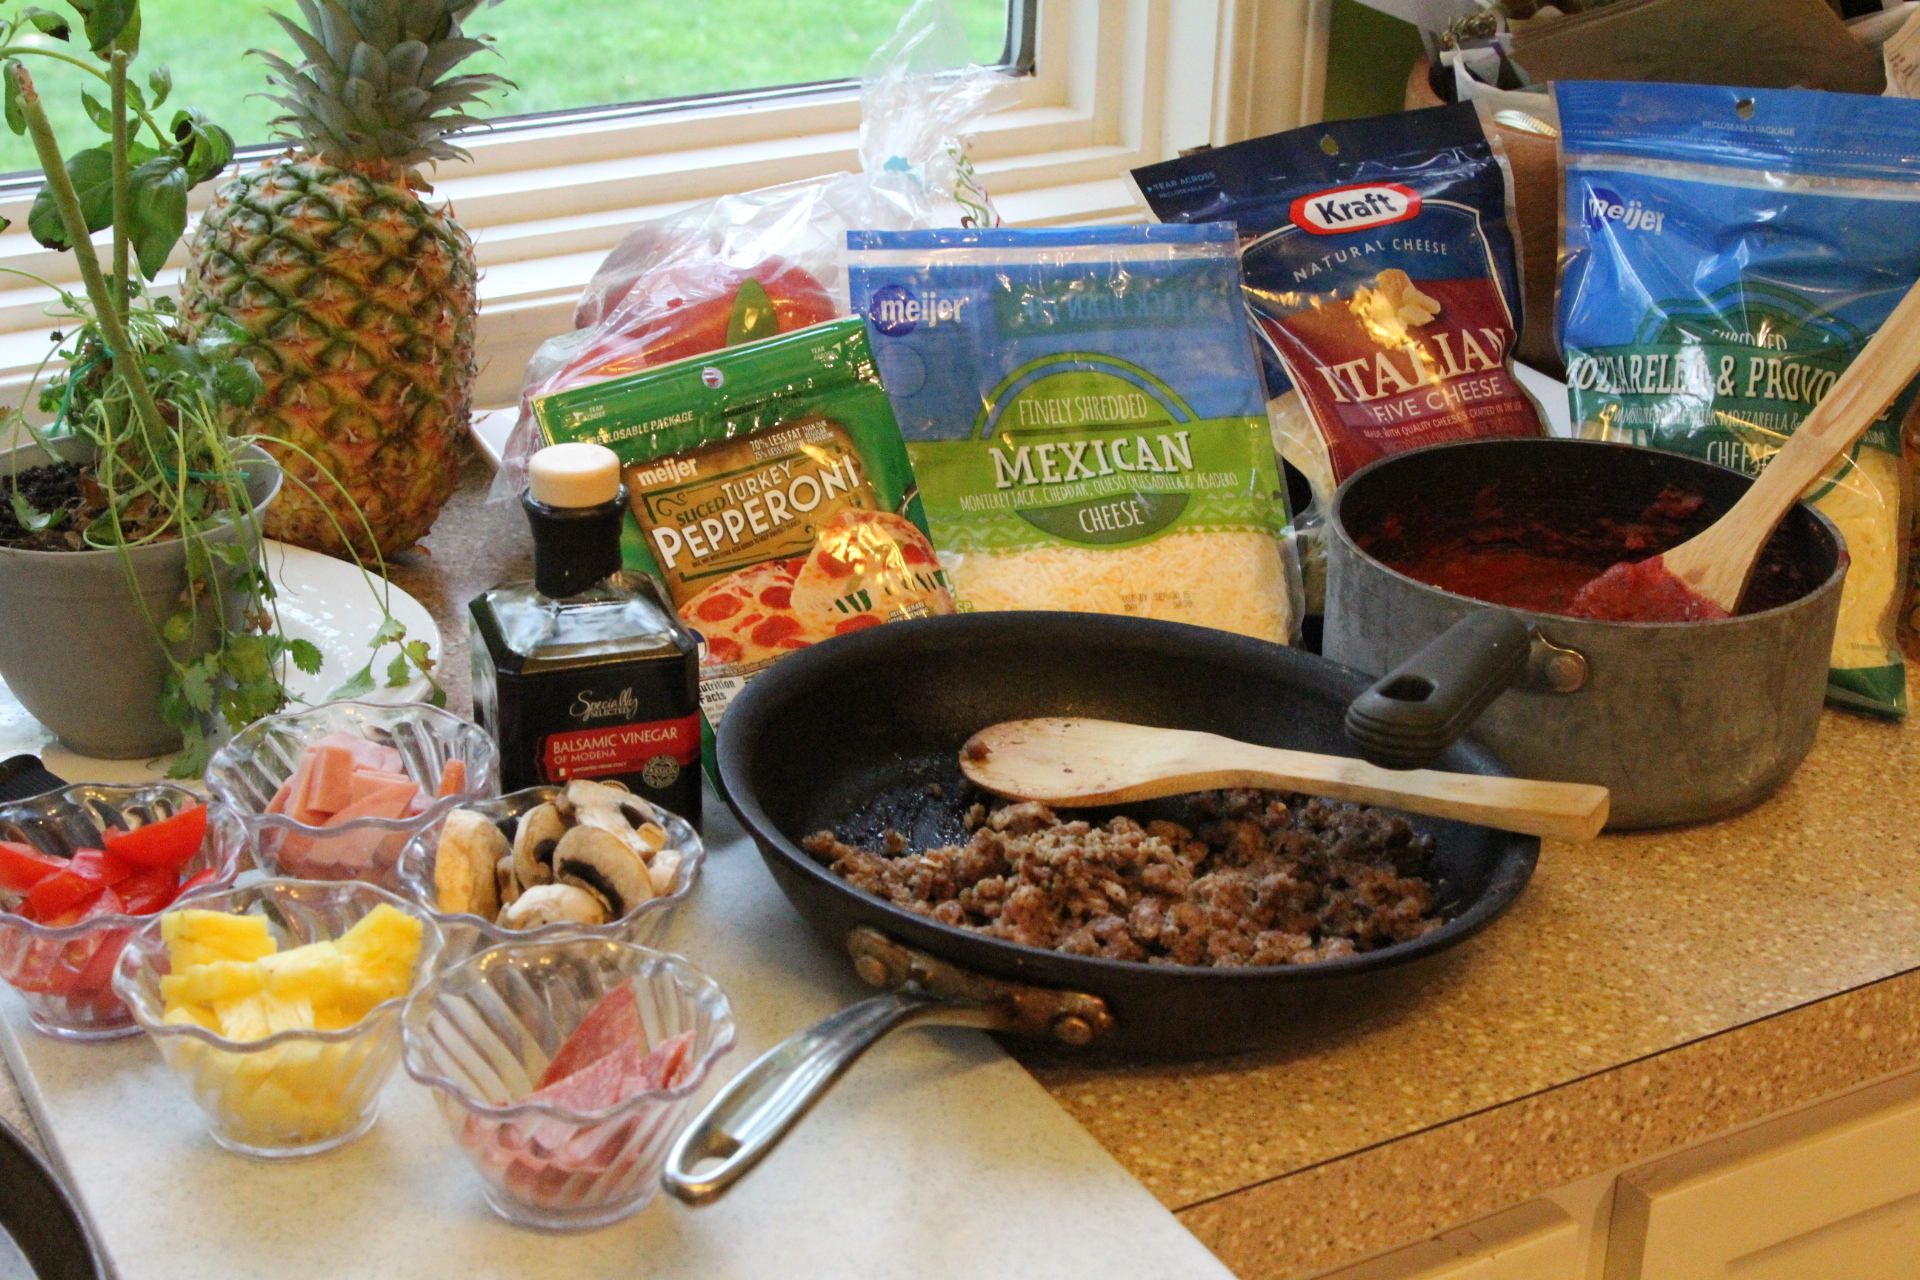
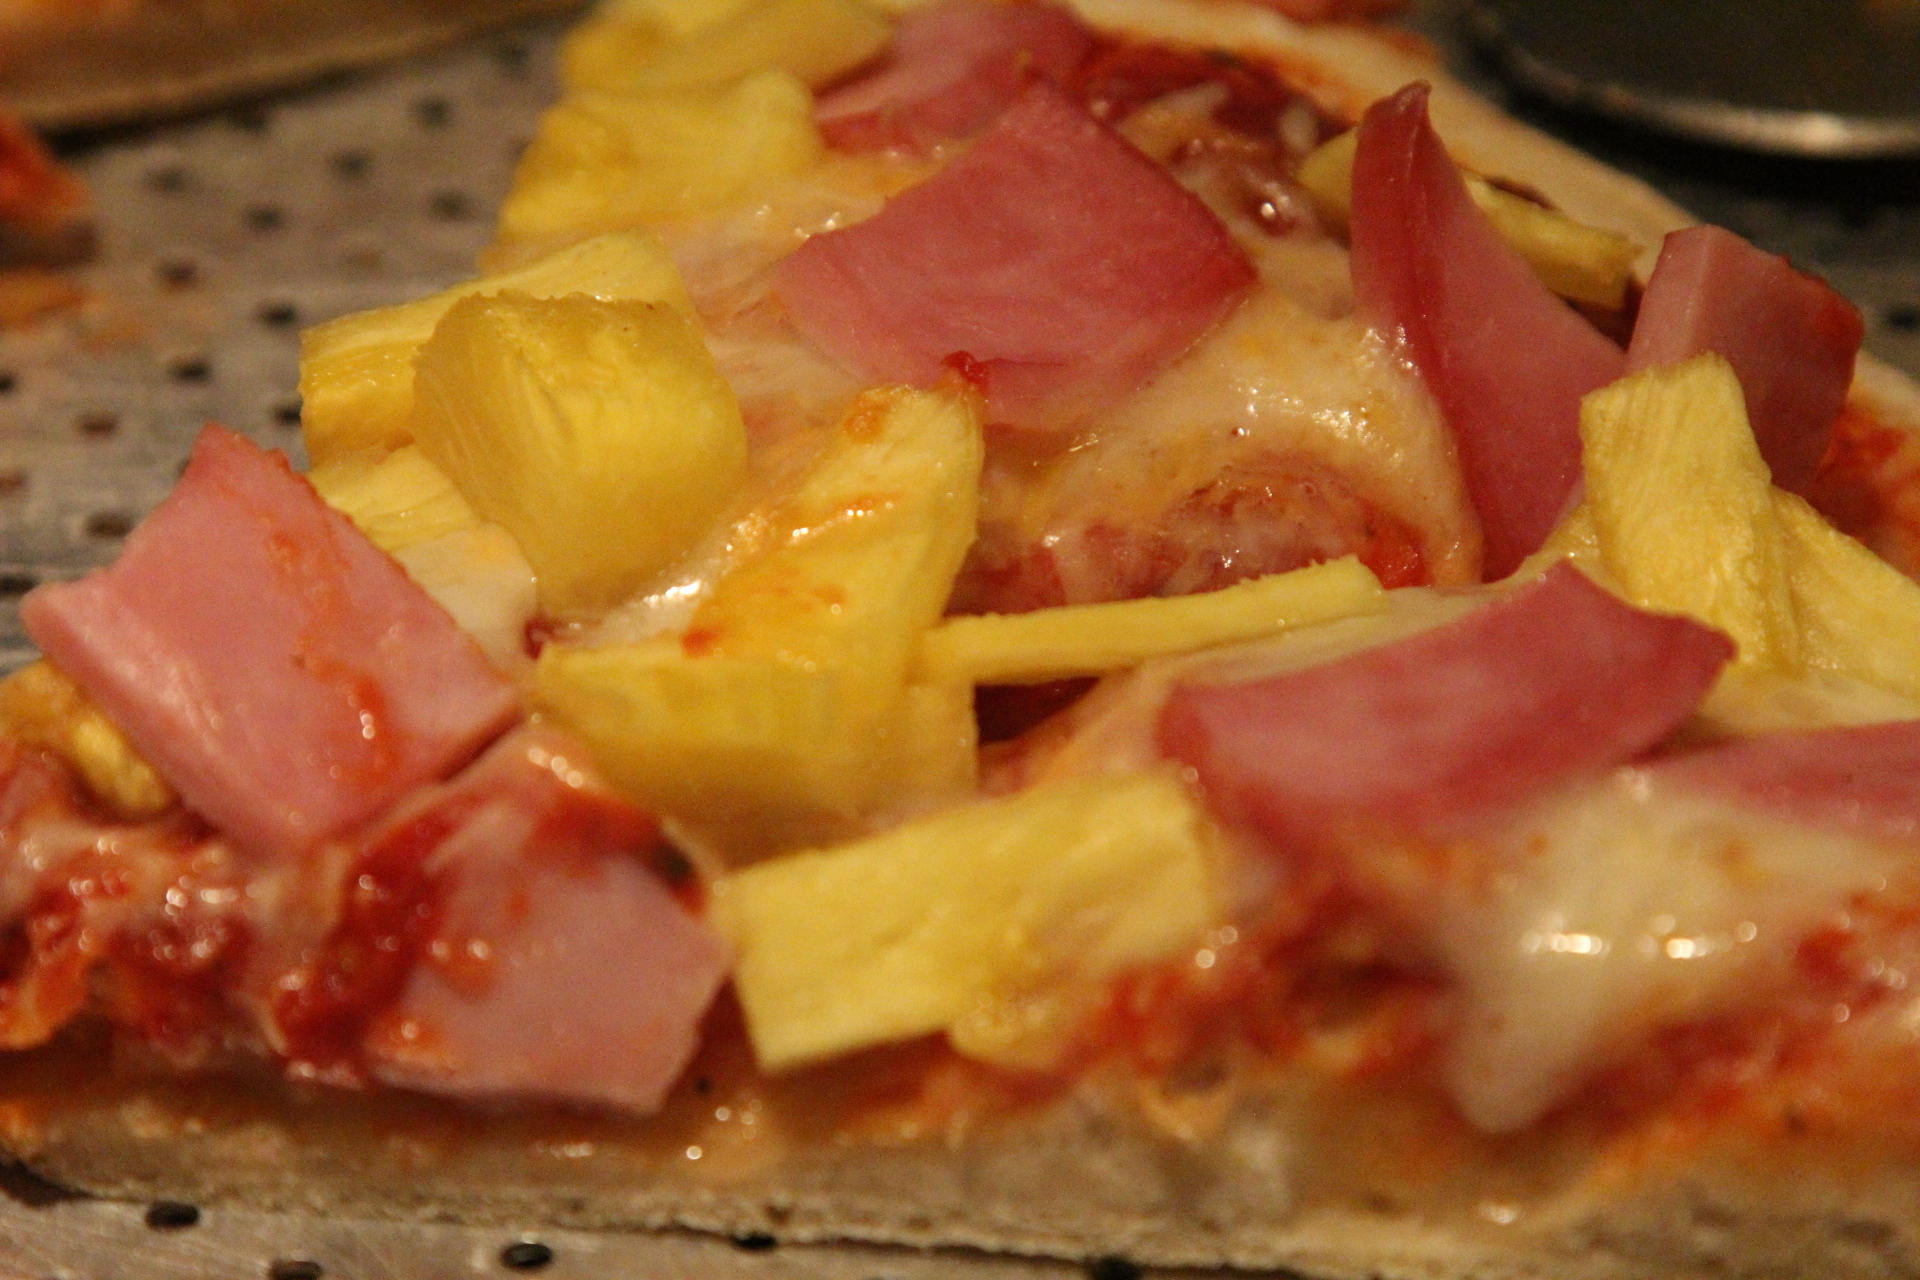
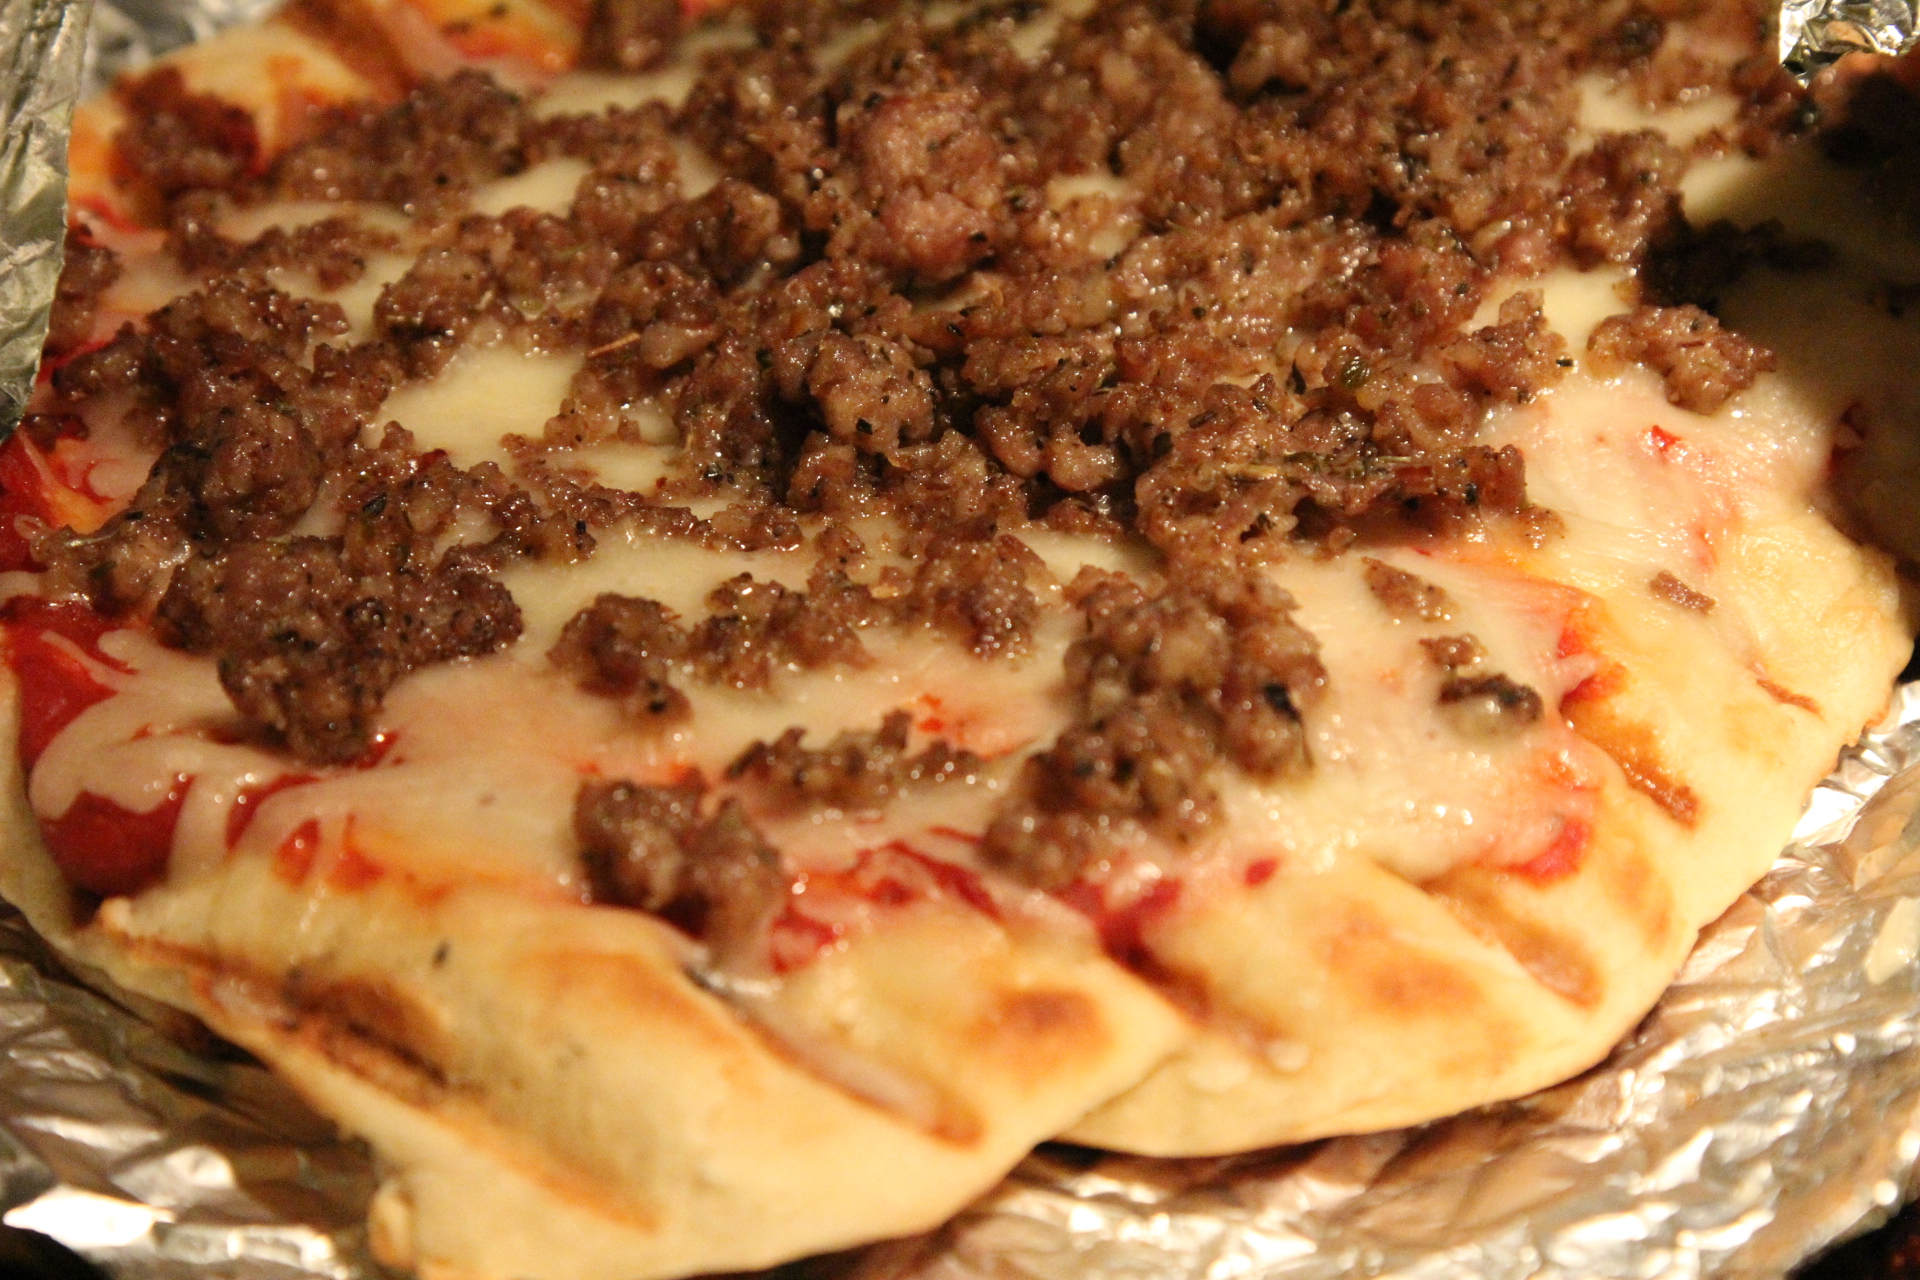
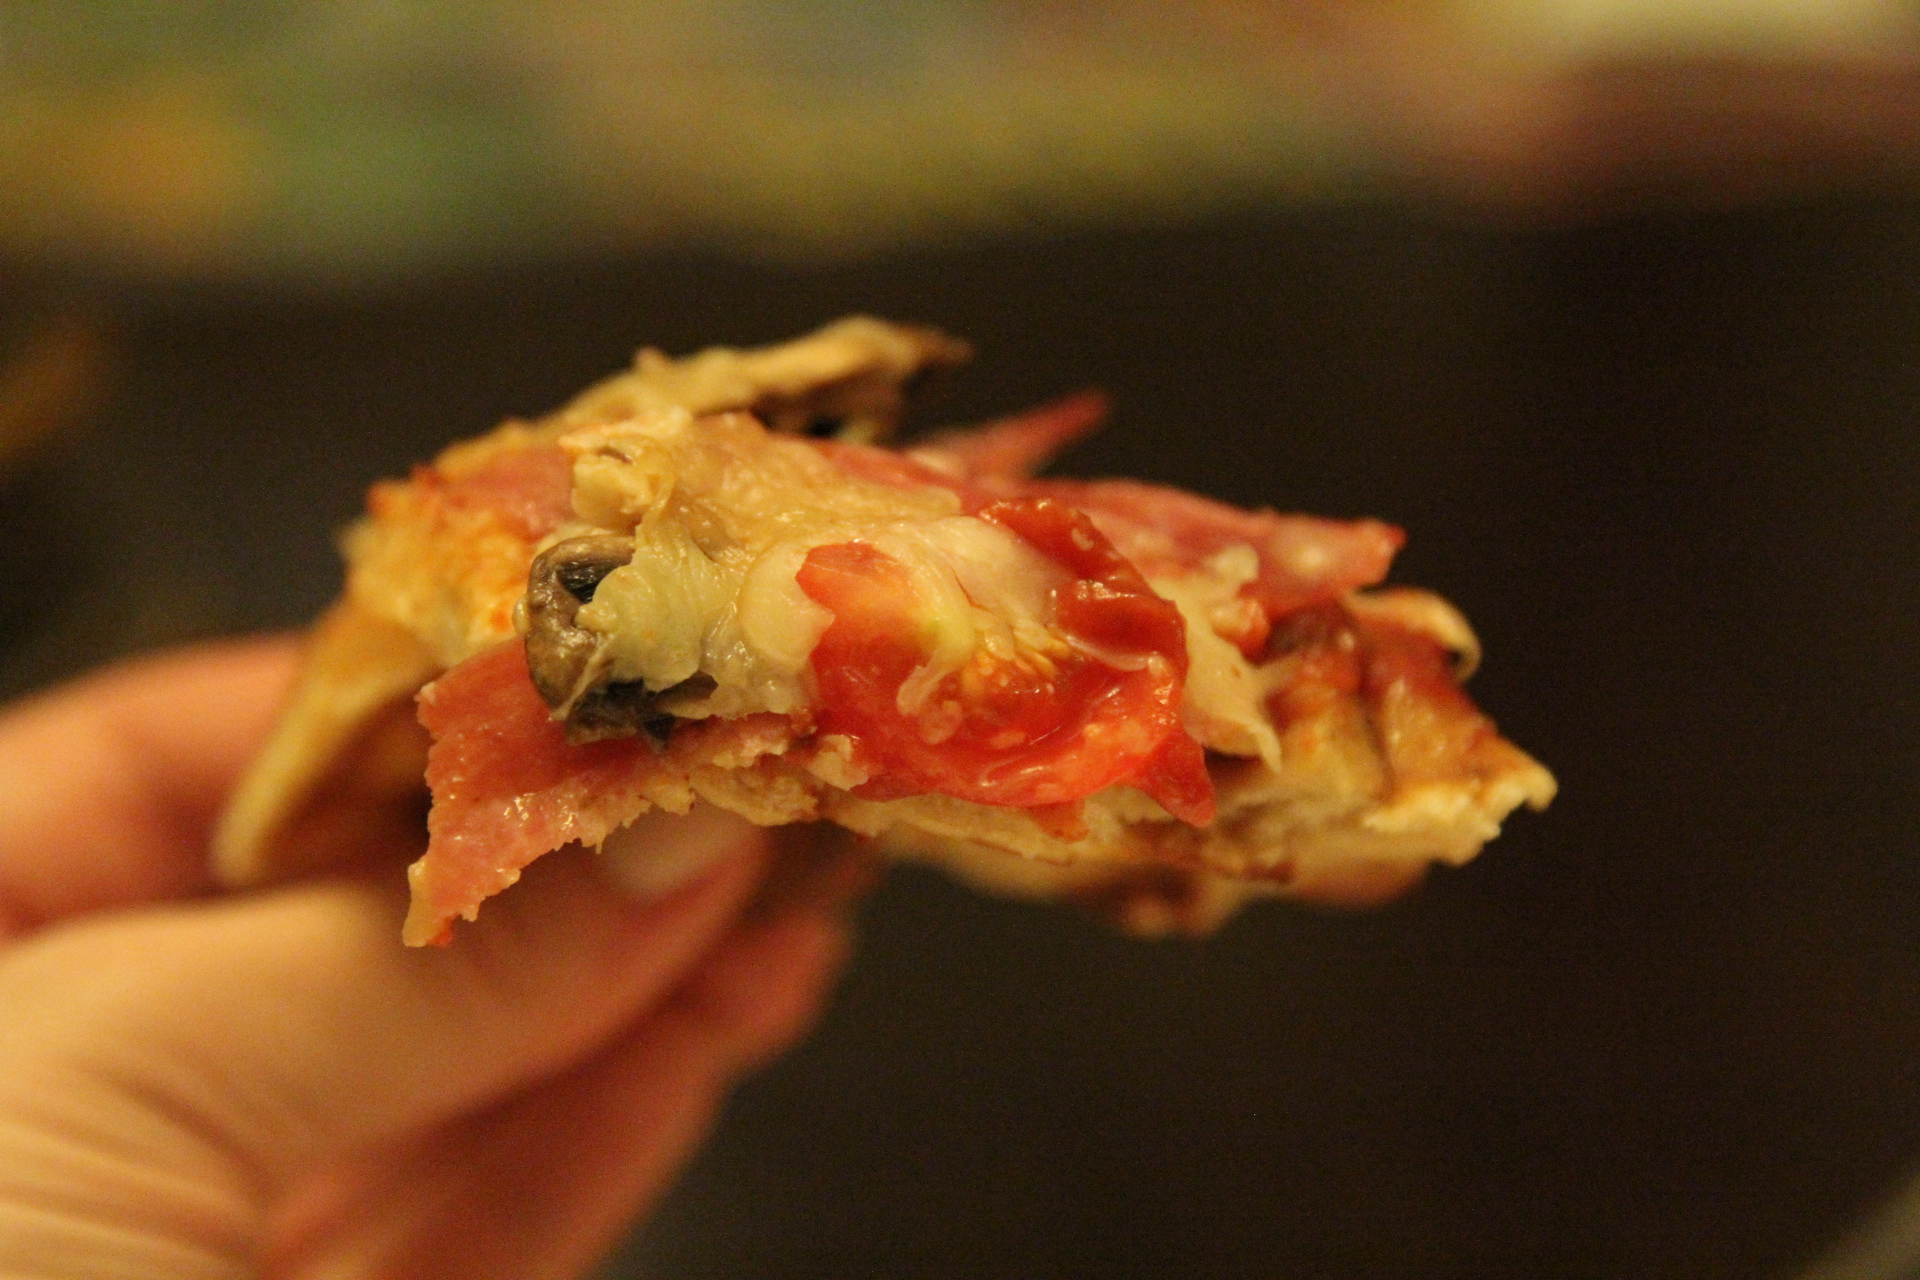
It’s much easier to work with smaller to medium sized pizzas when you grill them. This is coming from a gal with experience with some grilled pizza mishaps and flops. 🙂 So when I decide to grill the pizza’s. I make a handful of small to medium sized pizzas with a variety of toppings and flavors. This keeps us all happy and it’s fun to try different combinations. Tonight I made two sausage, one pepperoni, two of my latest favorite -salami, tomato, mushroom and balsamic, and one ham and pineapple as requested by my 10 year old. I think we covered the bases with variety. Use whatever toppings and flavors you like for your pizzas, I’ll just give you the recipe for the dough, sauce, and basics on how I grill them.
The dough recipe I use is very easy to make, freezes well and has a nice basic pizza dough flavor. You can always add in garlic, cheese, rosemary or whatever herbs you like if you want a flavored crust.
Pizza Dough Ingredients: (enough for 4-5 Medium pizzas)
4 teas active dry yeast
2 C warm tap water
6 C Flour. I use 1/2 Bread Flour and 1/2 All Purpose
2 TBS honey
4 TBS Olive Oil plus more for brushing
Pizza Dough Directions:
Heat oven to 200 degrees F, and then turn the oven off.
Add yeast, honey, and warm water to a stand mixer and stir to combine. Let this sit for 3-4 minutes until it becomes bubbly and yeast is active.

Add in Salt and Olive Oil and stir.

Add in 4 C of the flour and with a dough hook, start mixing the dough.


Scrape the sides of the bowl and dough hook occasionally with rubber spatula.
Gradually add in the remaining flour a little at a time until the flour is incorporated. Remember it may take a little more or less flour depending on temp and humidity.

You may need to add in more flour if dough is too sticky, or add in a tiny bit of water and oil if dough seems too crumbly and dry. You want a smooth looking dough. Once the dough seems to be the right consistency, let the dough hook knead the dough for 4-5 minutes, cleaning off the dough hook a couple times until the dough is smooth and no longer sticky to the touch. You could be able to hold it, stretch it etc with very little sticking to your hands.


Either add a little olive oil or non stick spray to a large tall sided bowl(s) and add the dough ball to the bowl. Turn the dough to coat all sides with oil. I used two bowls.

Cover the bowl with a clean towel and place it in the warm oven. Let the dough rise for about an hour. While it’s rising, make your pizza sauce and get your toppings ready.

Pizza sauce:
You could use store-bought pizza sauce, I just make my own since it’s simple to make and I like to freeze the extra so I’m ready for a quick pasta meal or another pizza night.
Ingredients:

1 TBS olive oil
15 oz can of tomato sauce
10-12 oz can of tomato paste or puree is ok.
2 garlic cloves – minced
1/2 onion – diced
1/2 teas garlic powder
1/4 teas crushed red pepper flakes
1 teas basil
1 teas Italian seasoning blend
1 1/2 teas oregano
Kosher Salt and Pepper to taste
Directions:
Sauté onion in olive oil on medium heat for a few minutes. Add in garlic and sauté for just a minute or two longer on lower heat.

Add in tomato sauce and paste/puree.
Add in all the spices and salt and pepper.

Simmer on low until ready to use or you could make ahead of time and keep in the fridge until ready to assemble pizzas. I also put some in a little bowl for dipping our Cheesy Garlic Breadsticks. Extra sauce freezes well. Just thaw on counter or in fridge or on very low power setting in microwave.
Once dough is risen and ready to use, you can prepare for grilling.
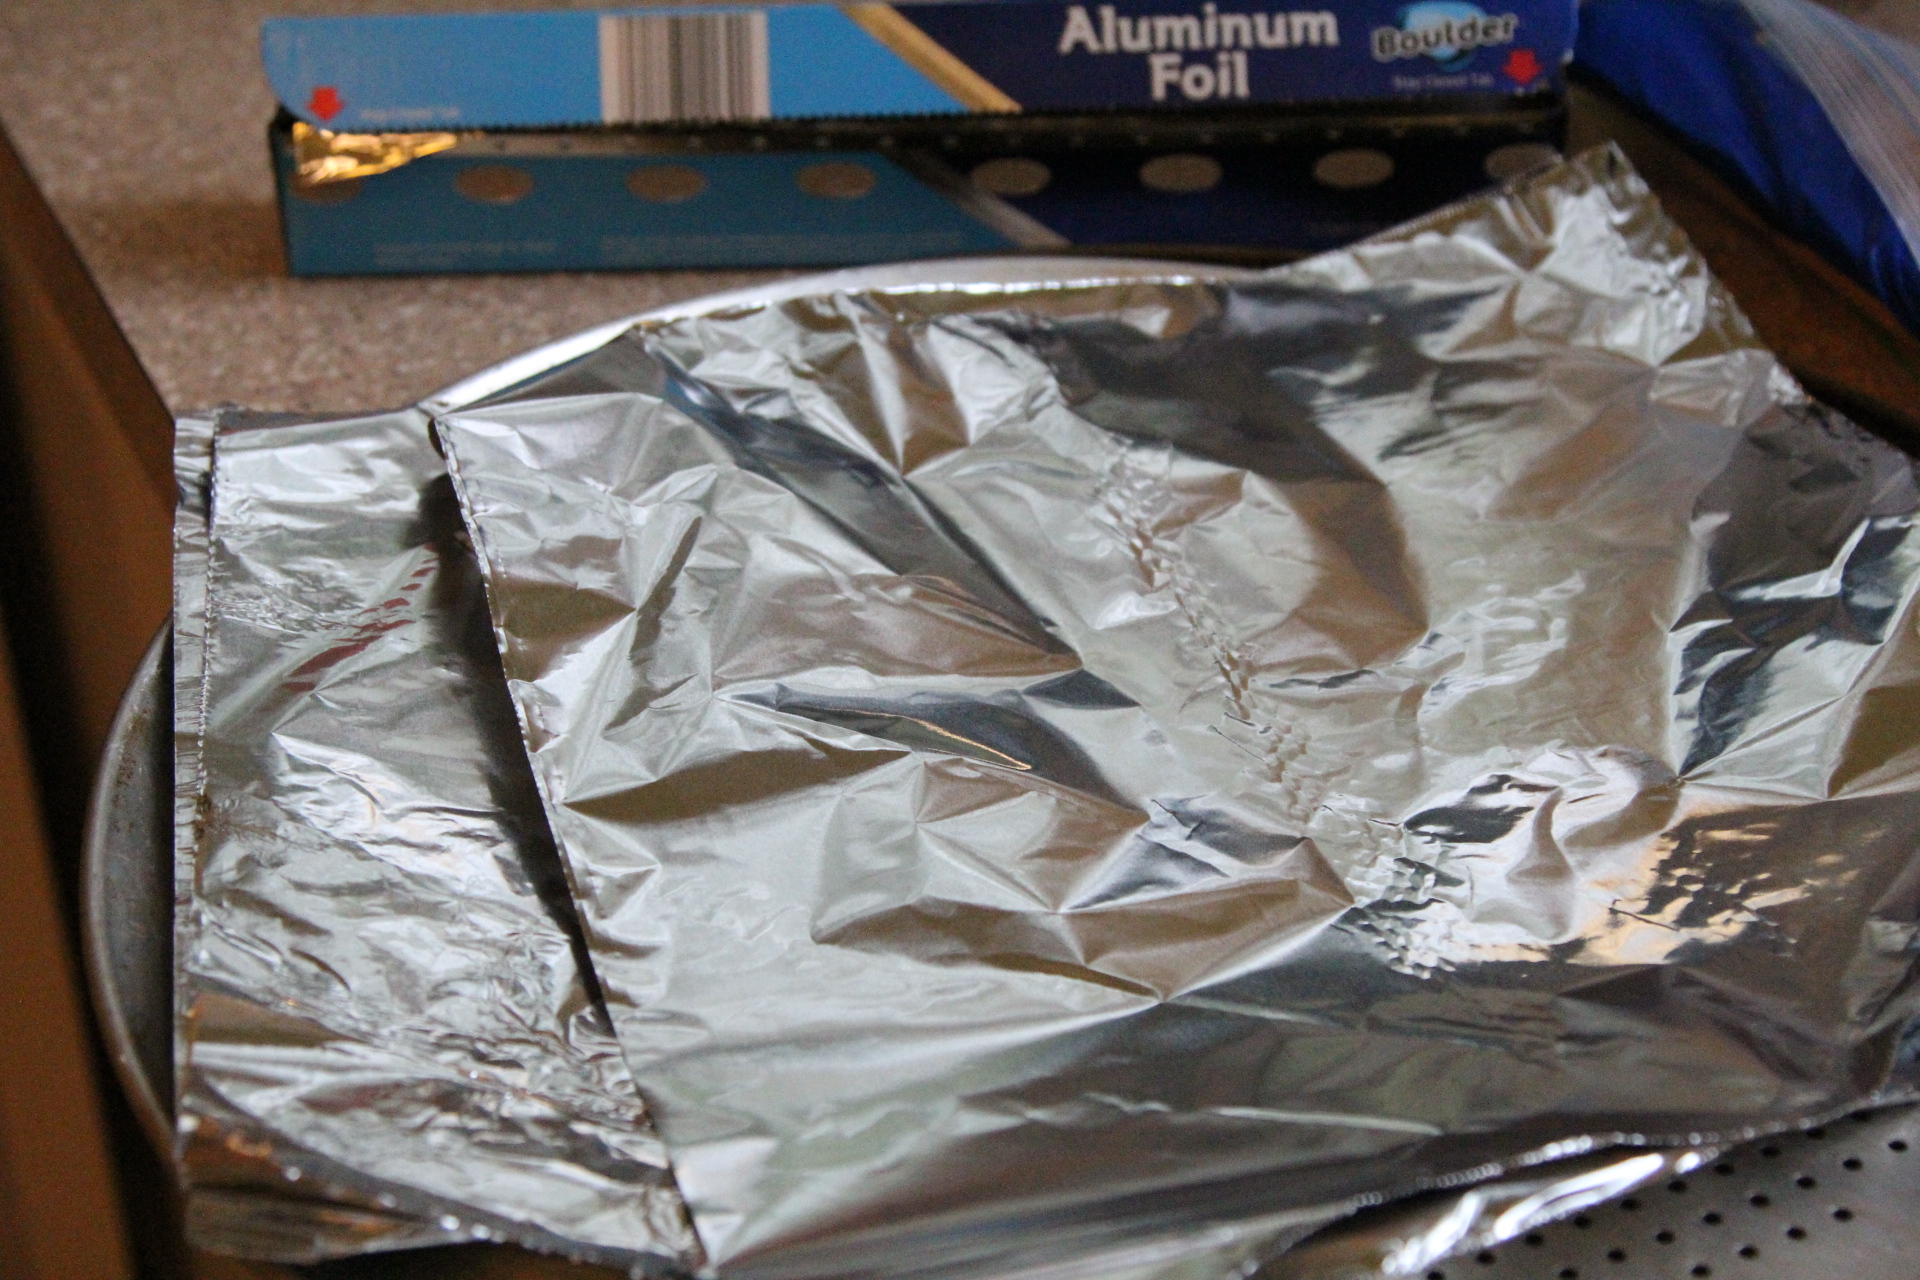
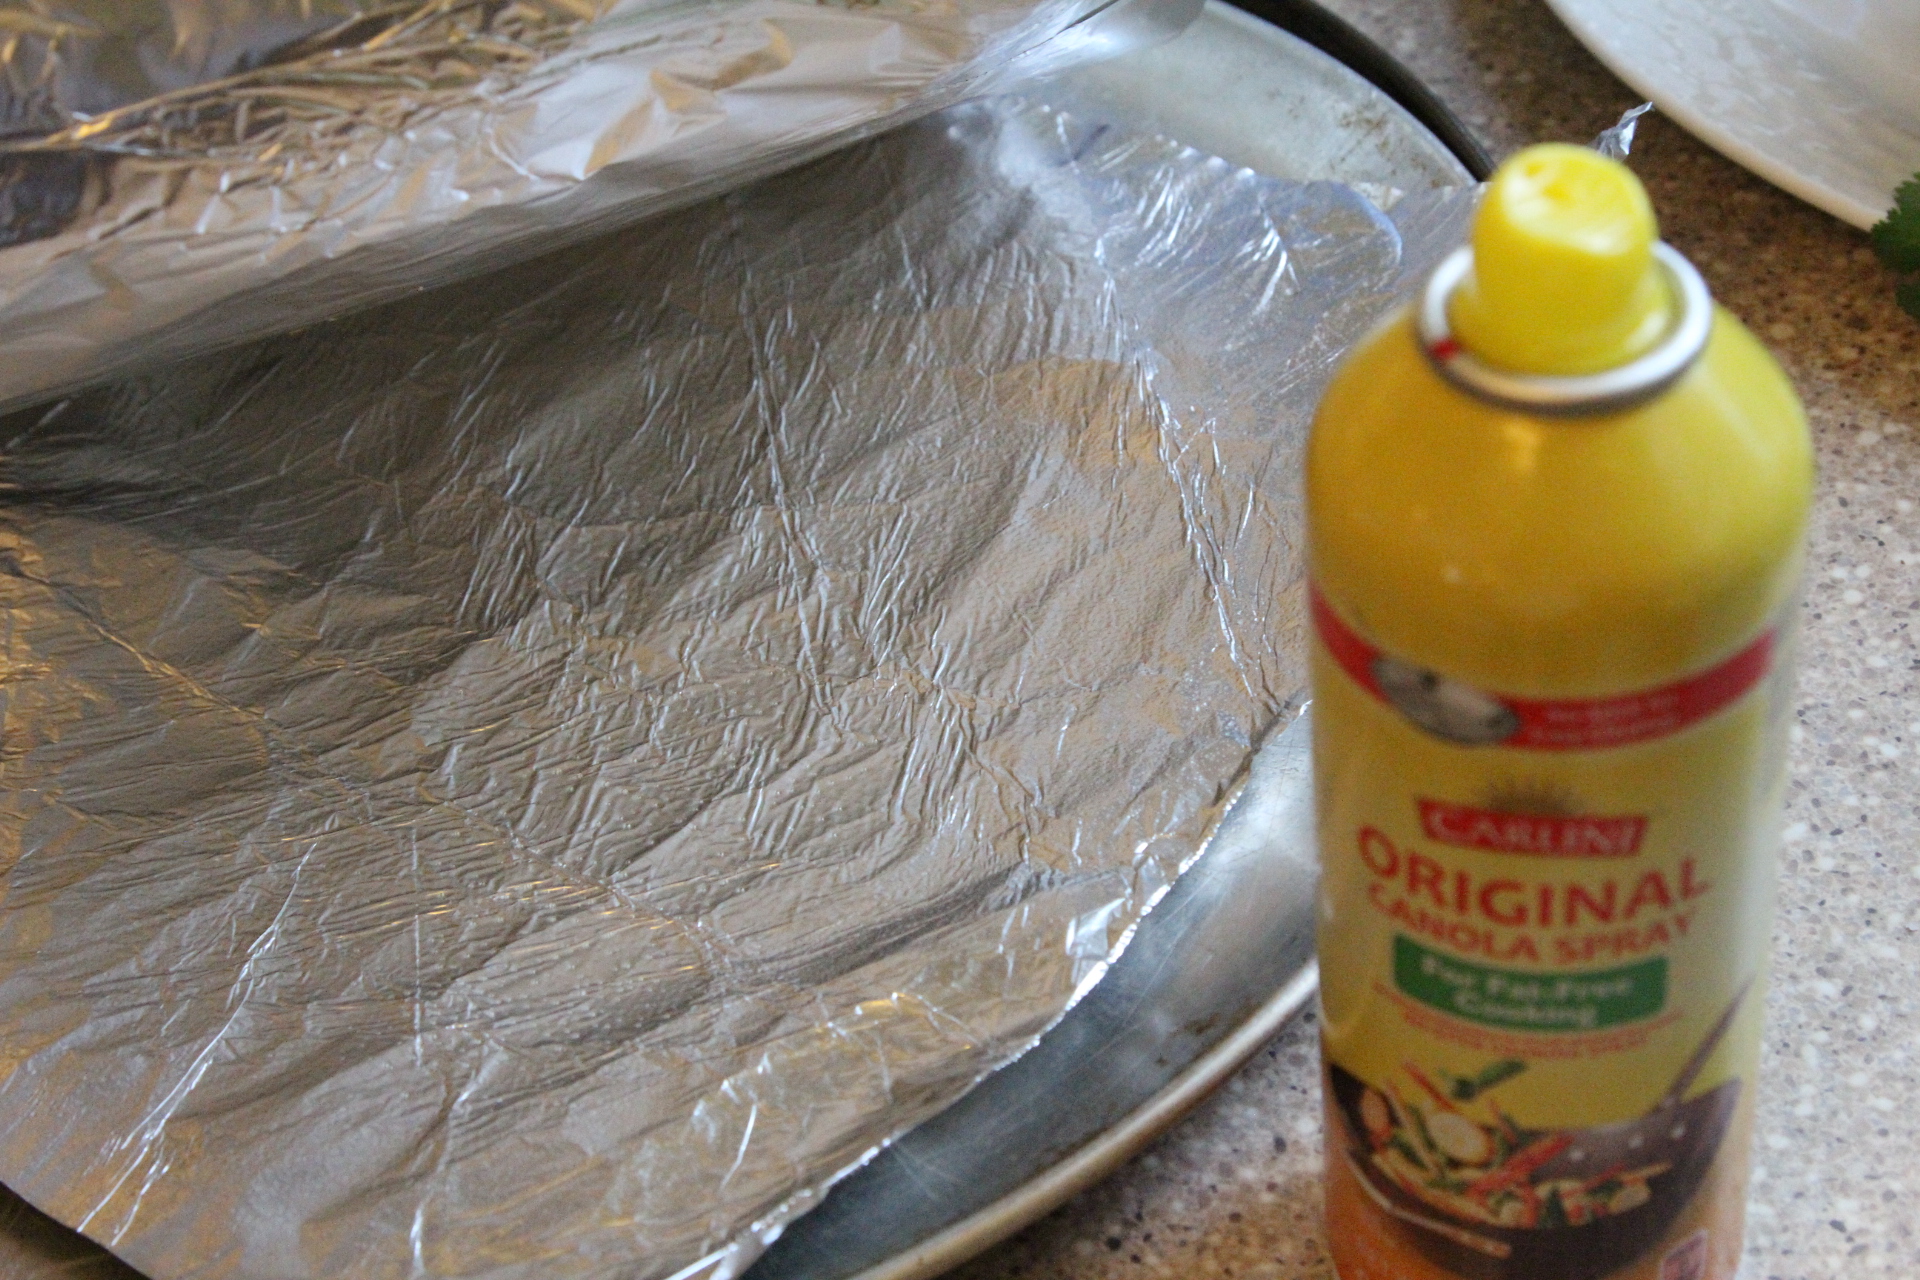
Grease pizza size sheets of foil either with non stick spay or brush with olive oil.
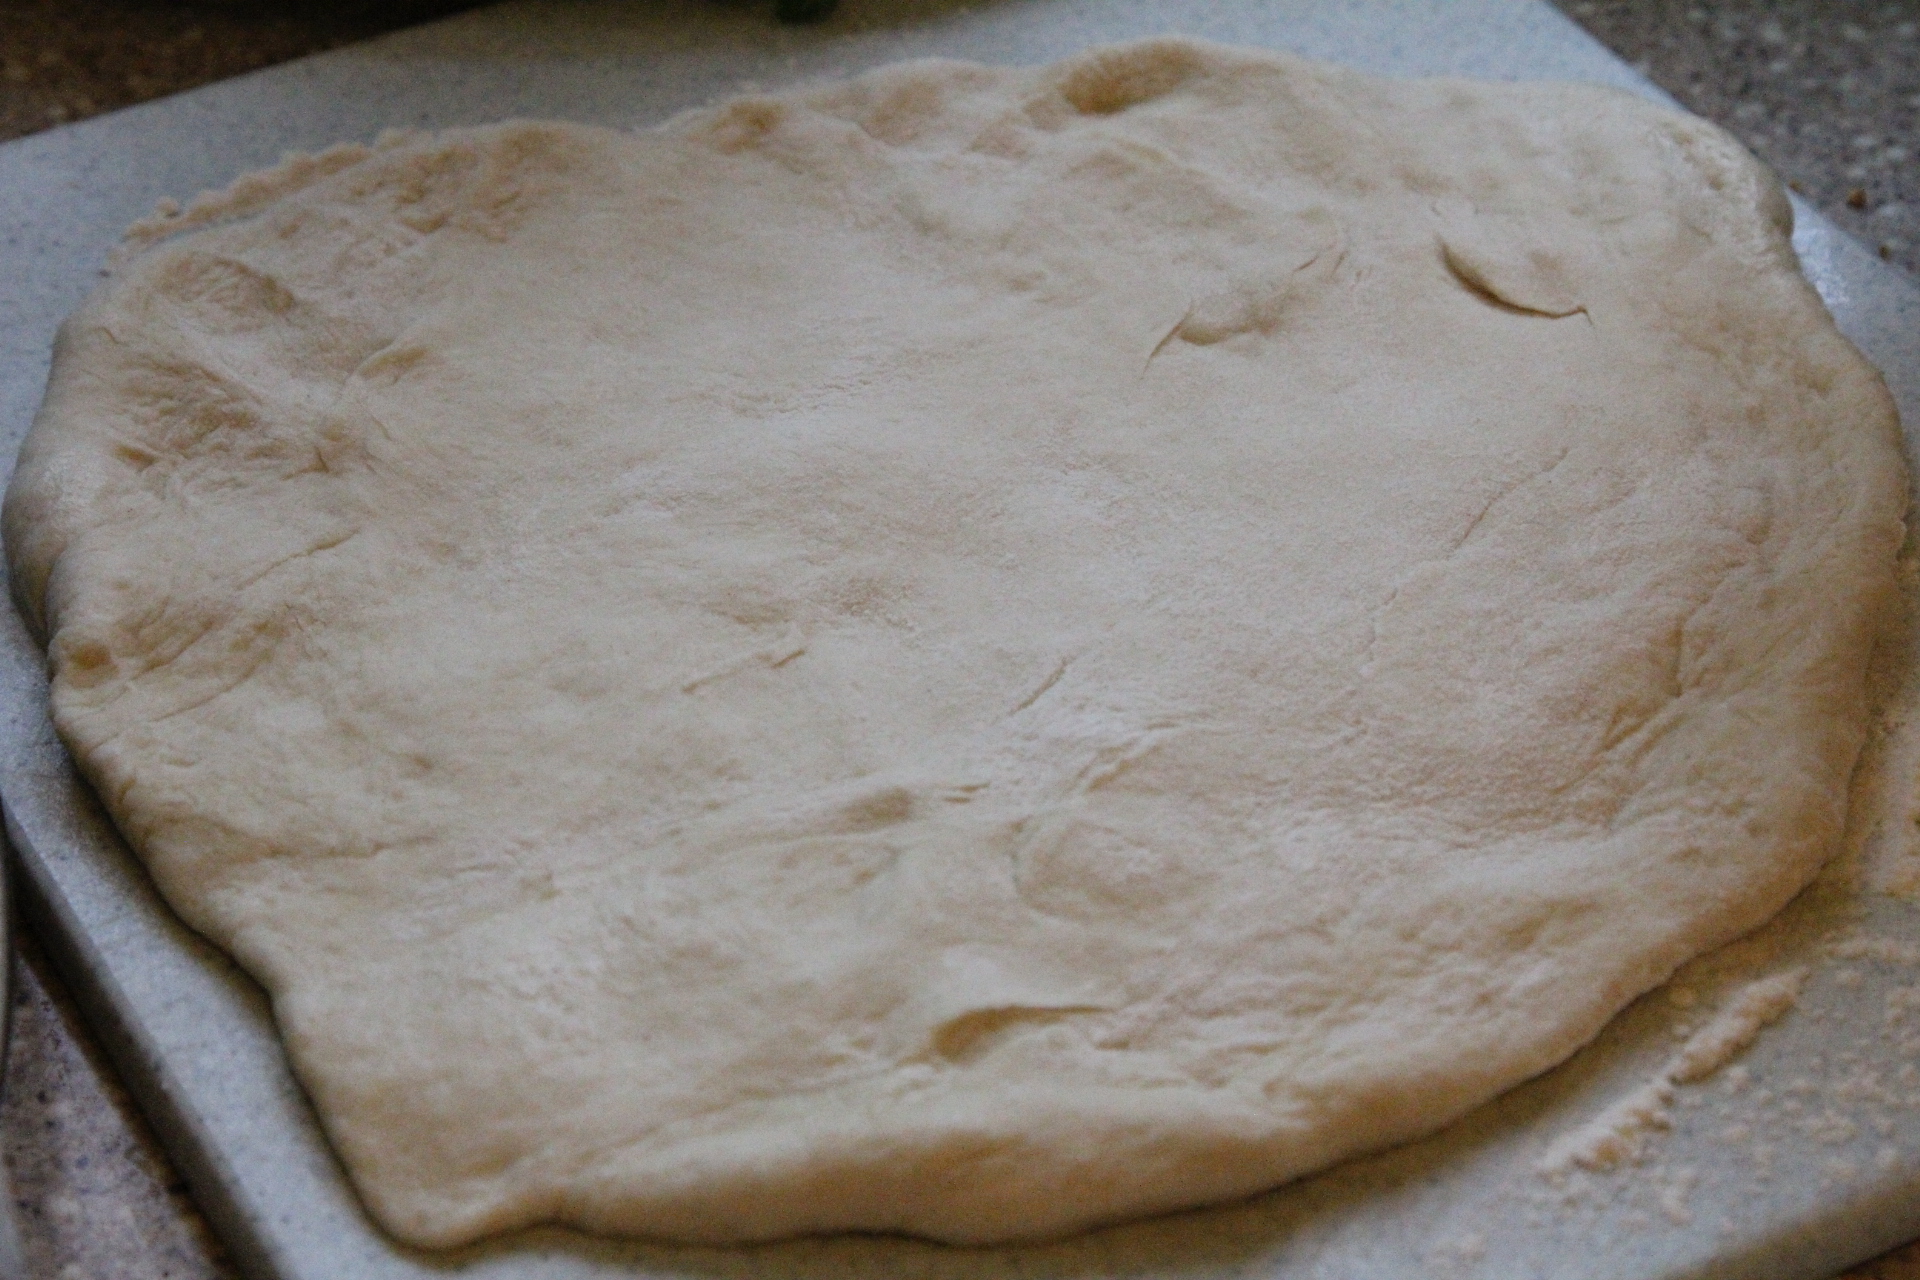
Roll out pizza dough on lightly floured surface into medium sized pizza.
Transfer this to an oiled sheet of foil.
Brush with a little olive oil on the top of the pizza to prevent any sticking to the grill.
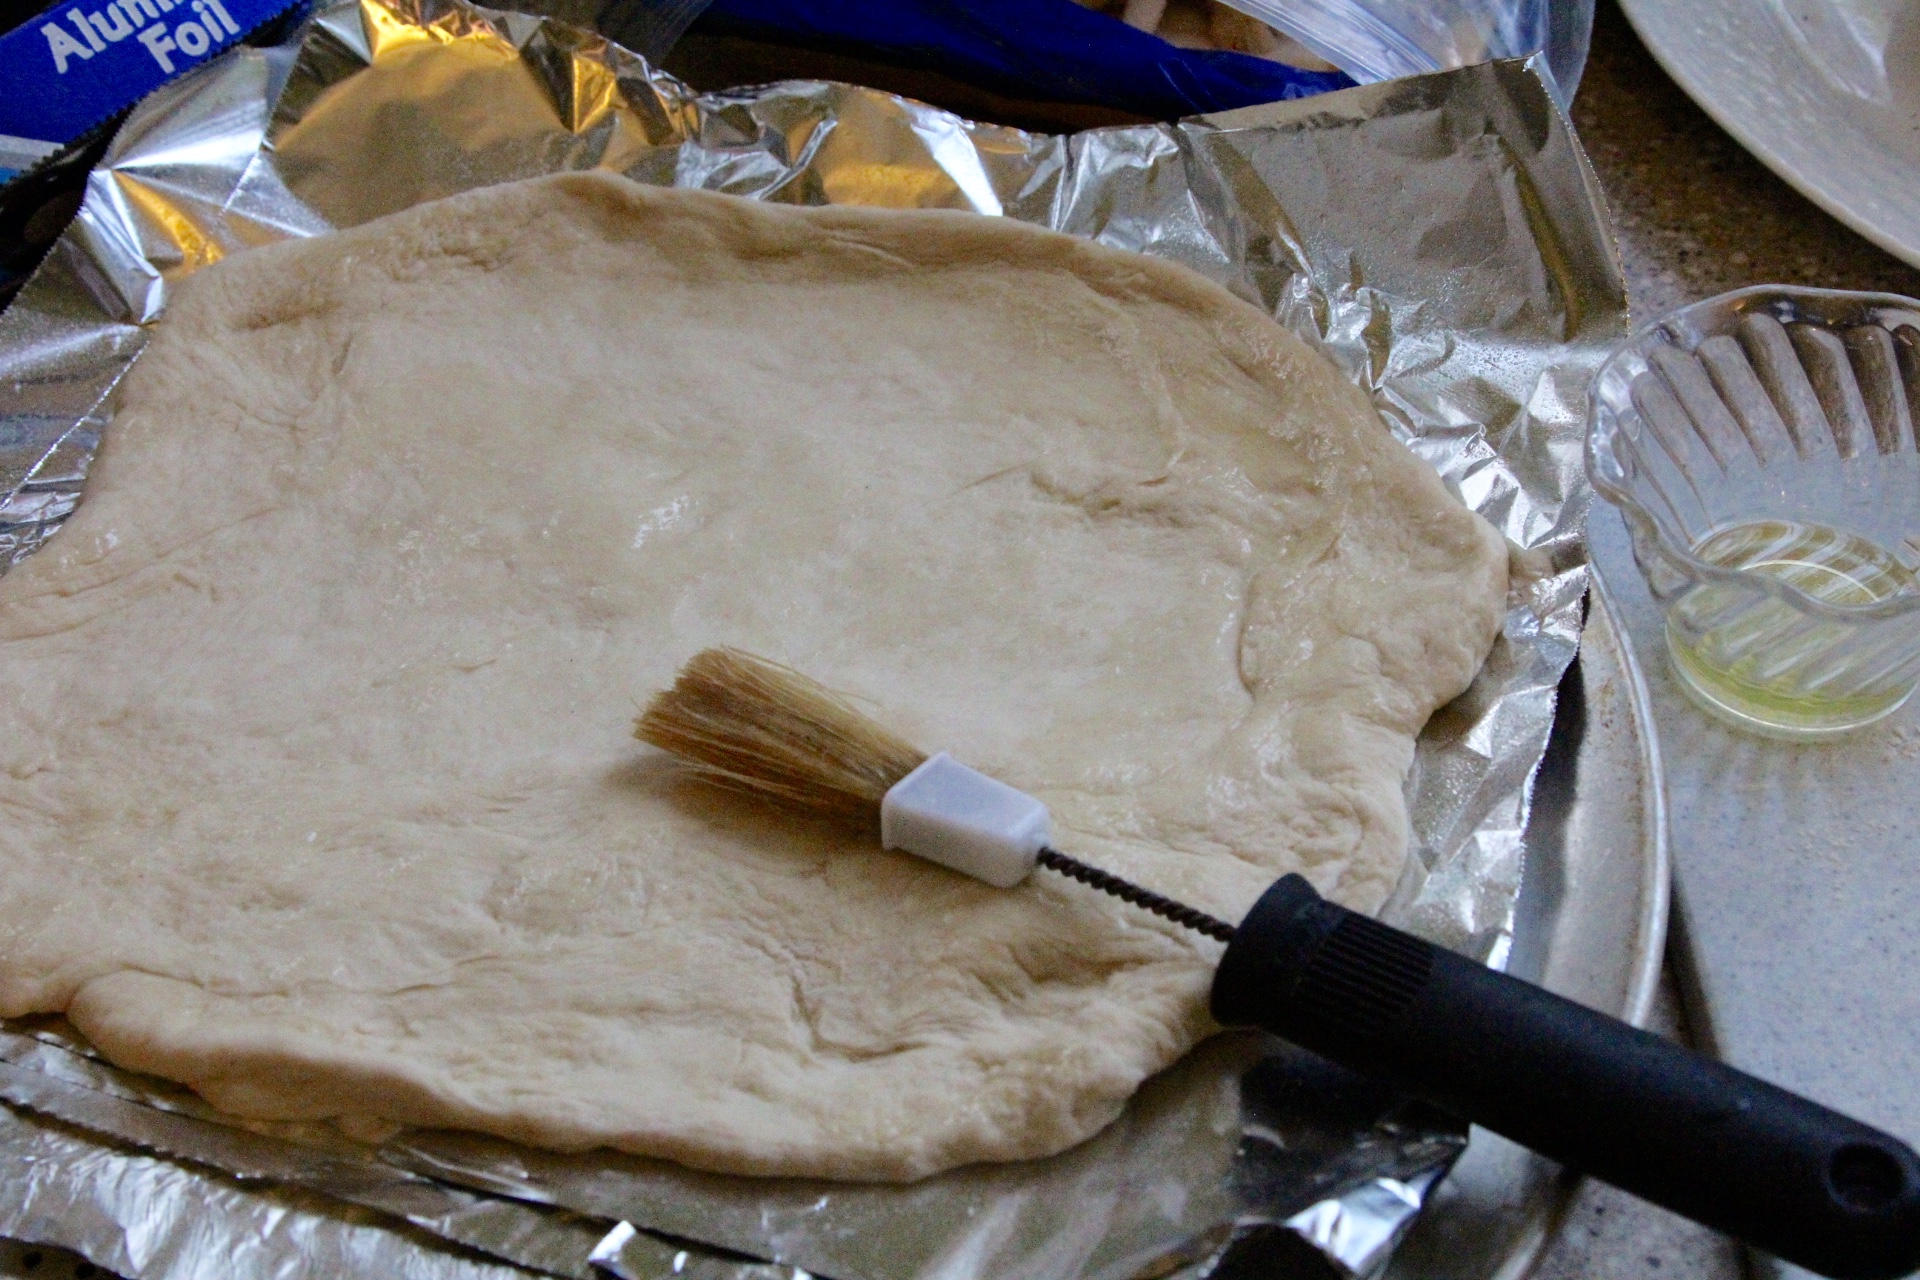
Repeat this process, stacking the prepared pizza dough onto the greased foil and brushing each one with olive oil.

Fire up your grill and get it nice and hot. Gather up all your toppings in the meantime so you are ready to assemble the pizzas once the crust is grilled.
You will need a good set of tongs and long grill spatula to help you with grilling the pizza dough.
Once the grill is hot and ready, have your dough, tongs, spatula, and some sort of tray or pizza pan to carry it all. My grill was around 500 degrees F after preheating. I turned it down to medium once I put the first pizza dough on there and tried to keep it around 400-425 degrees.
Carefully lay one or two pizzas on the grill flipping over so foil is up and then carefully peel the foil away. Keep the foil, you will need it again!

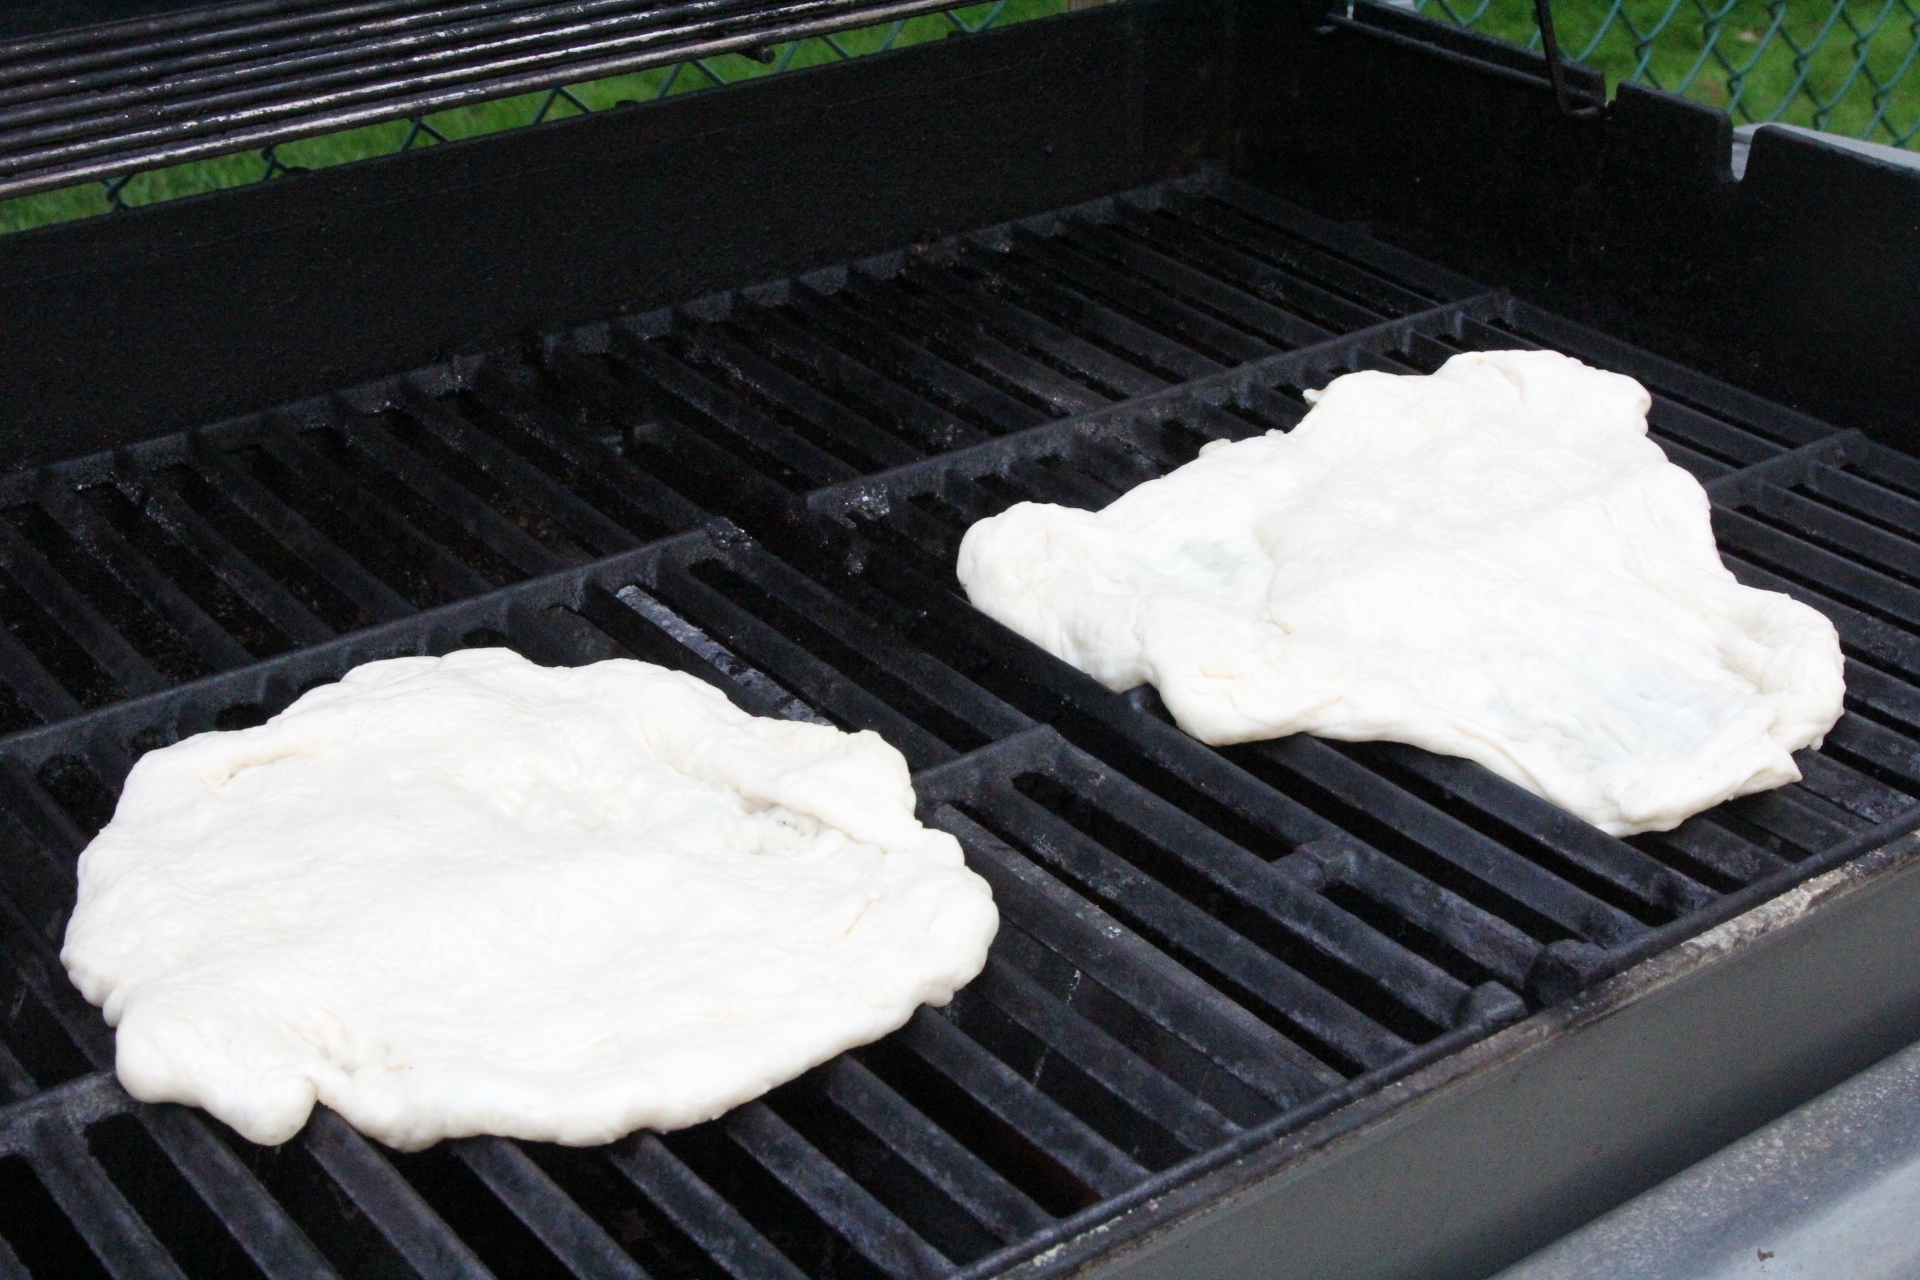
You can try to straighten out the dough, but it’s not going to be perfect. It’s ok!
Close the grill lid and let the pizza dough cook for around 2 minutes and then flip over to the other side using your tongs. *After the dough is grilled, I’m going to refer to it as Pizza Crust
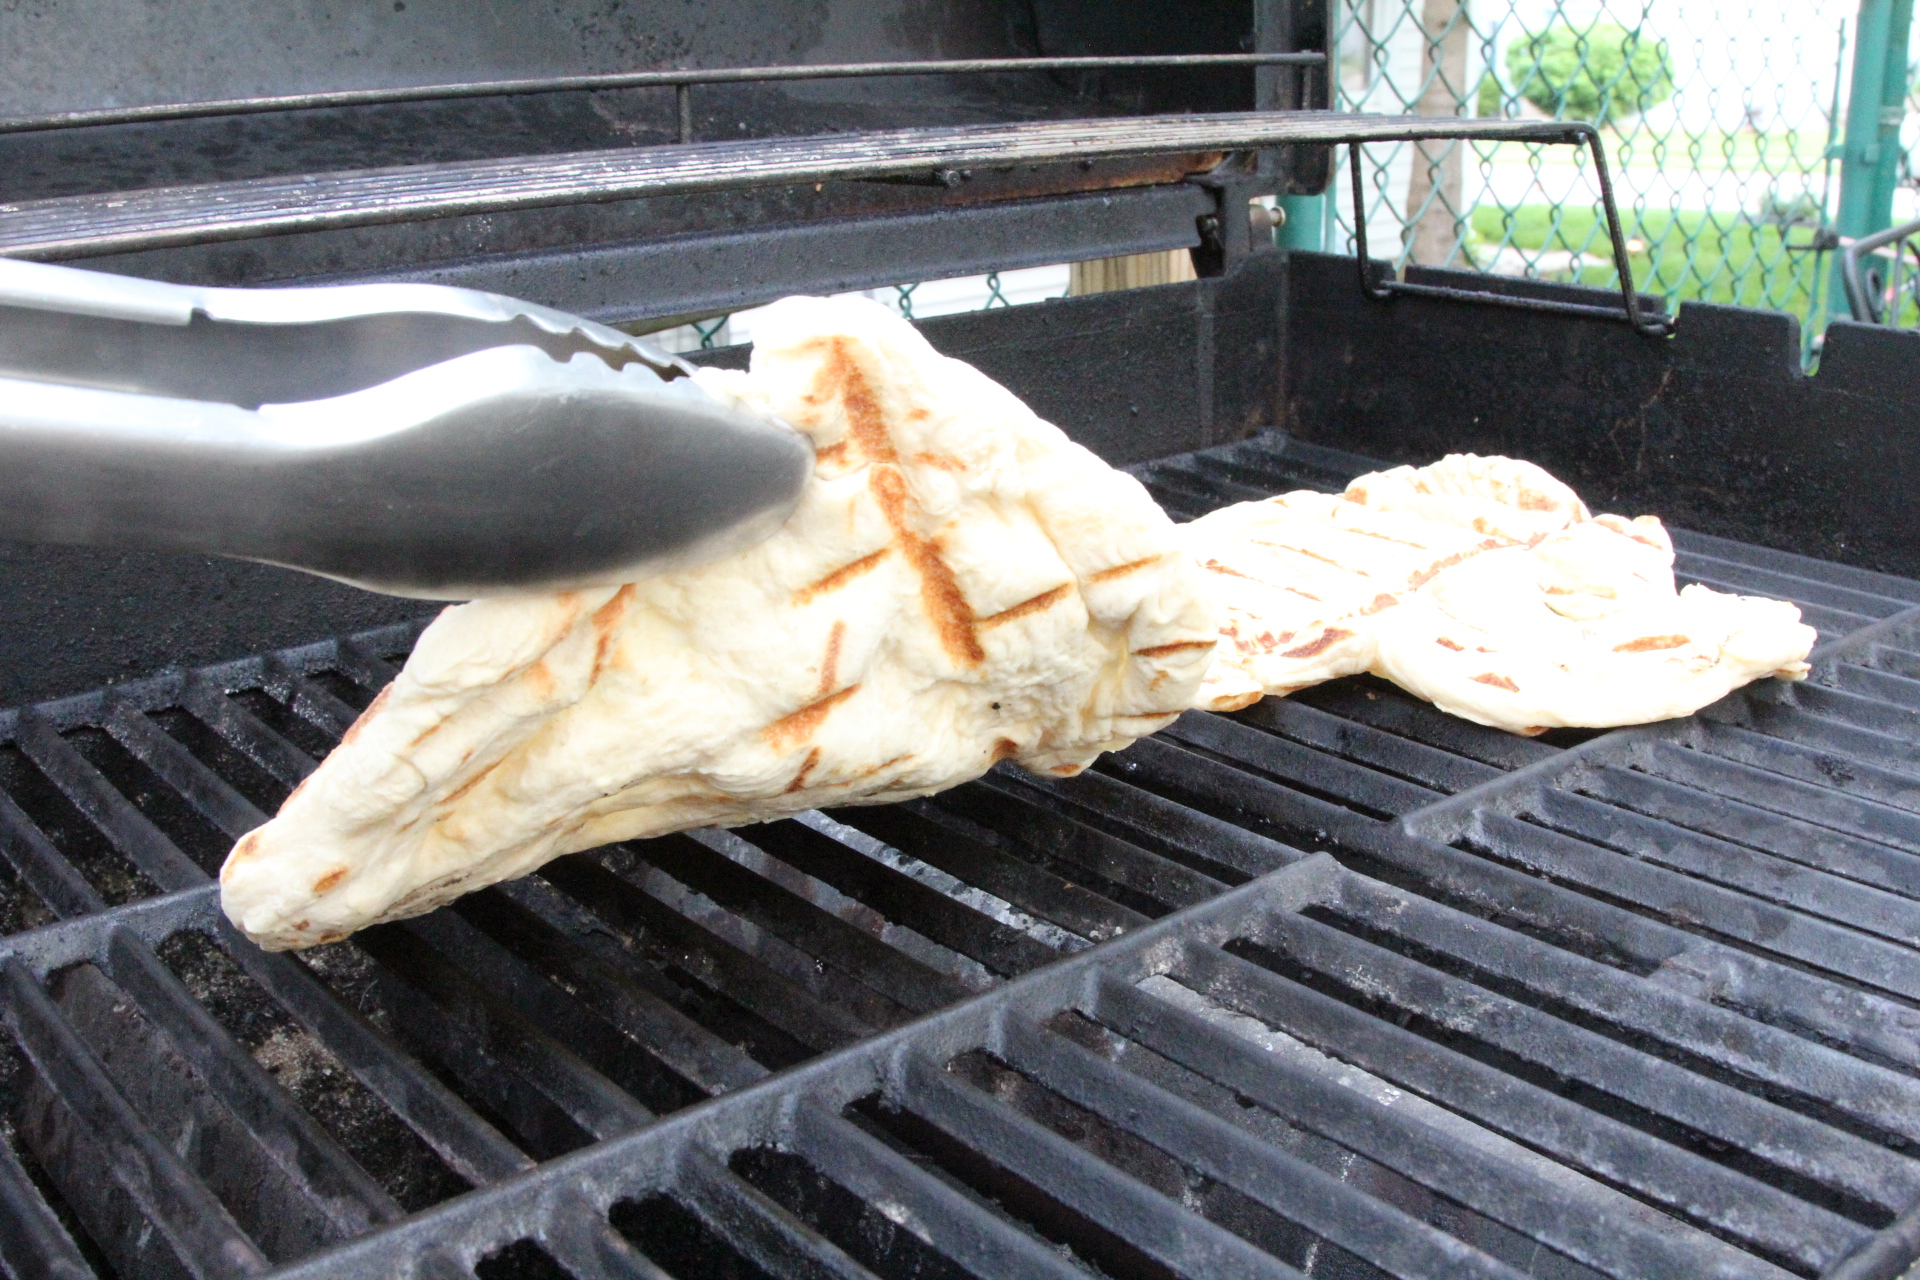
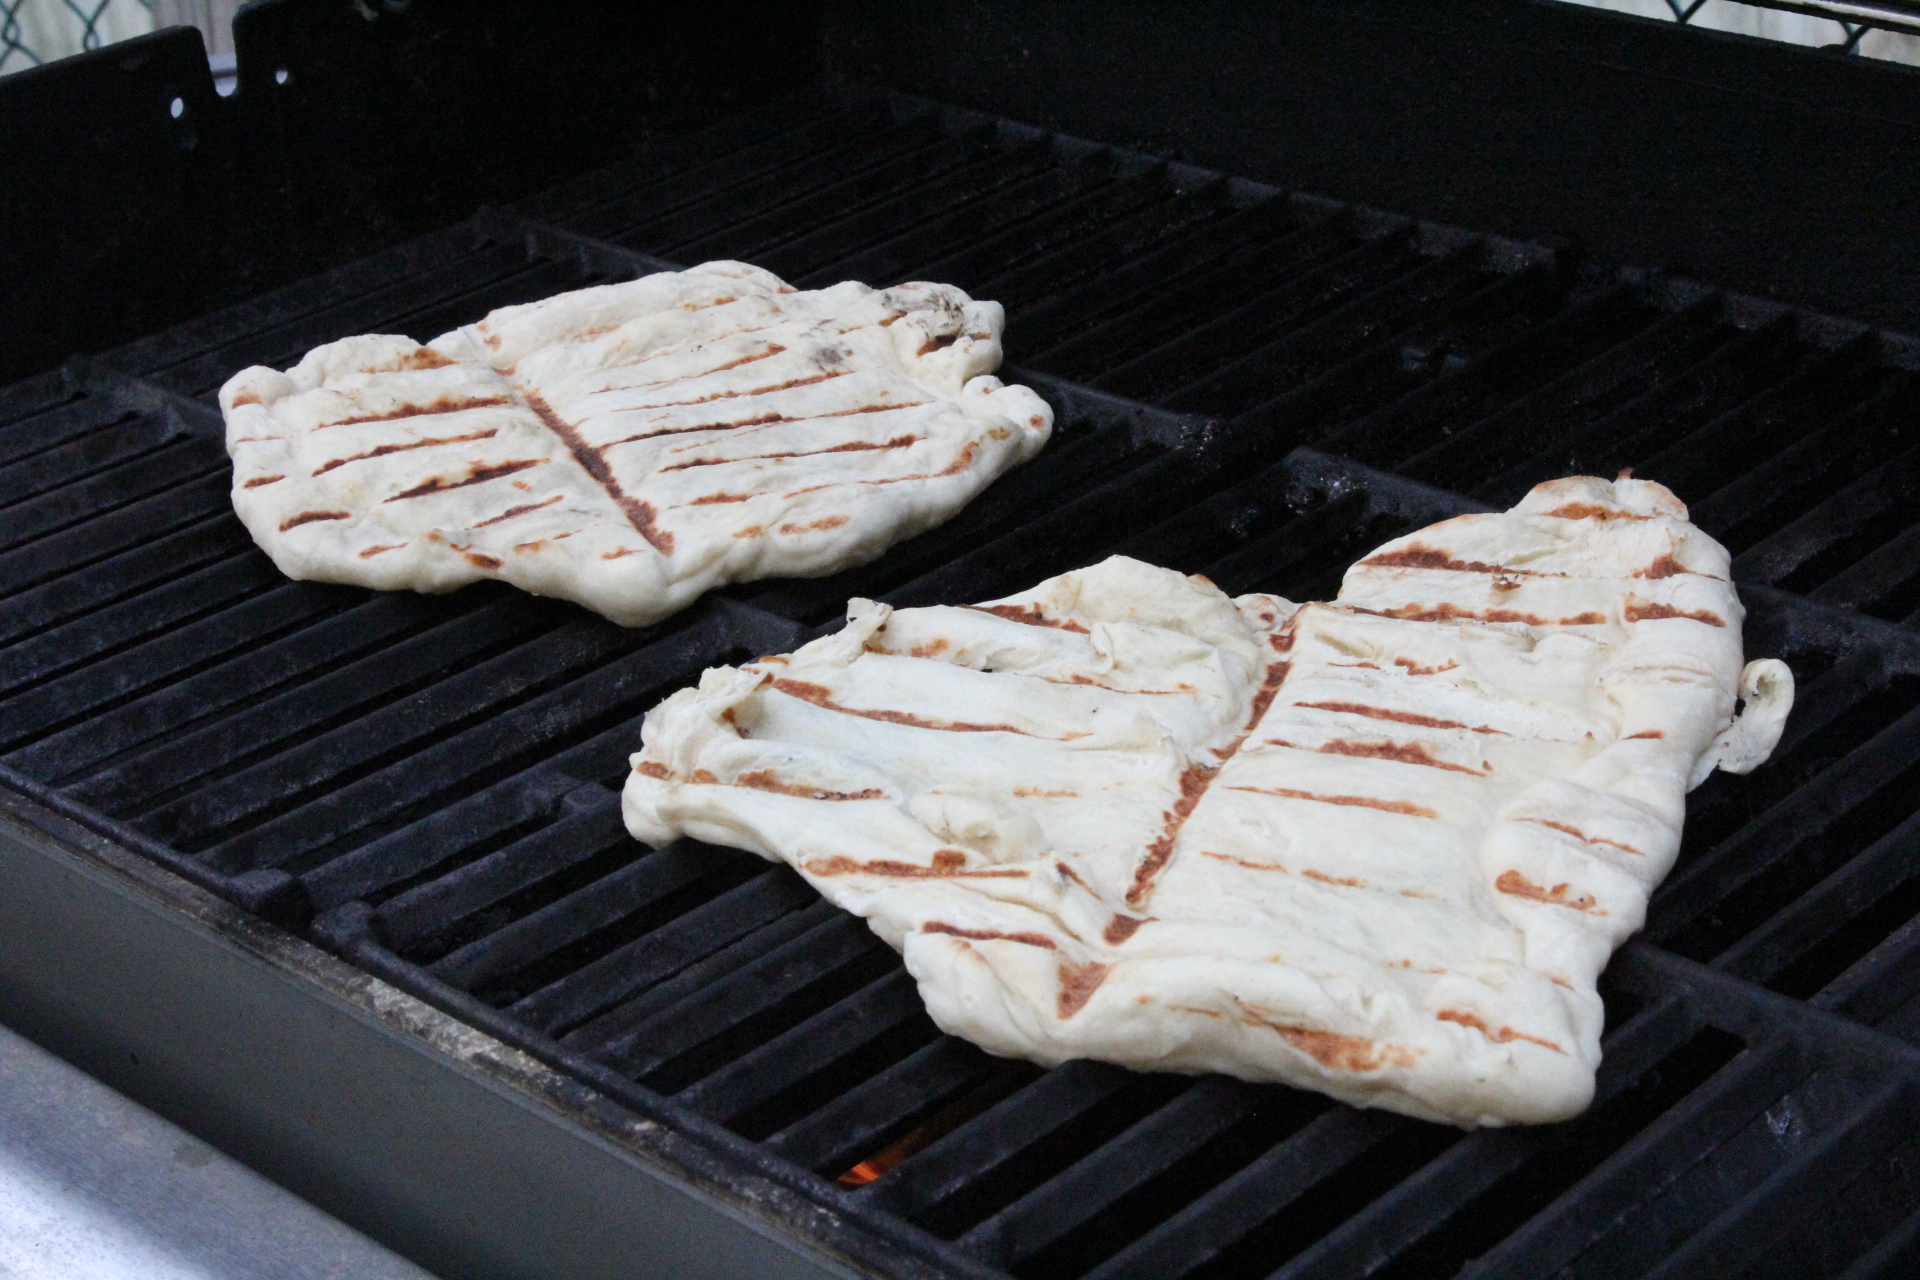
Close the lid and cook the other side for around 2 minutes. Remove the grilled crust from the grill
and stack the crusts on your tray. Repeat this process until all your pizza crusts are grilled.

Unless you have adequate kitchen/grill helpers to speed up the rest of the process, I recommend turning your grill down to medium – low to preserve gas while you add the toppings to all the pizzas. Just keep the lid closed and it should stay nice and hot.
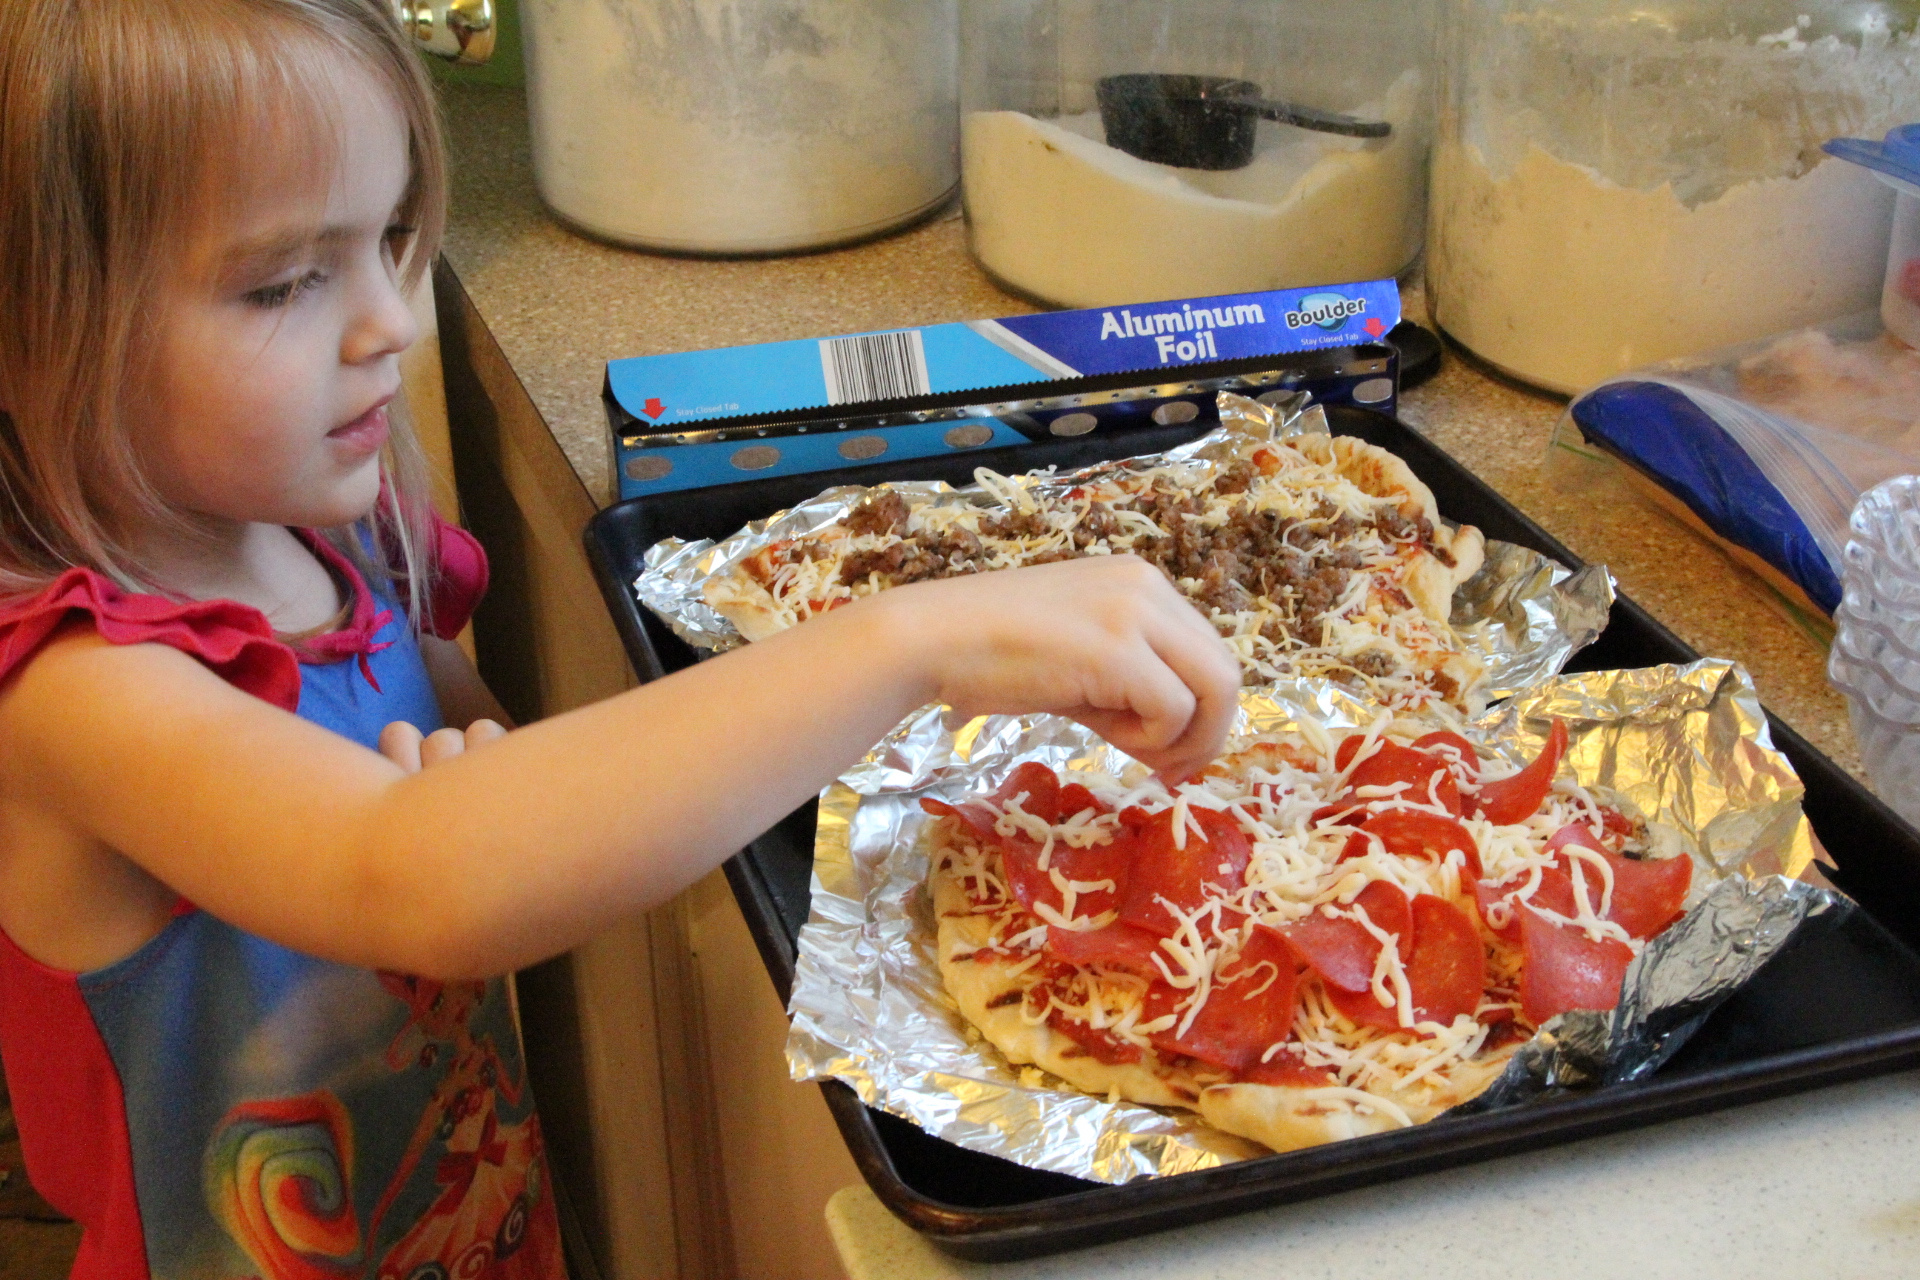
Now, place the pizza crusts back on the sheets of foil that you saved and begin to add all your toppings. It doesn’t matter which side you put your toppings on, since both sides of the crust have been grilled. This was my mini chef for the evening.
Once all your pizzas have their toppings, take them back out to the grill. Grill each one on medium heat (you may need to turn up the heat on the grill if you turned it down before).
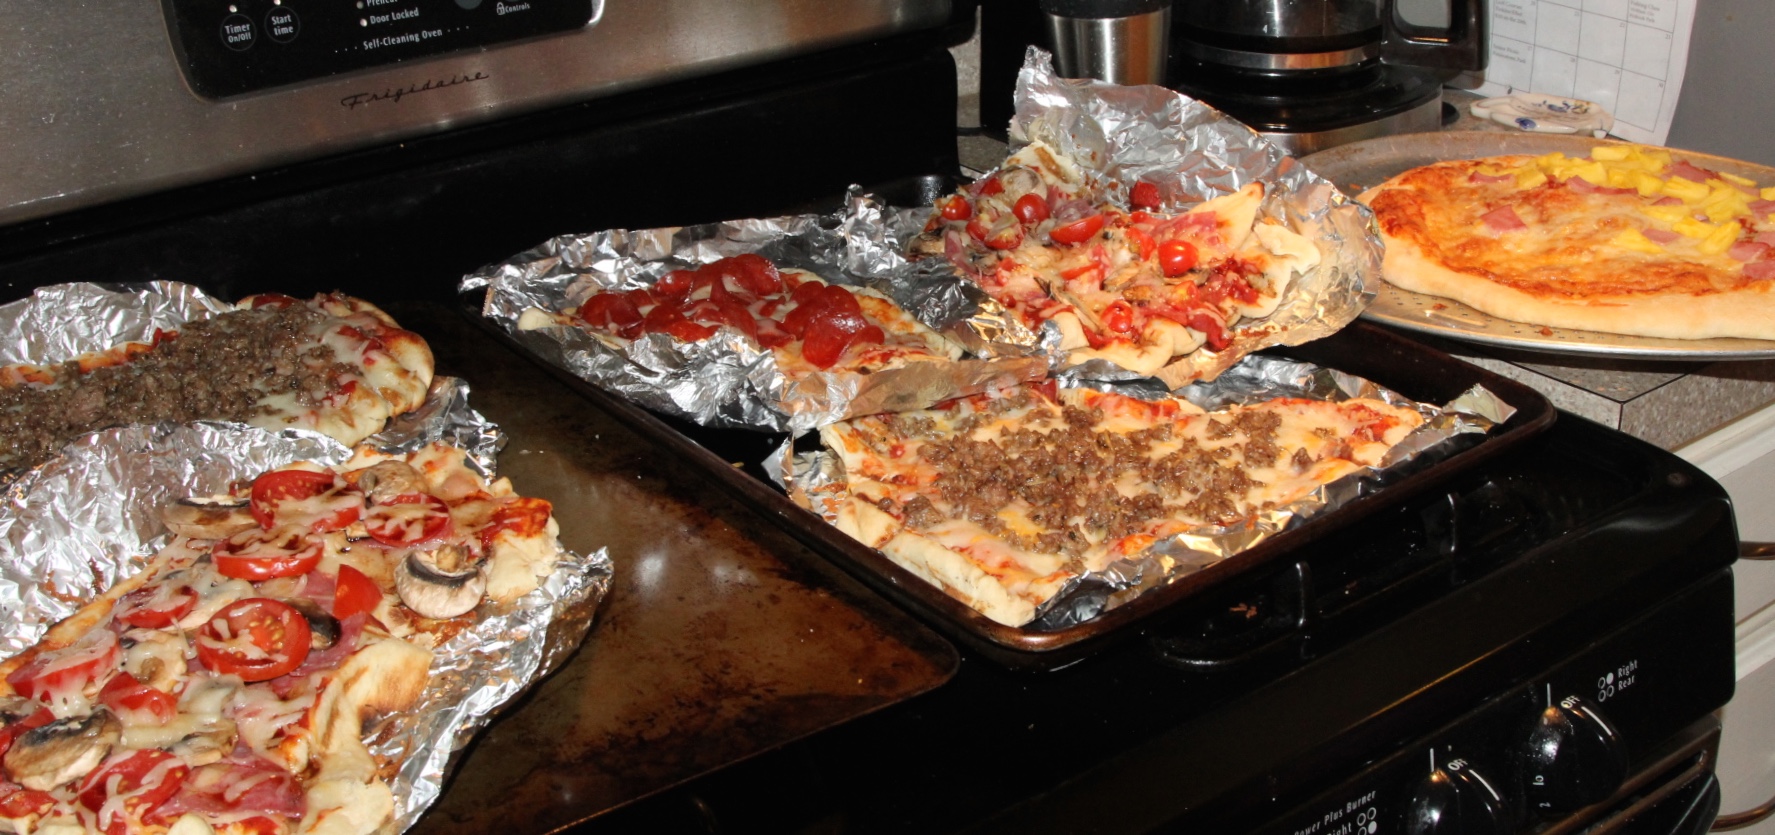
Place each pizza with its foil on the grill. This is much easier to handle than taking it off the foil, especially if you have a lot of toppings. It also prevents the crust from being over cooked. I was cocky with the pizza on the left in the picture below. Almost lost the whole thing trying to get it from the tray to the grill. From now on, I’m keeping the foil under the pizza and using it to help transfer from tray to grill and back again.
Close the lid and let the pizzas cook for around 5-6 minutes until the toppings are all melted and cooked to your liking.

You may need to keep your oven on warm and place the grilled pizzas in the oven if you have a lot of pizzas to grill to make sure the first ones do not get too cool before it’s time to eat!
Repeat the final grilling for all the pizzas.
Shut off your gas on the grill. When my husband grills out, I swear I ask him if he shut off the gas at least twice.
Now just cut the pizzas and serve! YUMMY!


Enjoy!


Grilled pizza makes me very happy as well. Earlier this year some friends of ours went diving in the Keys for lobster so we made a grilled pizza with pesto and cheese and topped it at the last minute with lobster. Delicious. Love any toppings on these.
LikeLike
Oh my! A lobster pesto pizza sounds incredible!!!
LikeLike