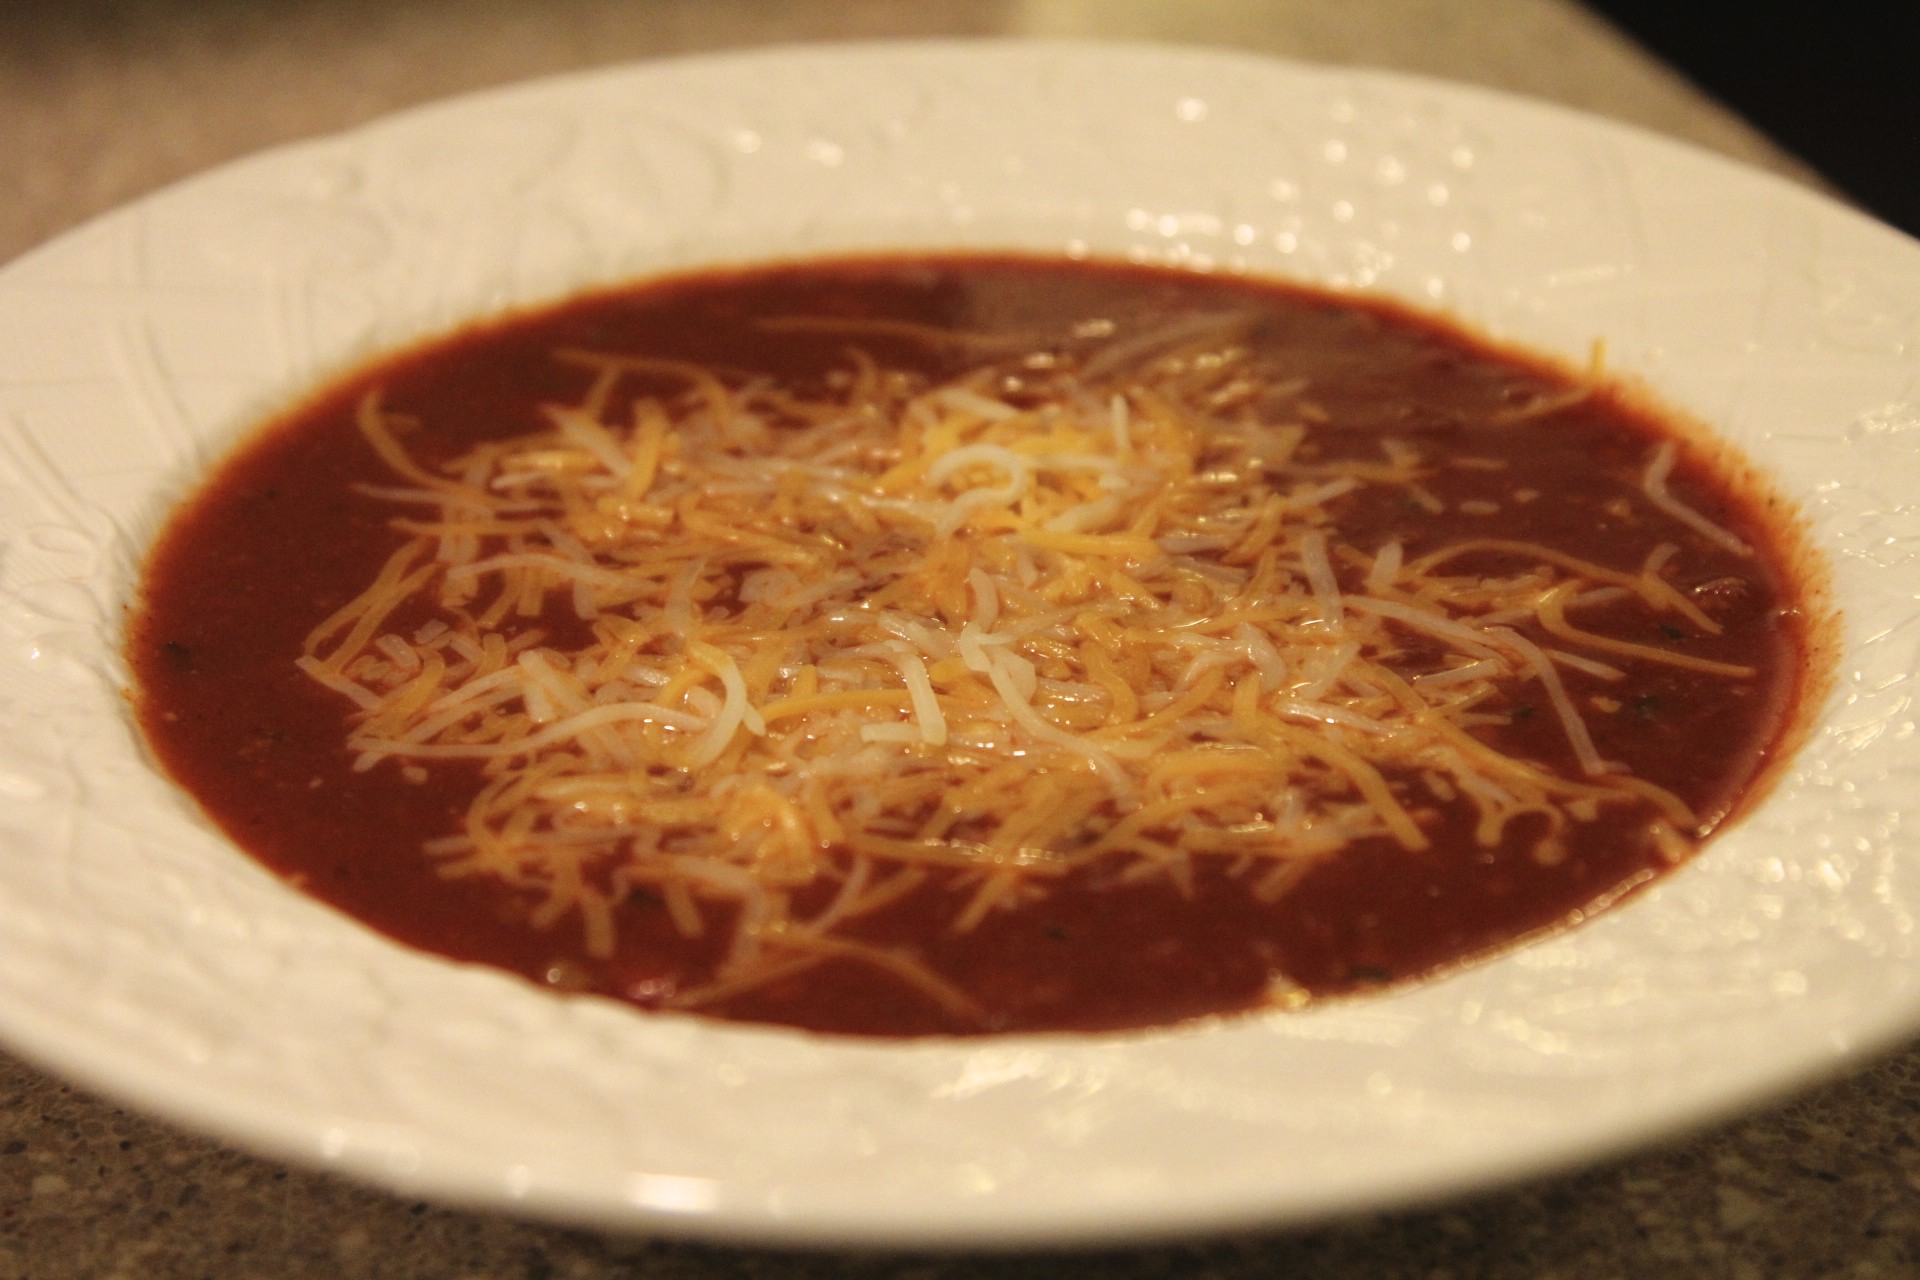
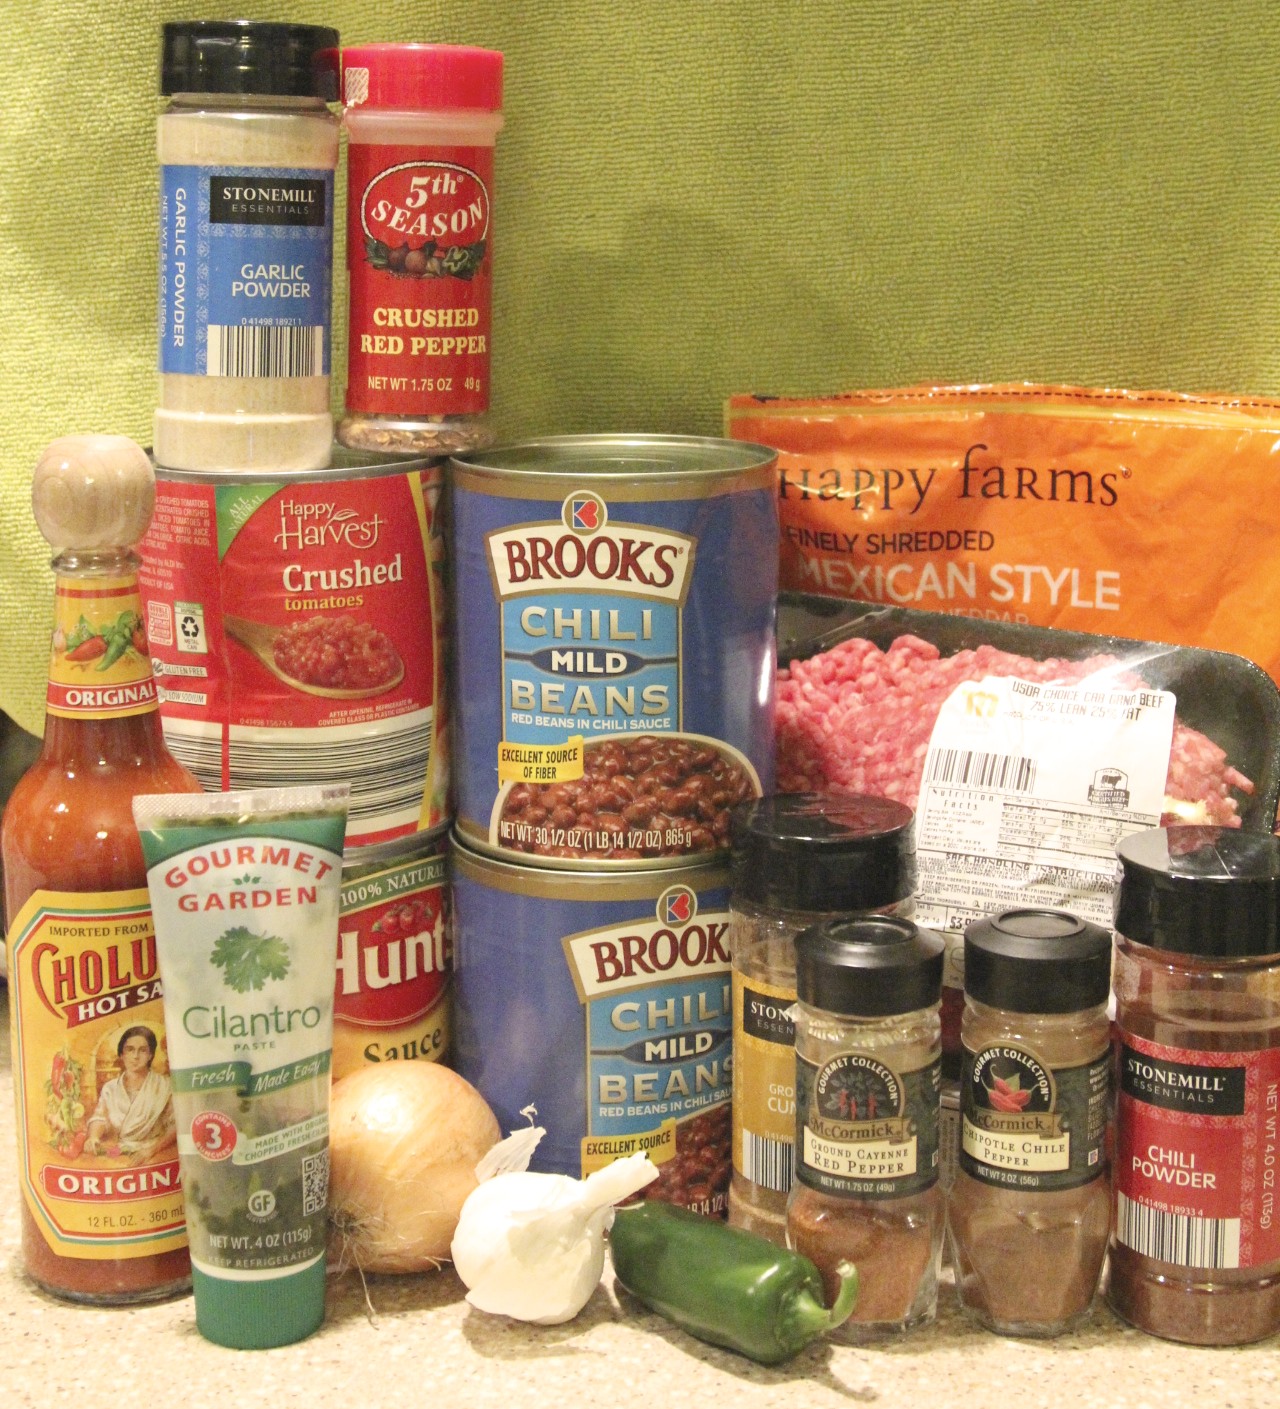
Sometimes a big pot of chili simmering on the stove just makes it instantly feel like fall. I love a nice relaxing Sunday evening with a chill in the air, football on the TV, chili on the stove, and being snuggled up on the couch. Chili is an easy go to meal anytime in the fall and winter in our house. My husband would eat it year round if I made it, but around April I’m usually at my limit with chili for the season and ready to start grilling out and making lighter meals. I have never used a recipe for chili. Like a lot of meals, I’ve just made it how my mom made it. Through the years, I’ve developed the flavors a bit more and learned to just make my own blend of seasoning instead of using those ready-made pouches of chili seasoning. I do this mainly to control the amount of sodium in the chili. For example, even the low sodium McCormick chili seasoning has 240 mg of sodium per serving. And the regular sodium version has 400 mg of sodium per serving. I prefer to make soups and stews on the stove top, rather than in a crock pot but I’ve made my chili many times in a crock pot and it’s always a hit. Just brown the meat and sauté the onion, garlic, pepper on the stove and then add it and all the other ingredients to the crock pot and keep on low for 6 hours or high for 2-4. This will make around 5 Qts, so make sure your crock pot is large enough.

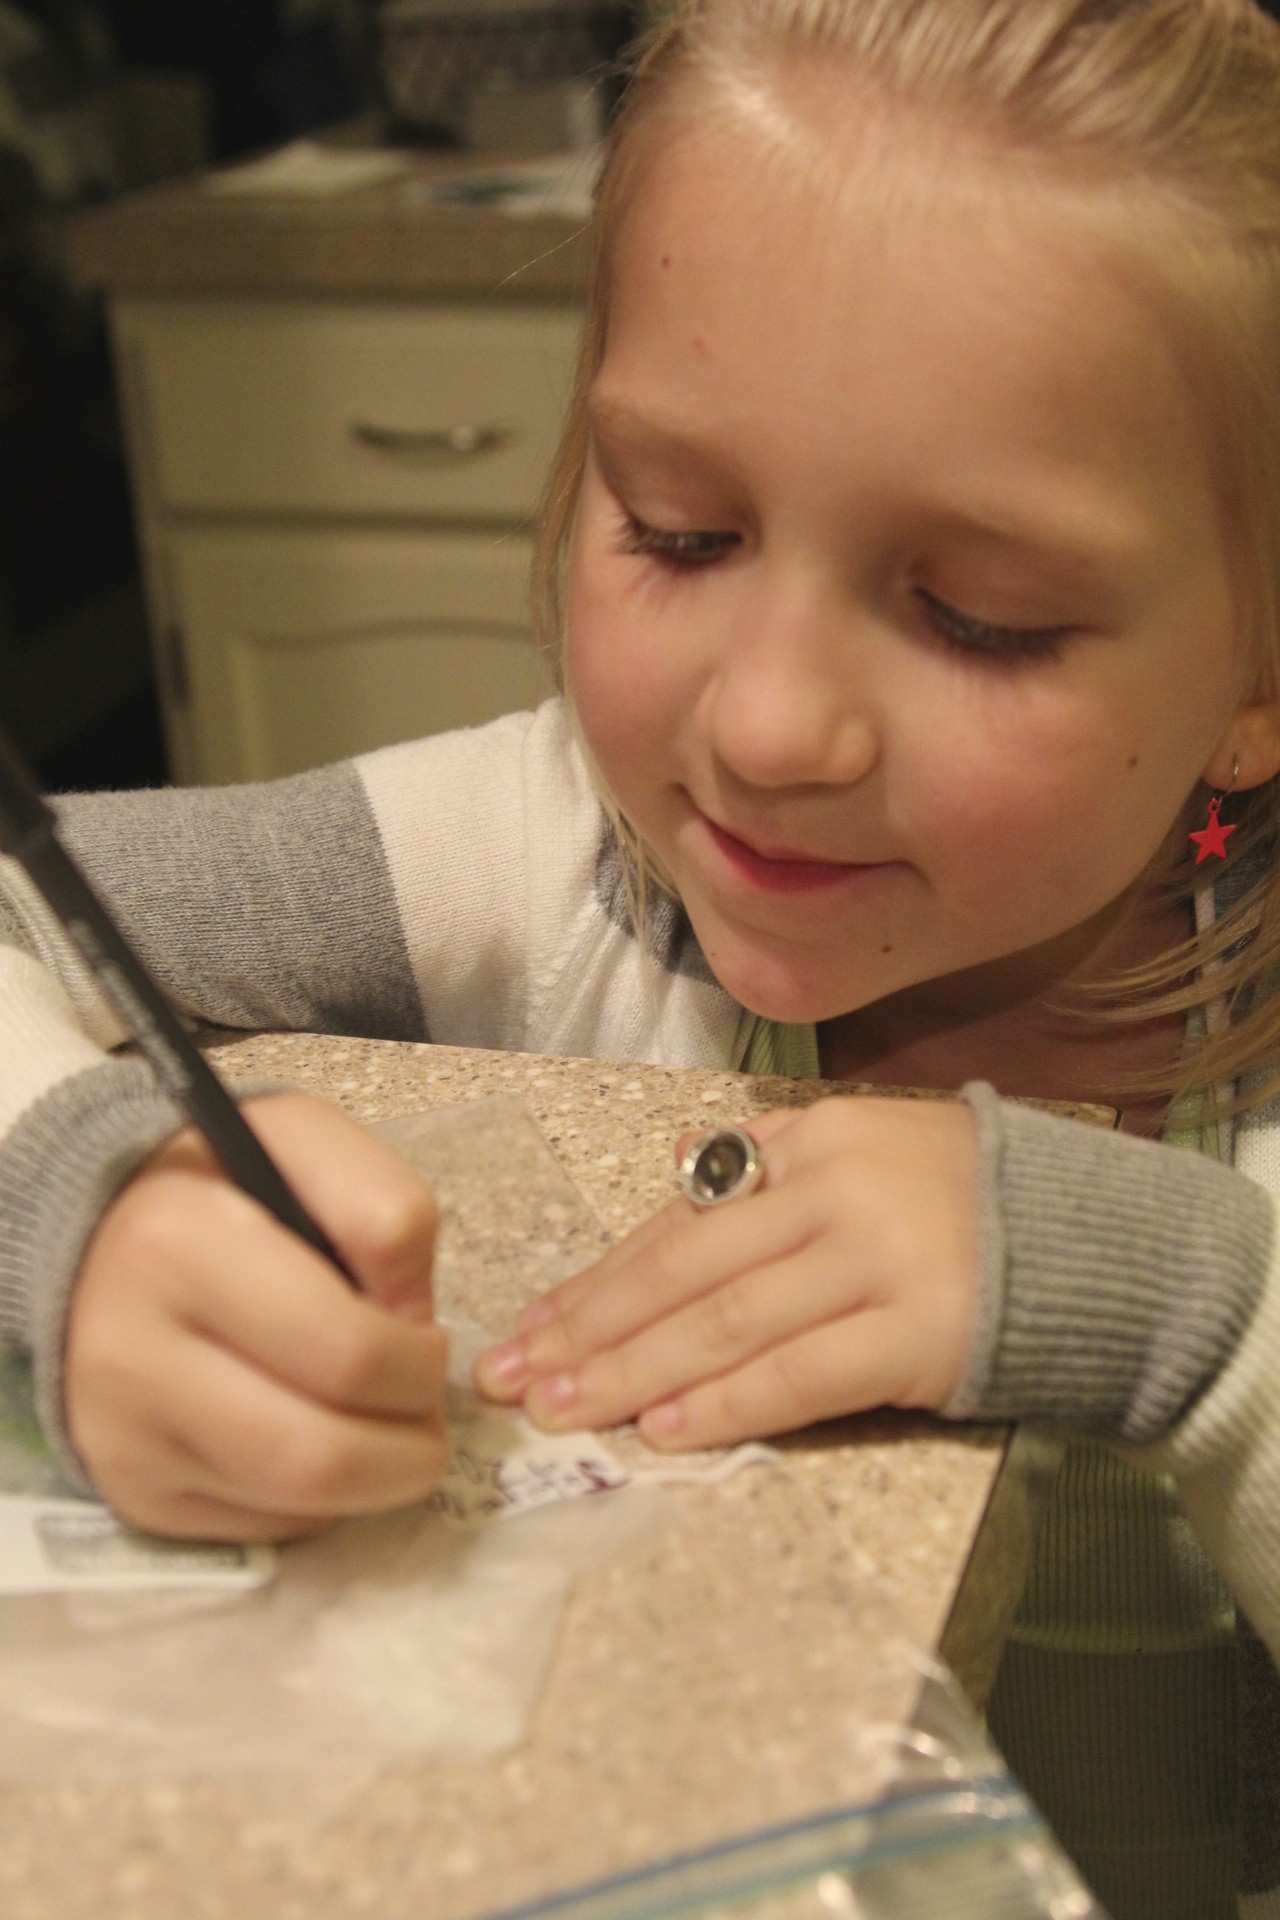
I usually have plenty of little volunteers to help me in the kitchen. There are times when I’m making something for the first time, or it’s a difficult item and I’d rather just be in there alone so I shoo them out of the kitchen, but usually I try to include the girls and let them help me in the kitchen in some way. I think this is a great time to teach early kitchen skills, have our little conversations, and let them know they are an important contributor to our meal and family. This time, Lilly was in there wanting to help. She’s also a big fan of chili so she will gladly taste test it and let me know if I need to adjust the seasoning. Kramer also joined in, but he usually just likes to lay right in the middle of the floor so you have to step over him. Wouldn’t want to inconvenience the spoiled dog too much. When Lilly was helping me, we also practiced her reading skills as I would ask her to fetch me things out of the pantry so she would have to find the item and use her letter sounds to figure it out. She also labeled some jalapeño to put in the freezer for me with a quick lesson on smaller and bigger sizes of freezer bags so she learned a quart is smaller than a gallon. She also helps with opening the cans and rinsing them out when I’m finished and putting them in recycling.

In the recipe, I use about 1/3 of a large jalapeño. The rest, I just mince and put in Press and Seal pouches and then into a freezer bag. This is very handy when I’m making queso dip or another batch of chili or anything else that calls for jalapeño. It’s stays nice and green and sealed in the freezer and is ready any time I need it.


Here’s the recipe:
Knock your socks off chili:
3/4-1 lb lean ground beef. I like 80/20
1 medium onion – diced fine
3 garlic cloves – minced
1/3 of a large jalapeño minced or 1/2 of a small or medium sized. Seeds and ribs removed.
1 28 oz can crushed tomatoes – do not drain
1 28 oz can tomato sauce
2 28 oz cans chili beans. The kind I use (Brooks) is red beans in sauce. Do not drain.
Optional- 1 15 oz can black beans, rinsed and drained.
1 1/2 C – 2 C water
1/2 TBS ground Chipotle Chile pepper. I use McCormick
1 TBS Chili powder
1 TBS ground Cumin
1 TBS Cilantro- fresh chopped or Gourmet Gardens in the tube is what I use.
1/2 teas Garlic powder
1/2 teas Red Pepper Flakes
pinch of ground Cayenne red pepper
2 teas Kosher salt
2 teas ground black pepper
In a large pot, brown ground beef over medium heat stirring frequently. Drain off any excess fat. Add in diced onion and sauté with meat until onions are soft. Add in jalapeño, minced garlic and keep string and be sure not to burn. Stir meat, onion, jalapeño, and garlic for a few minutes to really flavor the meat well. Add the tomatoes, tomato sauce, and beans. Add in about 1 1/2 C of water and then all the spices. Adjust water and add a little more if you like a thinner consistency. Keep on medium heat until you have the seasoning the way you want it, and then turn it down to a simmer until ready to serve. The longer it simmers, the better.
For toppings, I like a little splash of Cholula hot sauce and shredded cheese. My mom cannot eat her chili without having Frito’s on it. So top it with whatever you prefer. This chili has a little kick to it, but my girls love it and do not think it’s too spicy. If you are not sure, just adjust or omit the jalapeño and cayenne. When I used to have my family over for big chili dinners, I would usually make 2 batches. We are eaters, by the way! One batch would have the kick with the jalapeño and cayenne and one batch would not. This kept everyone happy and we always had plenty of chili for seconds and thirds. My dad who does not like spicy food liked the mild and my brother and I went for the one with the kick. Now if our other brother was there, he’d probably say it’s not spicy enough and add more hot sauce or cayenne. At the end of the night, if there was any leftover, I would just combine them into one container for our leftovers.
This makes around 5 Qts.
Embrace the kick!