Help is on the way! I am writing that in my best Mrs. Doubtfire voice. Have you ever accidentally dried a favorite shirt and then it was just a wee bit too snug or too short to wear? I hang dry a lot of my husband’s and my clothes. Mostly dress pants, jeans, t- shirts and sweaters, but sometimes one of those precious items gets tangled up in the washer and into the dryer it goes! Oh no! “Not my Bomb Squad Kittens shirt!” my husband says as the shirt is now just a tad too snug for his liking. I also had to pass down a few of my favorite t-shirts to our oldest daughter because they became too tight after a trip through the dryer. This little remedy has saved the day. I’ve been able to gently stretch the shirts back out and reclaim my favorite shirts. Score one for the mom! She doesn’t love and appreciate that certain Led Zeppelin shirt like I do anyway and she hasn’t even noticed that it’s back to its right size, back in my closet where it belongs! One thing to note is that I’ve only used this fix to gently stretch out cotton shirts. That’s important. I’m not sure a wool sweater that saw its demise in the dryer could ever be fixed so maybe you could just gift that to your dog or cat. I’m sure this fix could be used on cotton sweat pants or leggings, but it’s intention is for a slight stretch – you can’t make an Extra Small shirt an Extra Large by doing this, and I wouldn’t recommend it. So Cotton clothing that just needs a little stretch is the key!
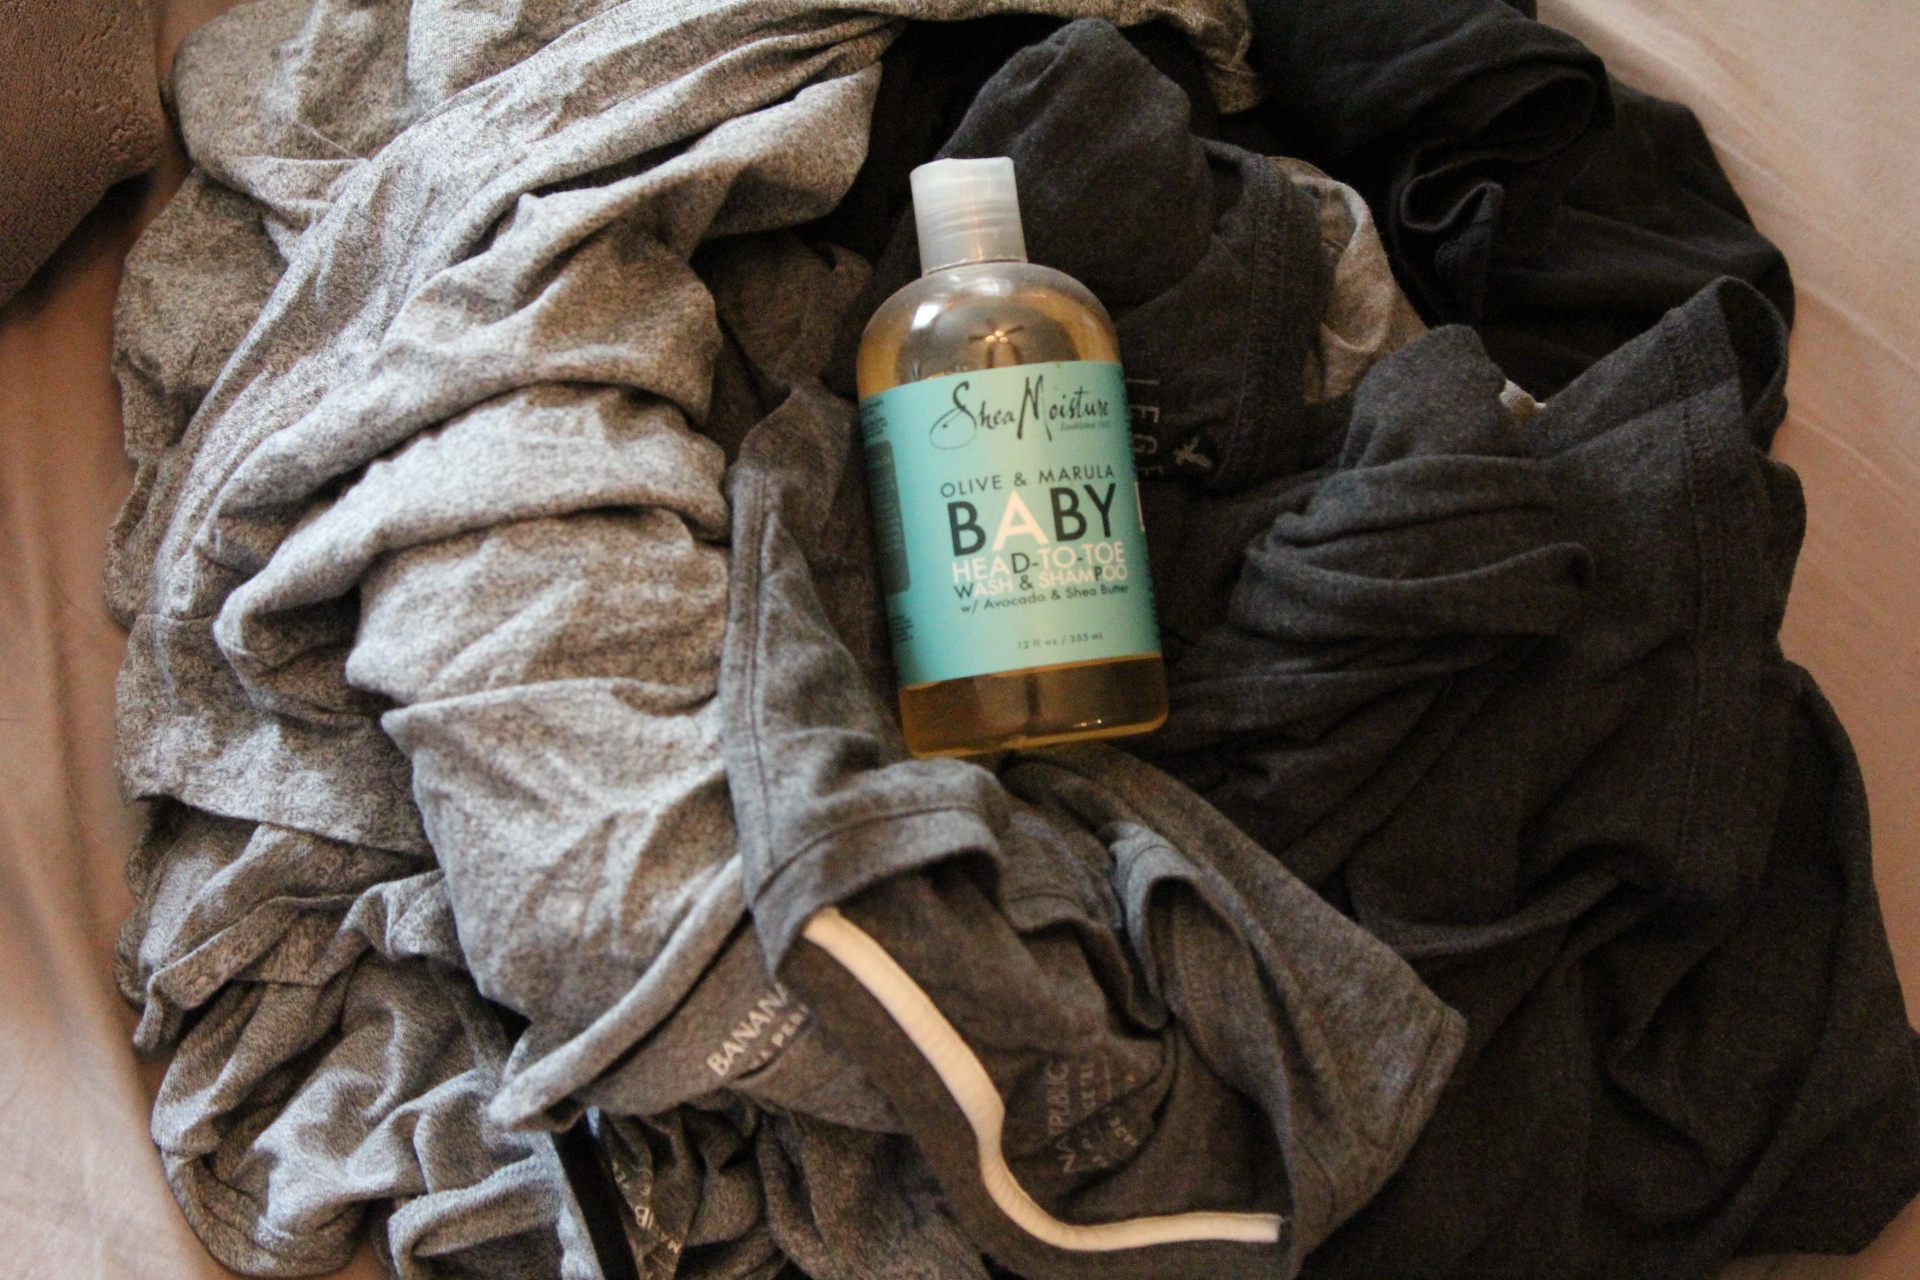
When I frantically searched how to stretch clothes after that dryer mishap, I found a few methods. Some use hair conditioner. Some use Lotion. I wanted to find a method that wouldn’t leave any type of residue on the clothes so I could avoid washing them all over again. For this method, you only need baby wash or an all in one baby wash/shampoo. It’s gentle and helps to loosen the cotton fibers. You also need warm water. I tend to wait until I have a few shirts to do so I just plop them all in the bathtub. You could use a sink for a smaller load. Also, you’ll want to keep similar colors together. All of our shrunken shirts were dark so I was able to do them all in one batch. You’ll need space for draping and hanging them to dry. Arms of a treadmill or elliptical, or really any dust collecting piece of exercise equipment works great for this. Dust it off, first though! You’ll also need a few towels.
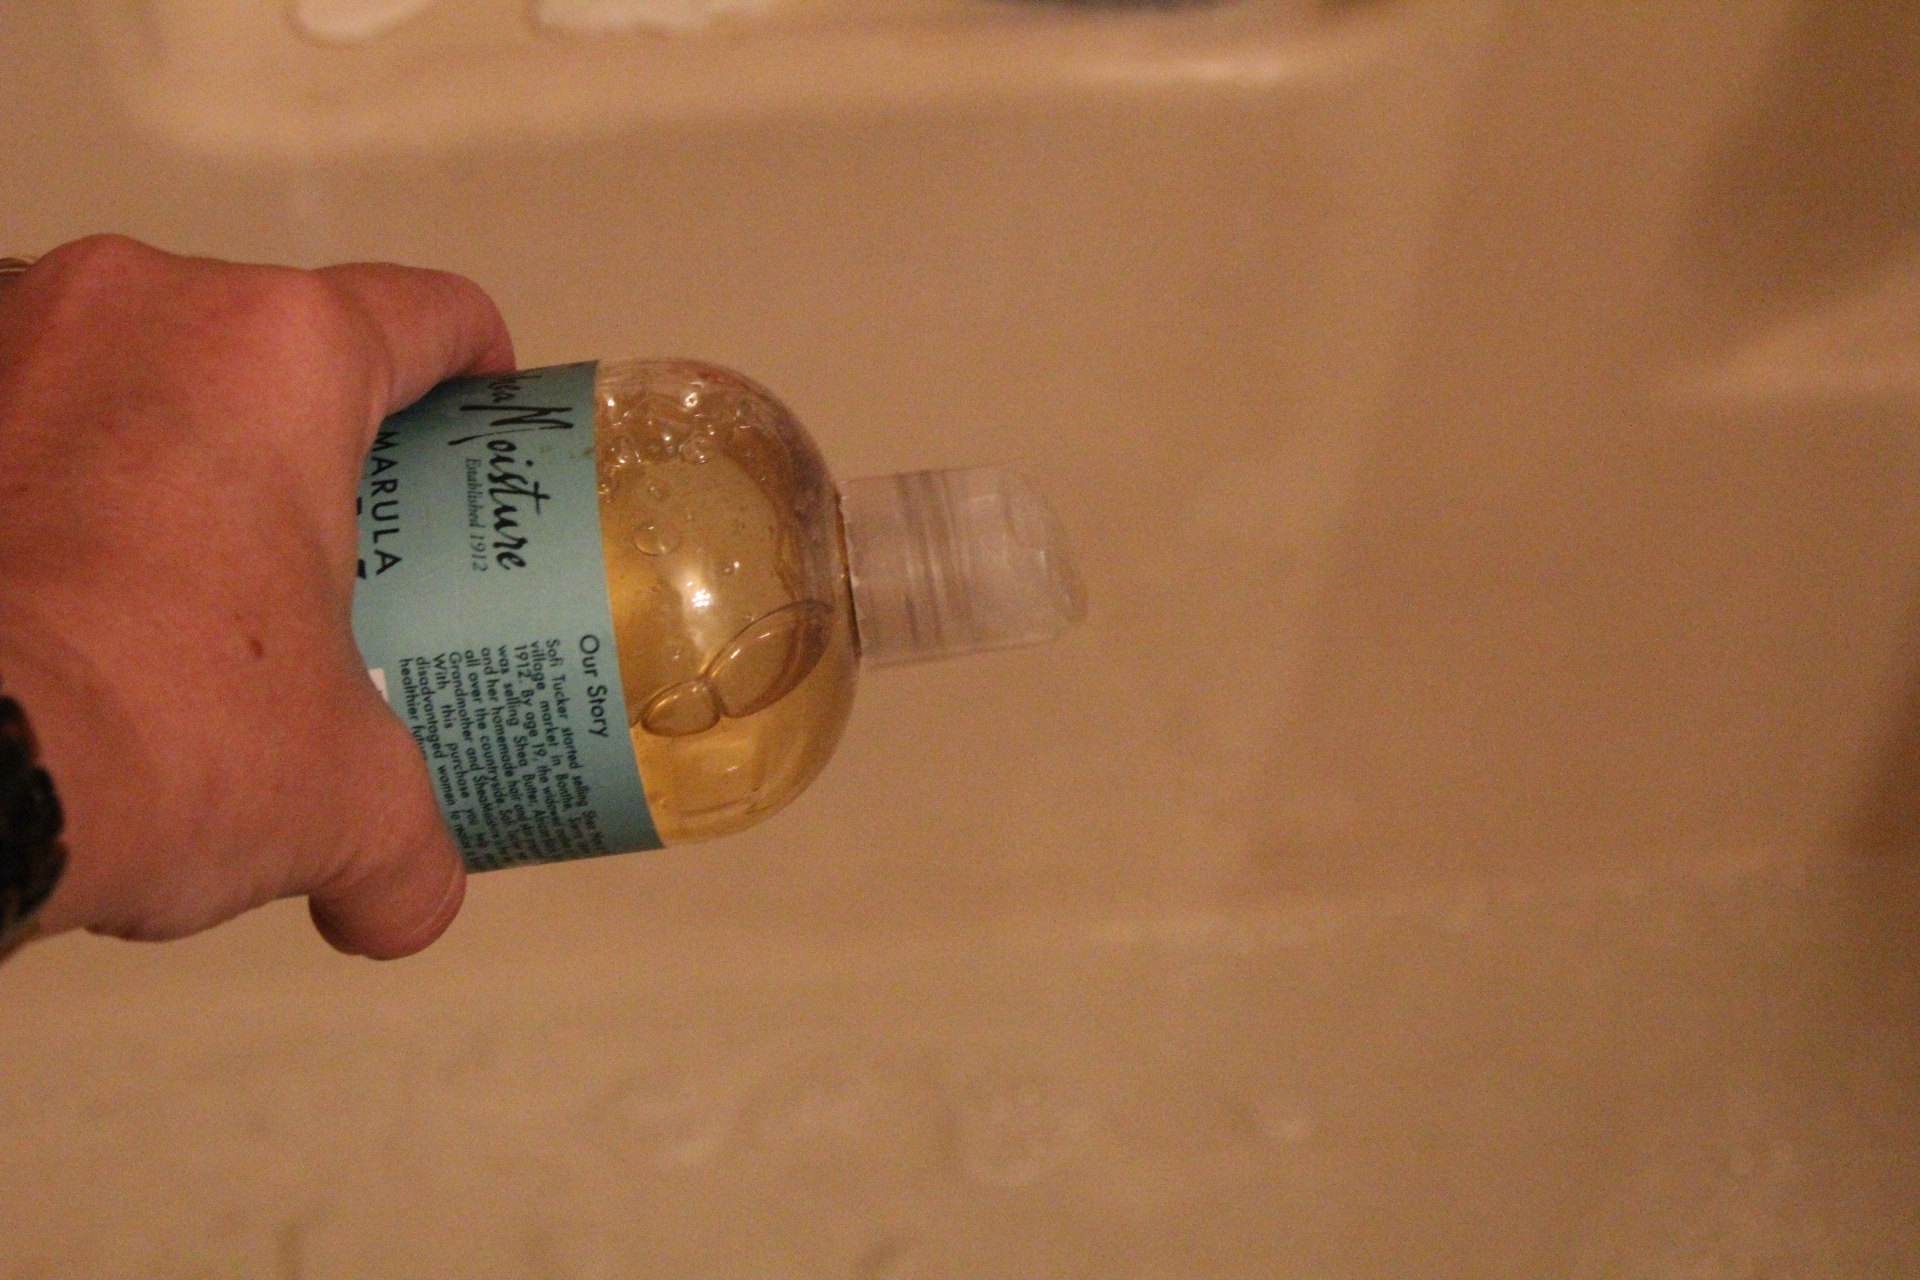
Step One – pour a little baby wash into the bathtub or sink with warm water.
Step Two – Add in the clothes. Remember to keep similar colors together so your shrunken white shirts don’t come out dingy.
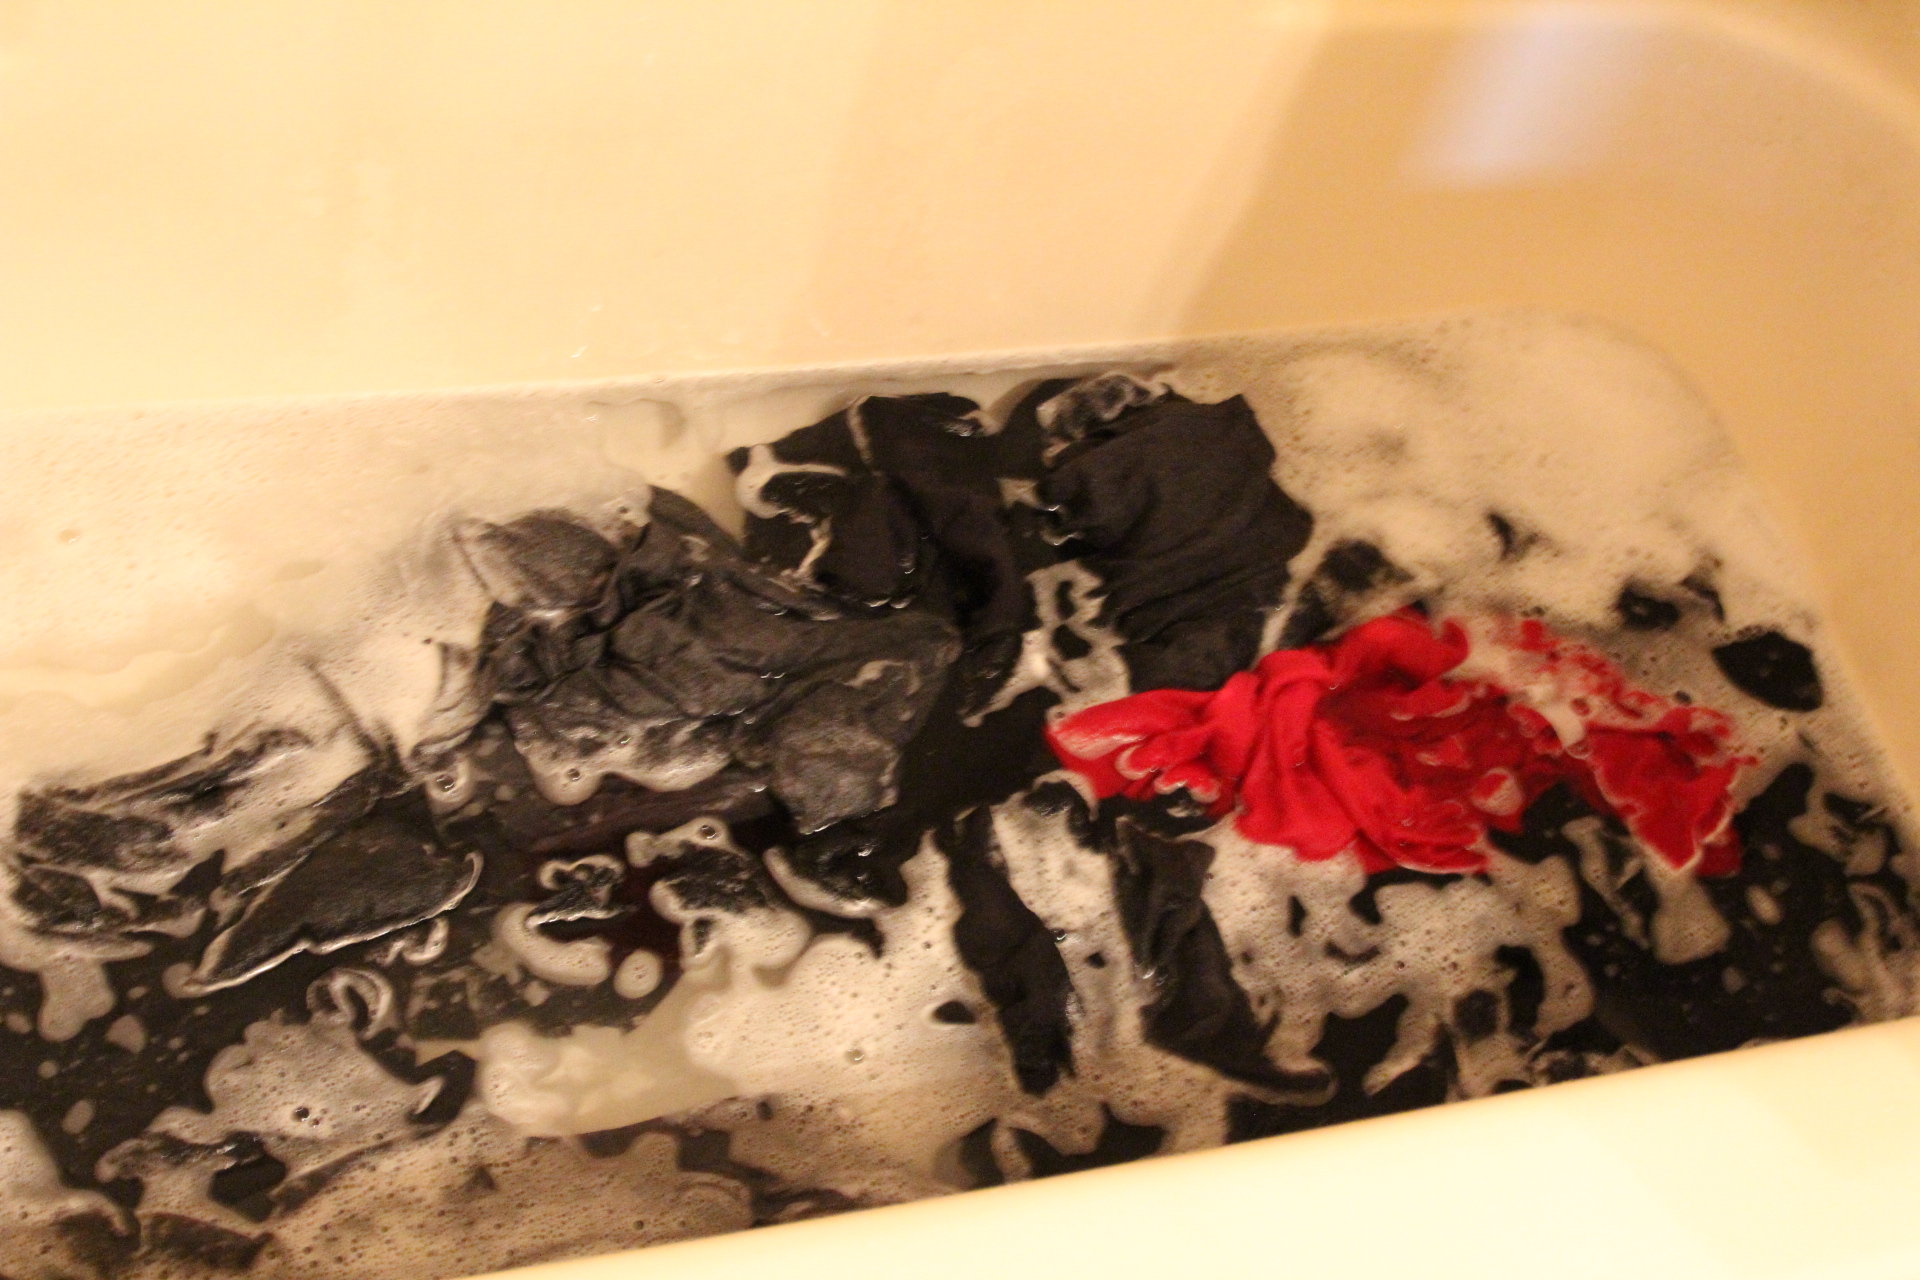
Step Three – let the clothes soak for at least 10 minutes. Give them a little swish around to make sure they are all soaked with the baby wash in the warm water.
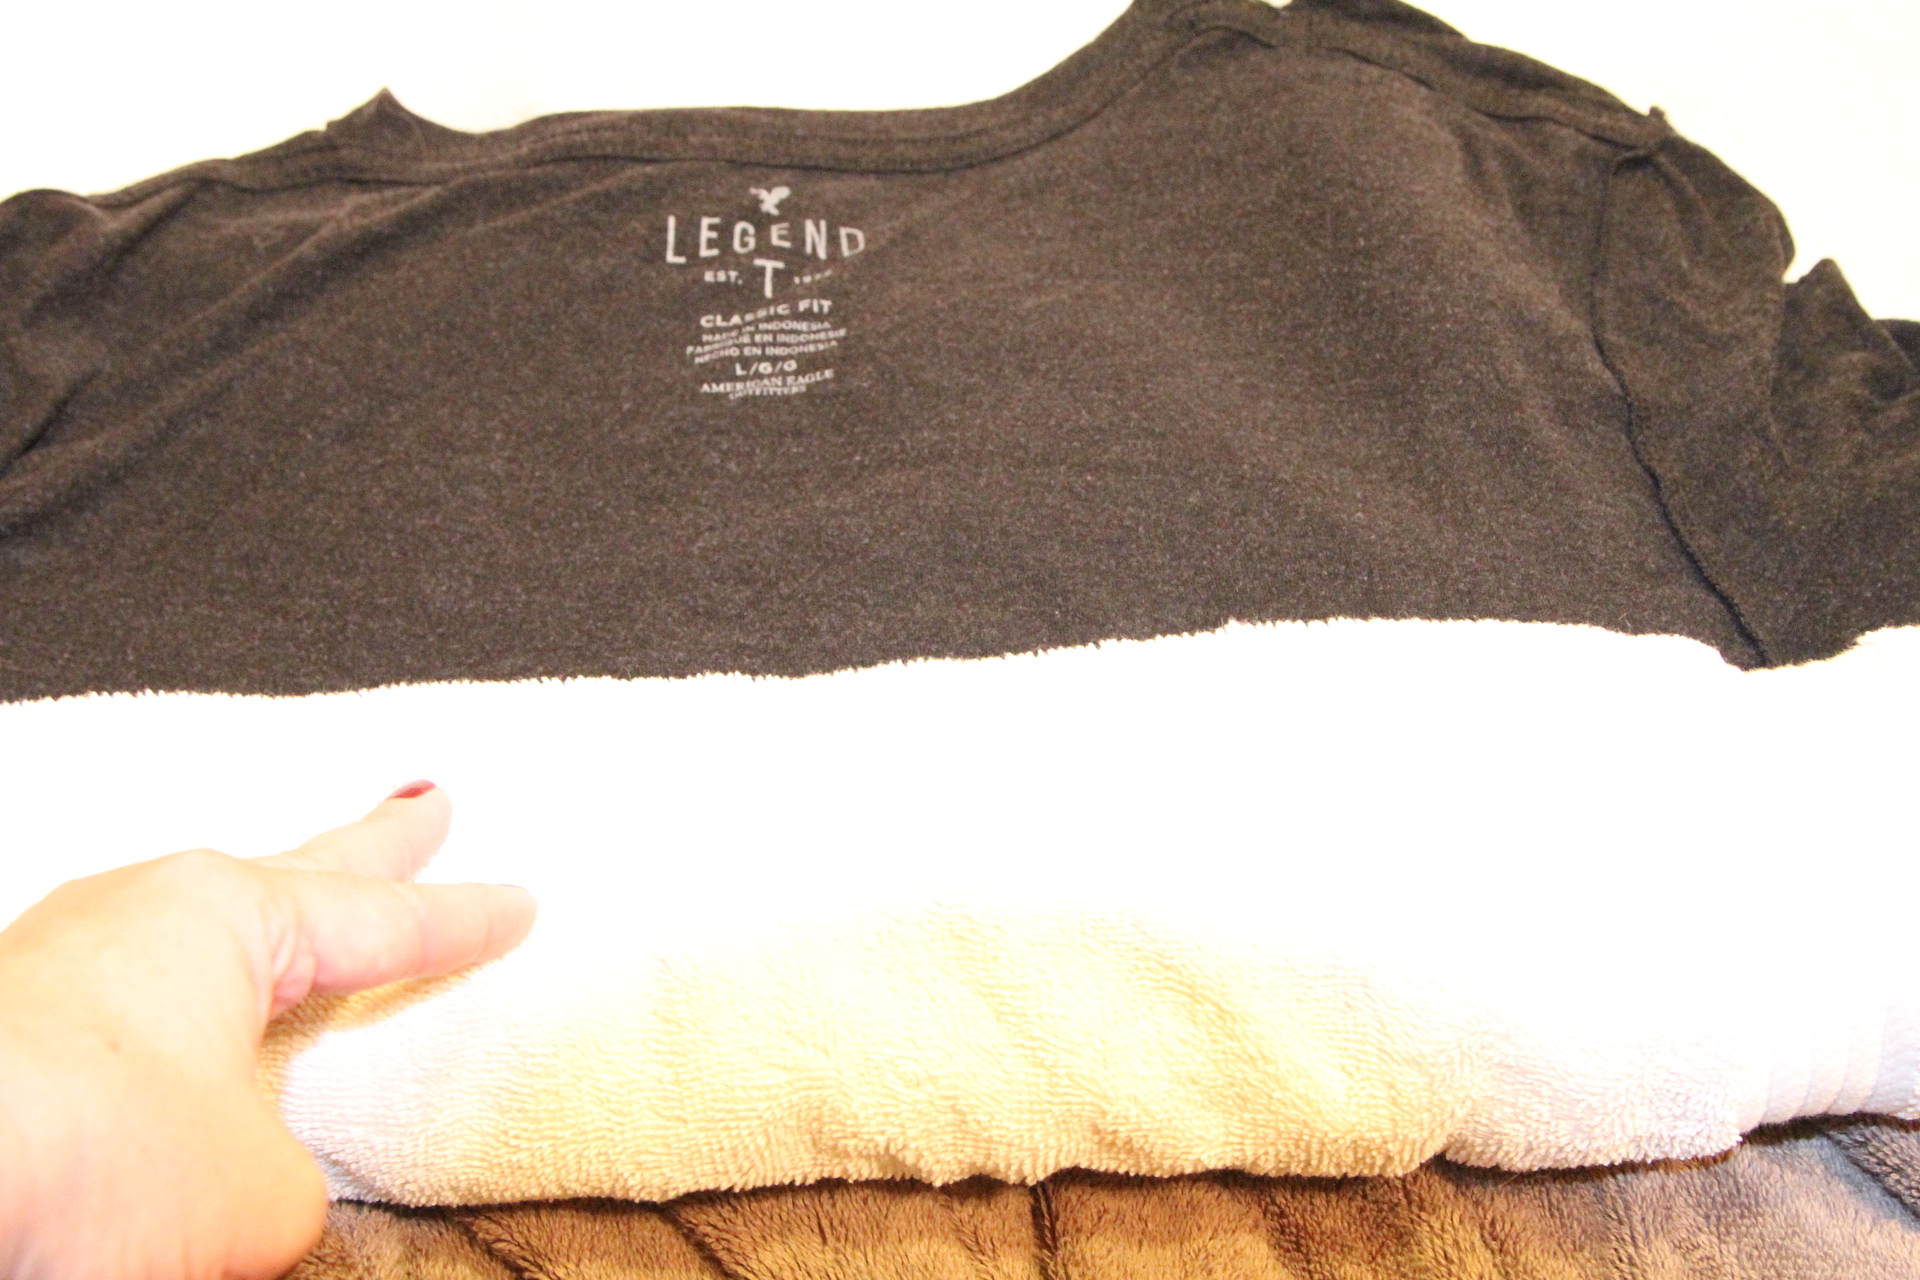
Lay a towel or two on the floor, folded in half.
Step Four – remove the first item of clothing and gently wring it out. Do not rinse it. Lay it down flat on the towel.
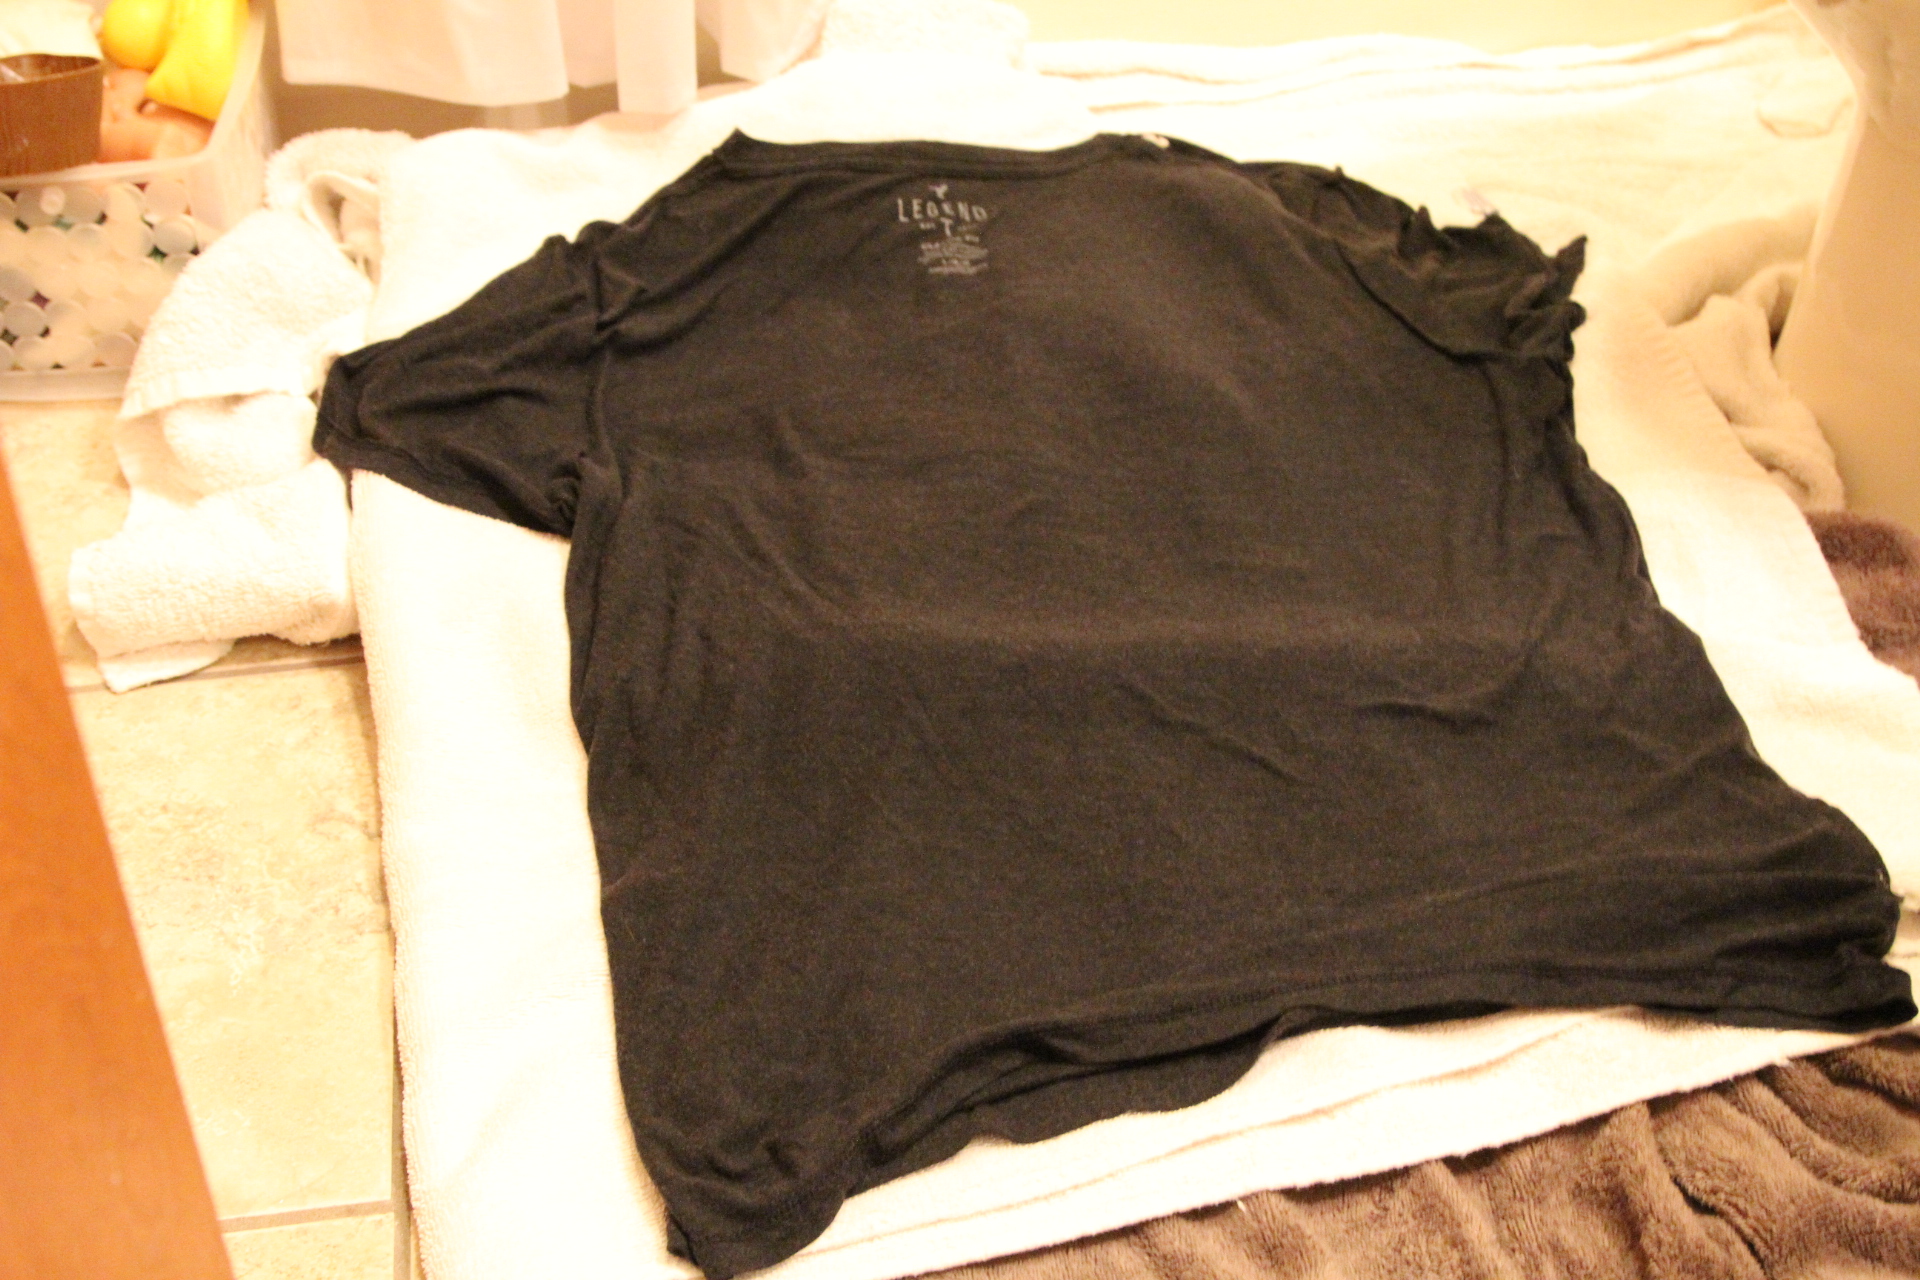
Step Five – Gently roll the shirt/clothing up inside the towel to wring out excess water.
Step Six – unroll the clothing and gently pull it to stretch it out. I usually start with stretching top to bottom, holding the neck/shoulders of the shirt in one hand and the bottom hem of the shirt in the other and gently stretching all the way across the width of the shirt. Then I stretch out arms and across chest area. Repeat the stretching if needed to ensure the shirt is stretched how you want it.

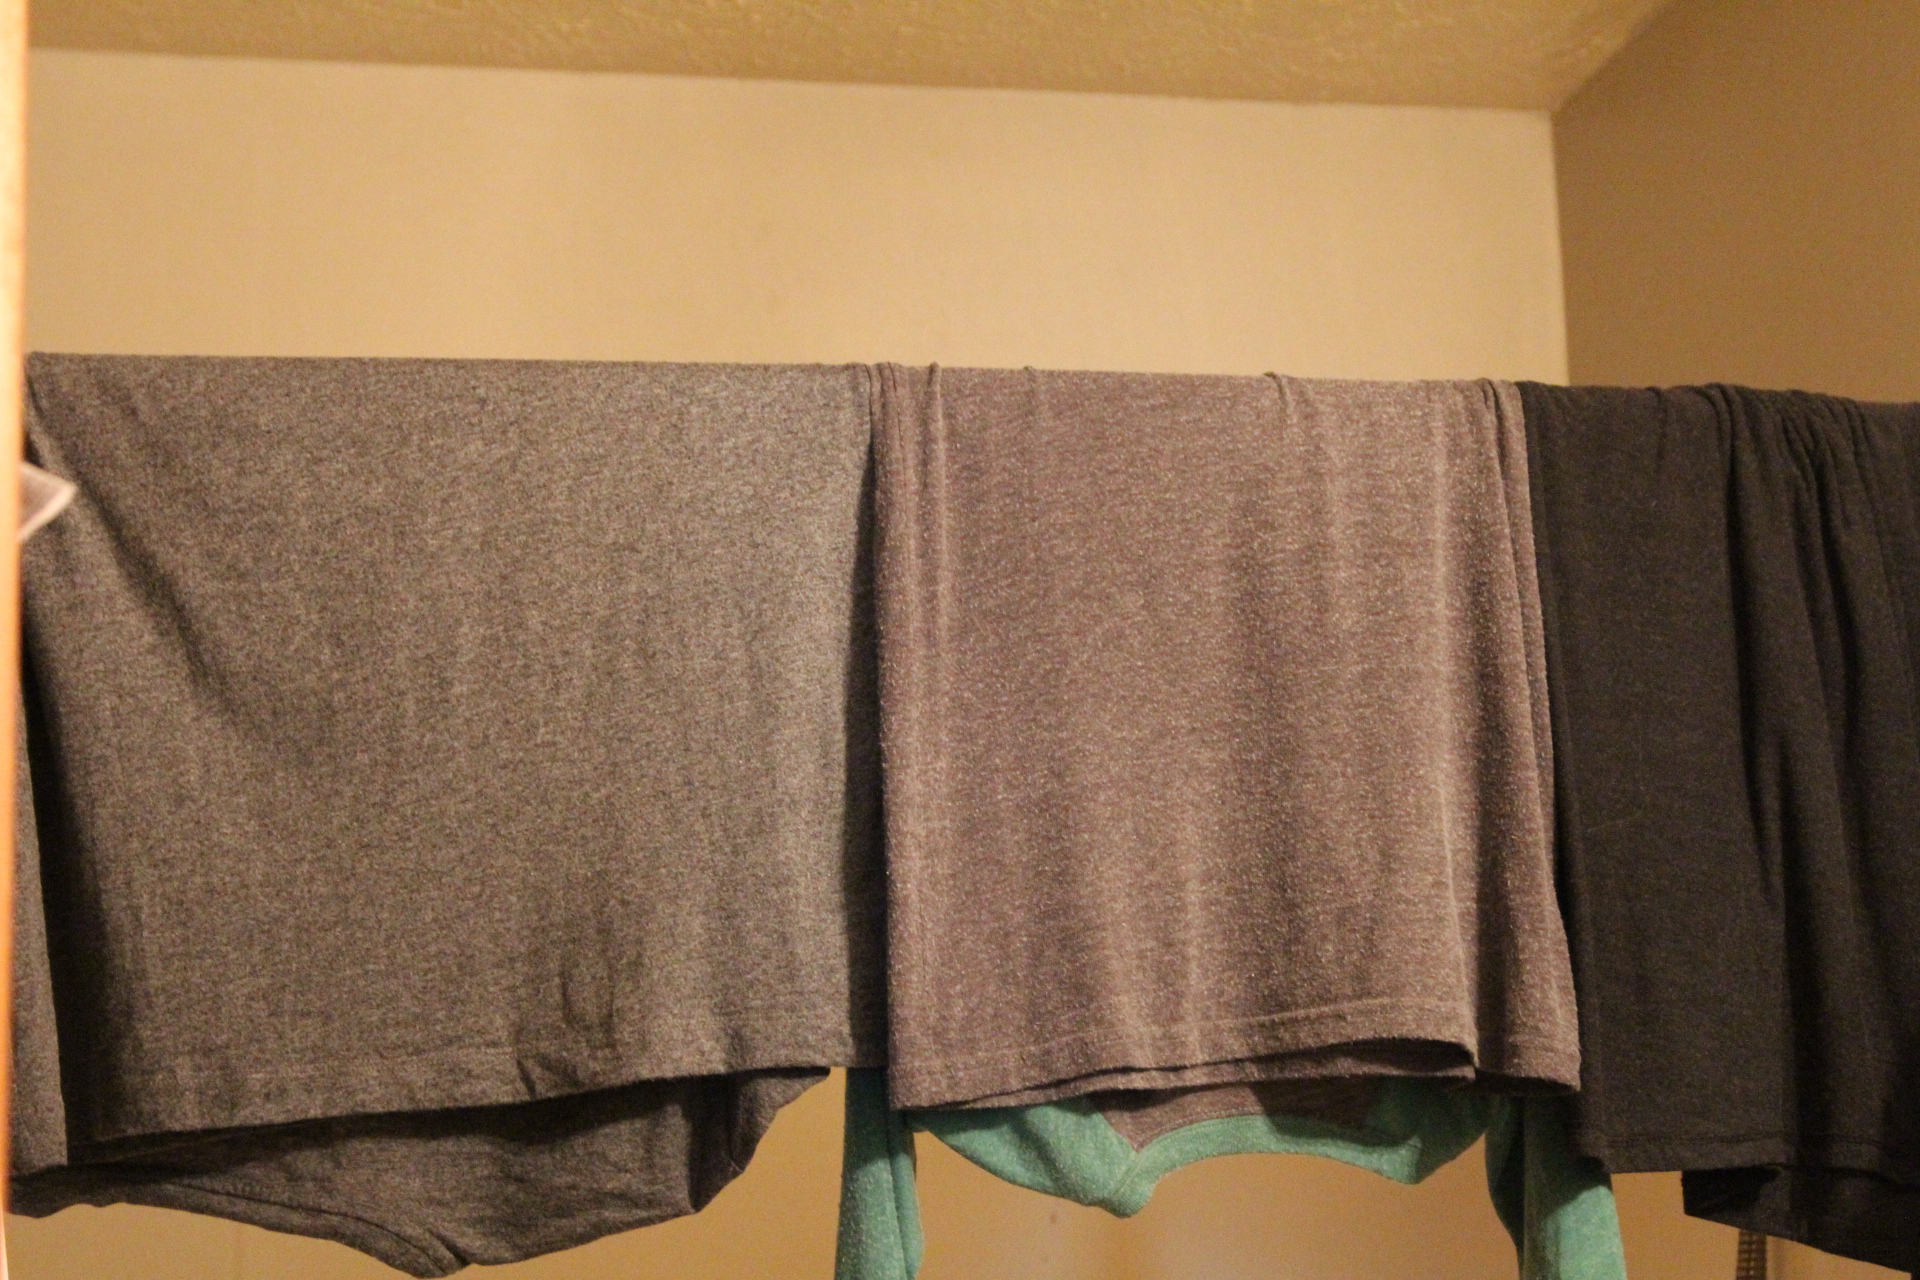
Step Seven – Hang the clothing up to dry, either over a bar or drying rack. Do not hang shirts up on hangers, or you’ll have little camel humps in the shoulders and that’s a whole other thing to try to fix.
Your bathroom/laundry room may look like a laundromat for a day or two until the clothing is all dry. Whatever you do – DON’T THROW THE CLOTHES INTO THE DRYER TO DRY (or else, you will have to start all over!) 🙂
Good luck and happy laundering!

