With this week being back to school week for us, I can’t help but be reminded of those grade school days where the teacher would go through attendance, announcing each student’s name and the student had to respond with “Hot” or “Cold.” This was not referring to the temperature of the classroom, the response was regarding if they were having a school lunch “Hot” or if they brought in their own lunch from home “Cold.” Sometimes this “Cold” lunch is also referred to as “Sack” lunch. I’m guessing because long before fancy insulated and compartmentalized lunch bags, plastic and even the old metal lunch pails, students brought their lunch from home in a handy dandy paper sack. I can still remember fuzzy memories of my young grade school years in the cafeteria. I had a yellow plastic lunch box with Peanuts characters on it. We all compared what we had in our home lunches. Sometimes there were trades and deals made. Sometimes kids became kind of known for having a particular item. Some had the exact same lunch every day with little variation. This would make me go crazy, even as a kid. Although I did have an awful lot of ham and cheese loaf lunch meat sandwiches packed in that lunch box. To this day, when I see the corn snack known as Bugles, I can’t help but be reminded of a sweet long time friend named Sharon. This had to be in Kindergarten or first grade, but I remember she would put the Bugles on the tips of her fingers and cackle like a witch. I can picture her face lighting up and her big smile as she laughed.
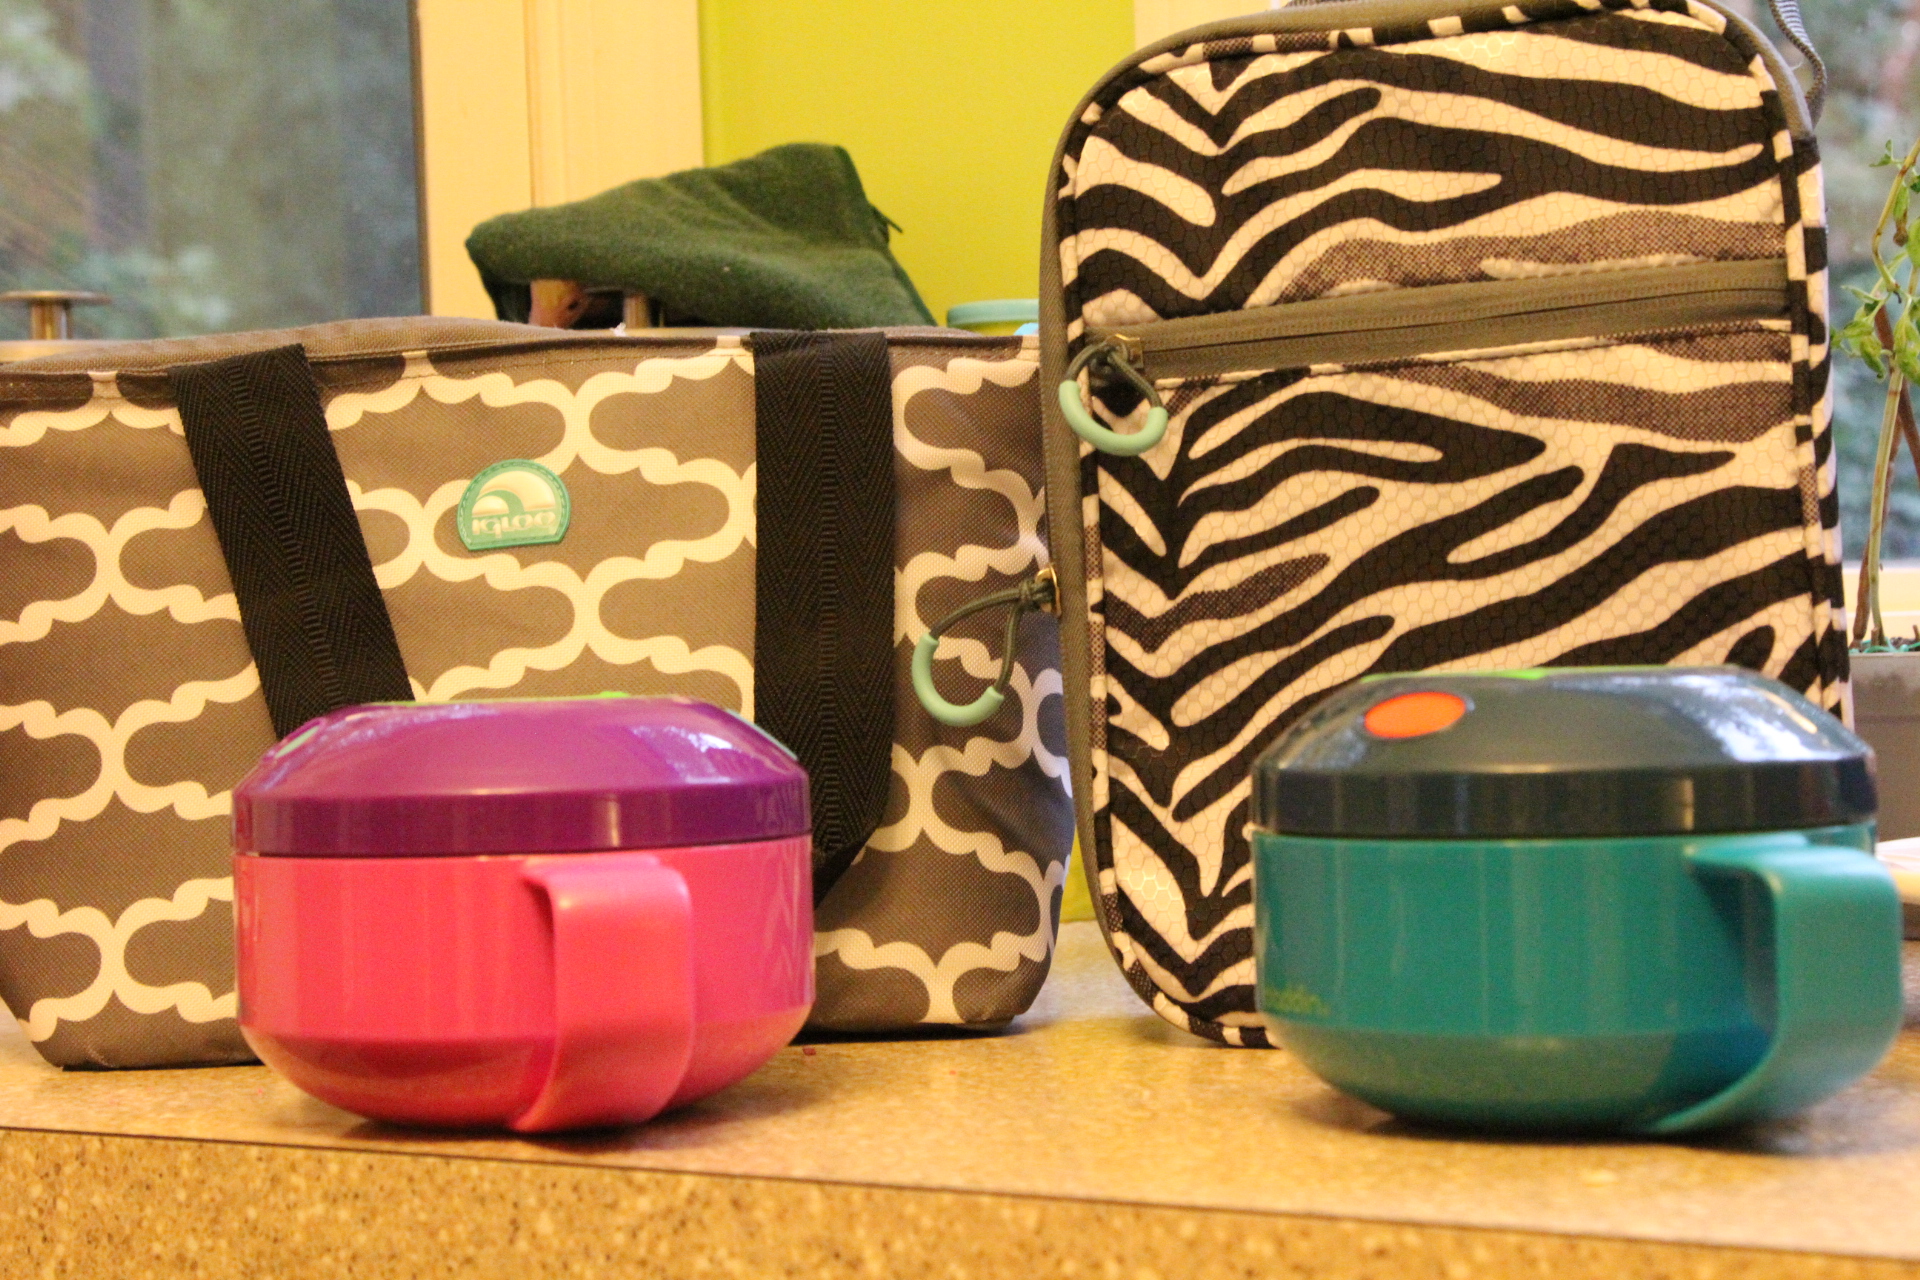
Who says a lunch from home has to be cold? Since my daughters’ school and most schools don’t have microwaves available for the students to use, I wanted to try to find a way to let them enjoy a hot (or semi warm 🙂 ) home cooked lunch. This is also a great way to save money since school lunches are not cheap and kids don’t always like what’s offered. Sending along some heated leftovers of a dish you know your child likes will almost guarantee they will eat it, enjoy it, and save you some money! So along with all the other school supplies, new lunch boxes, some sort of thermos bowl contraption was on our list to find while we were shopping at Target. We found these microwavable thermos bowls by Aladdin that claimed to keep food warm for hours. Here’s a Google link if you want to see them, because I couldn’t find them anywhere on the Target website, but I swear that’s where we got them from. The cute colors drew the girls in and they were saying they could bring in pasta, soups, chili and all kinds of home cooked stuff. So, we picked up a couple of the bowls which were around $10 each. The girls were so excited about the bowls, already planning and talking about what I could make for supper this week so they could bring the leftovers to school in their thermos bowls. So far this week, we’ve used them once. I think I need to heat them up with really hot water for a few minutes and then empty the water and fill them with whatever leftover they are having for lunch and microwave again for a good 3-4 minutes to help keep that food nice and warm. Tomorrow we are trying again so hopefully we have better results than the first go around. I know the good old stainless Thermos brand items are the best at keeping the stuff hot, but I wanted to stick with something microwave safe and a little less expensive. It’s amazing how much this type of stuff costs! With the risk of the lunch bag or thermos being lost or stolen (man, I hope not!), I didn’t want to invest a lot of money into them, hopefully my purchase will do the trick. I’ll keep you updated!
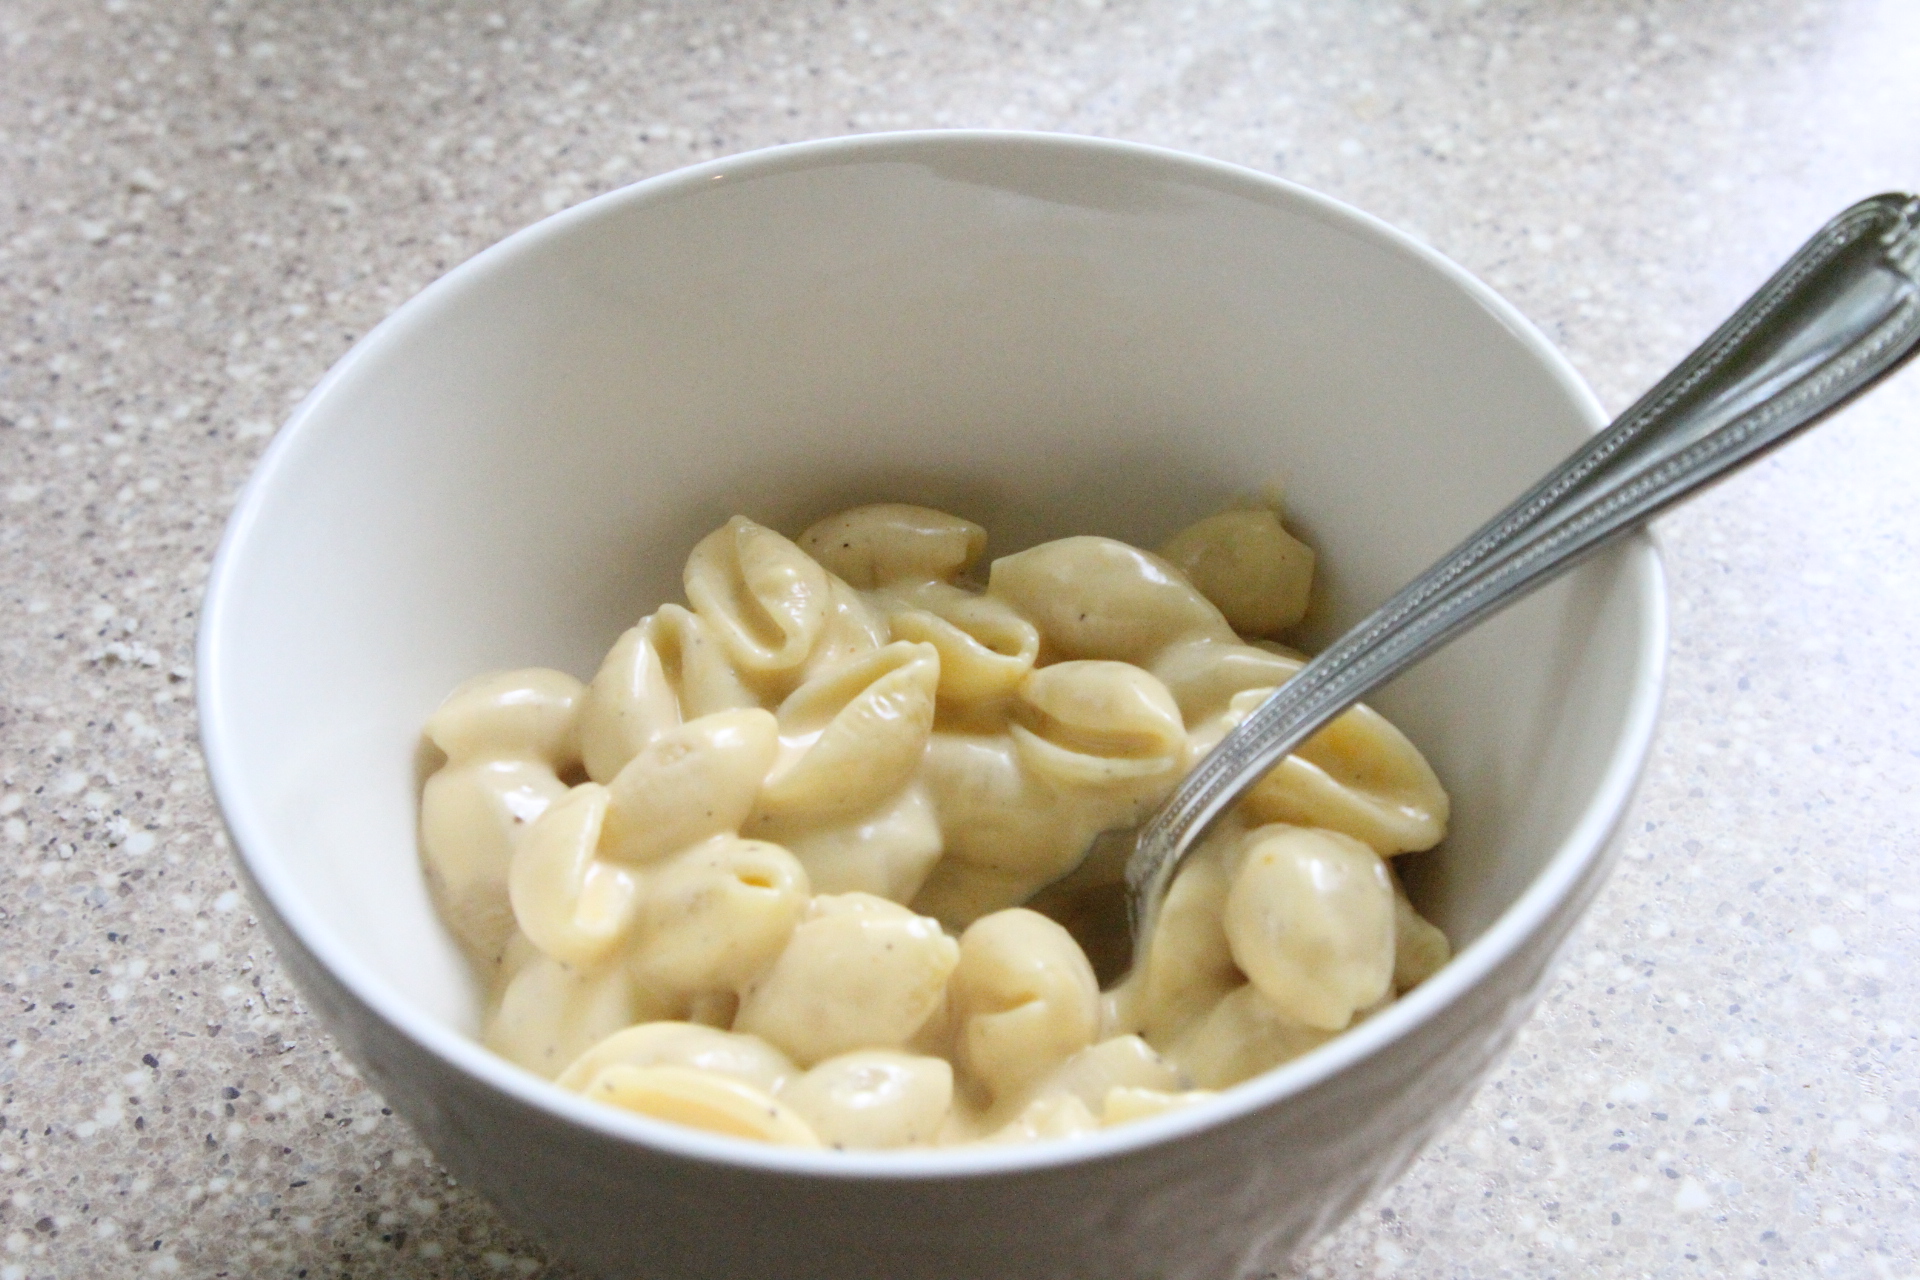
My 10-year-old has been requesting homemade mac and cheese for a few weeks now, so I finally made some and that’s what she’ll be taking in her lunch today. She’s already gotten oohs and ahhs for her tasty homemade wrap that she brought to school yesterday so she’s anxious to try out her new thermos bowl. And my 7-year-old who tested out her thermos bowl yesterday with the mac and cheese is looking forward to bringing homemade chicken noodle soup in her bowl today.

This mac and cheese was made with mostly sharp cheddar. It’s very cheddary – I know that’s not a word, but it is on this post. I’ve made white cheese versions of this mac and cheese which were also amazing so I suggest using whatever cheese you fancy. I prefer mac and cheese without any type of topping. Once I made one with a buttered panko topping and it went up in flames since I had it too close to the broiler! So if you like a topping on your mac and cheese, use whatever you like – butter and crushed Ritz crackers, butter and breadcrumbs, even potato chips to add that crunchy texture. Maybe I should give that potato chip idea a whirl the next time I make mac and cheese!
Mac and Cheese
Ingredients:
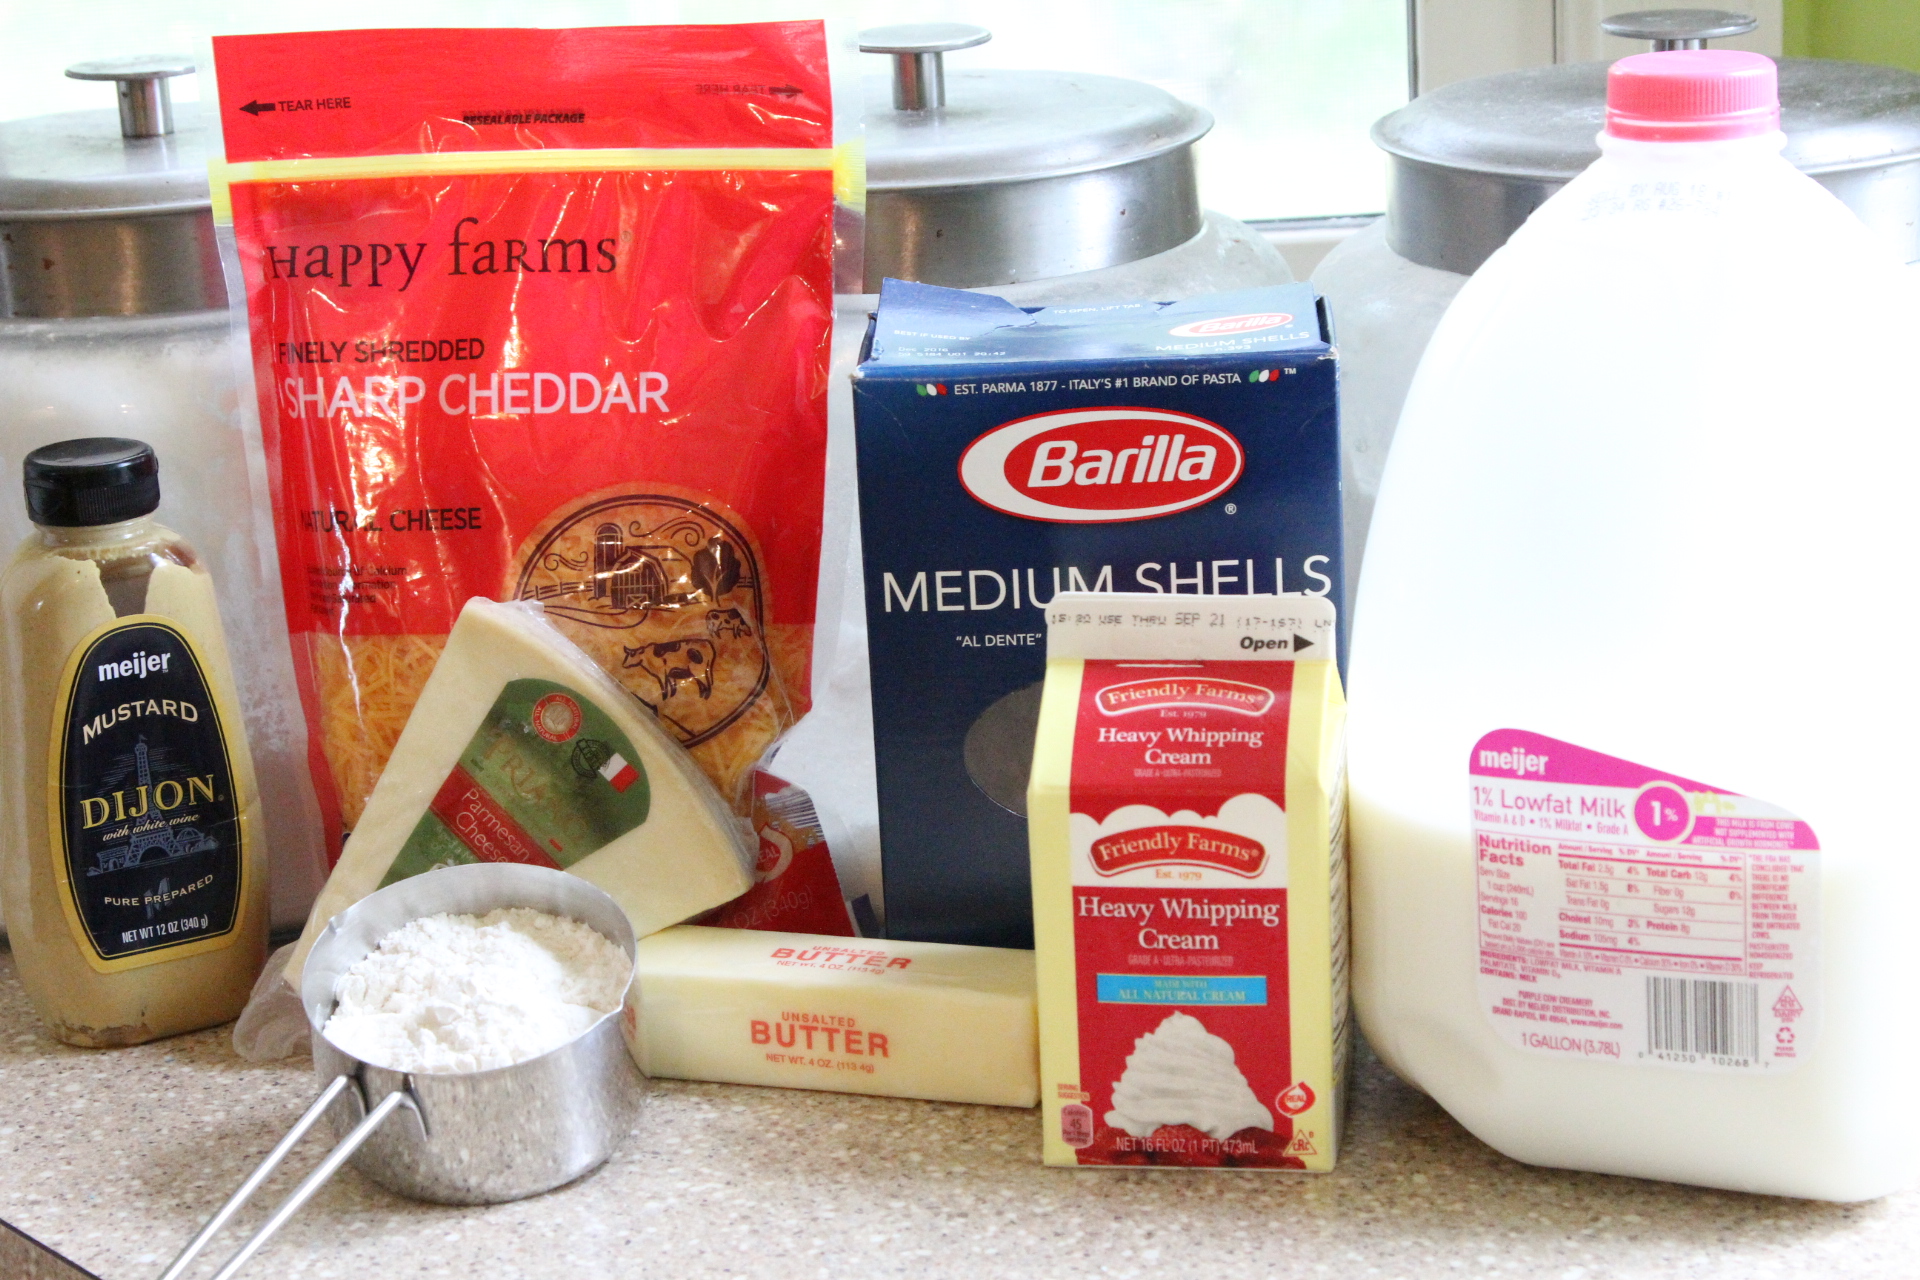
3 TBS butter
3 TBS all purpose flour
1 C heavy cream
1 1/2 – 2 C milk plus more for reheating leftovers
1 teas dijon mustard
2 C sharp cheddar cheese. I used pre shredded, but you could definitely shred your own.
3/4 C fresh grated parmesan cheese
16 oz of pasta. I like to use medium shells for mac and cheese.
Salt and pepper to taste
Optional – dash of hot sauce, drizzle of truffle oil, crumbled cooked bacon topping (I typed that last one with an evil grin on my face)
Directions:
Bring a large pot of water to a boil for the pasta. In the meantime, make the sauce in a large heavy pot. I used a 6 Quart pot.
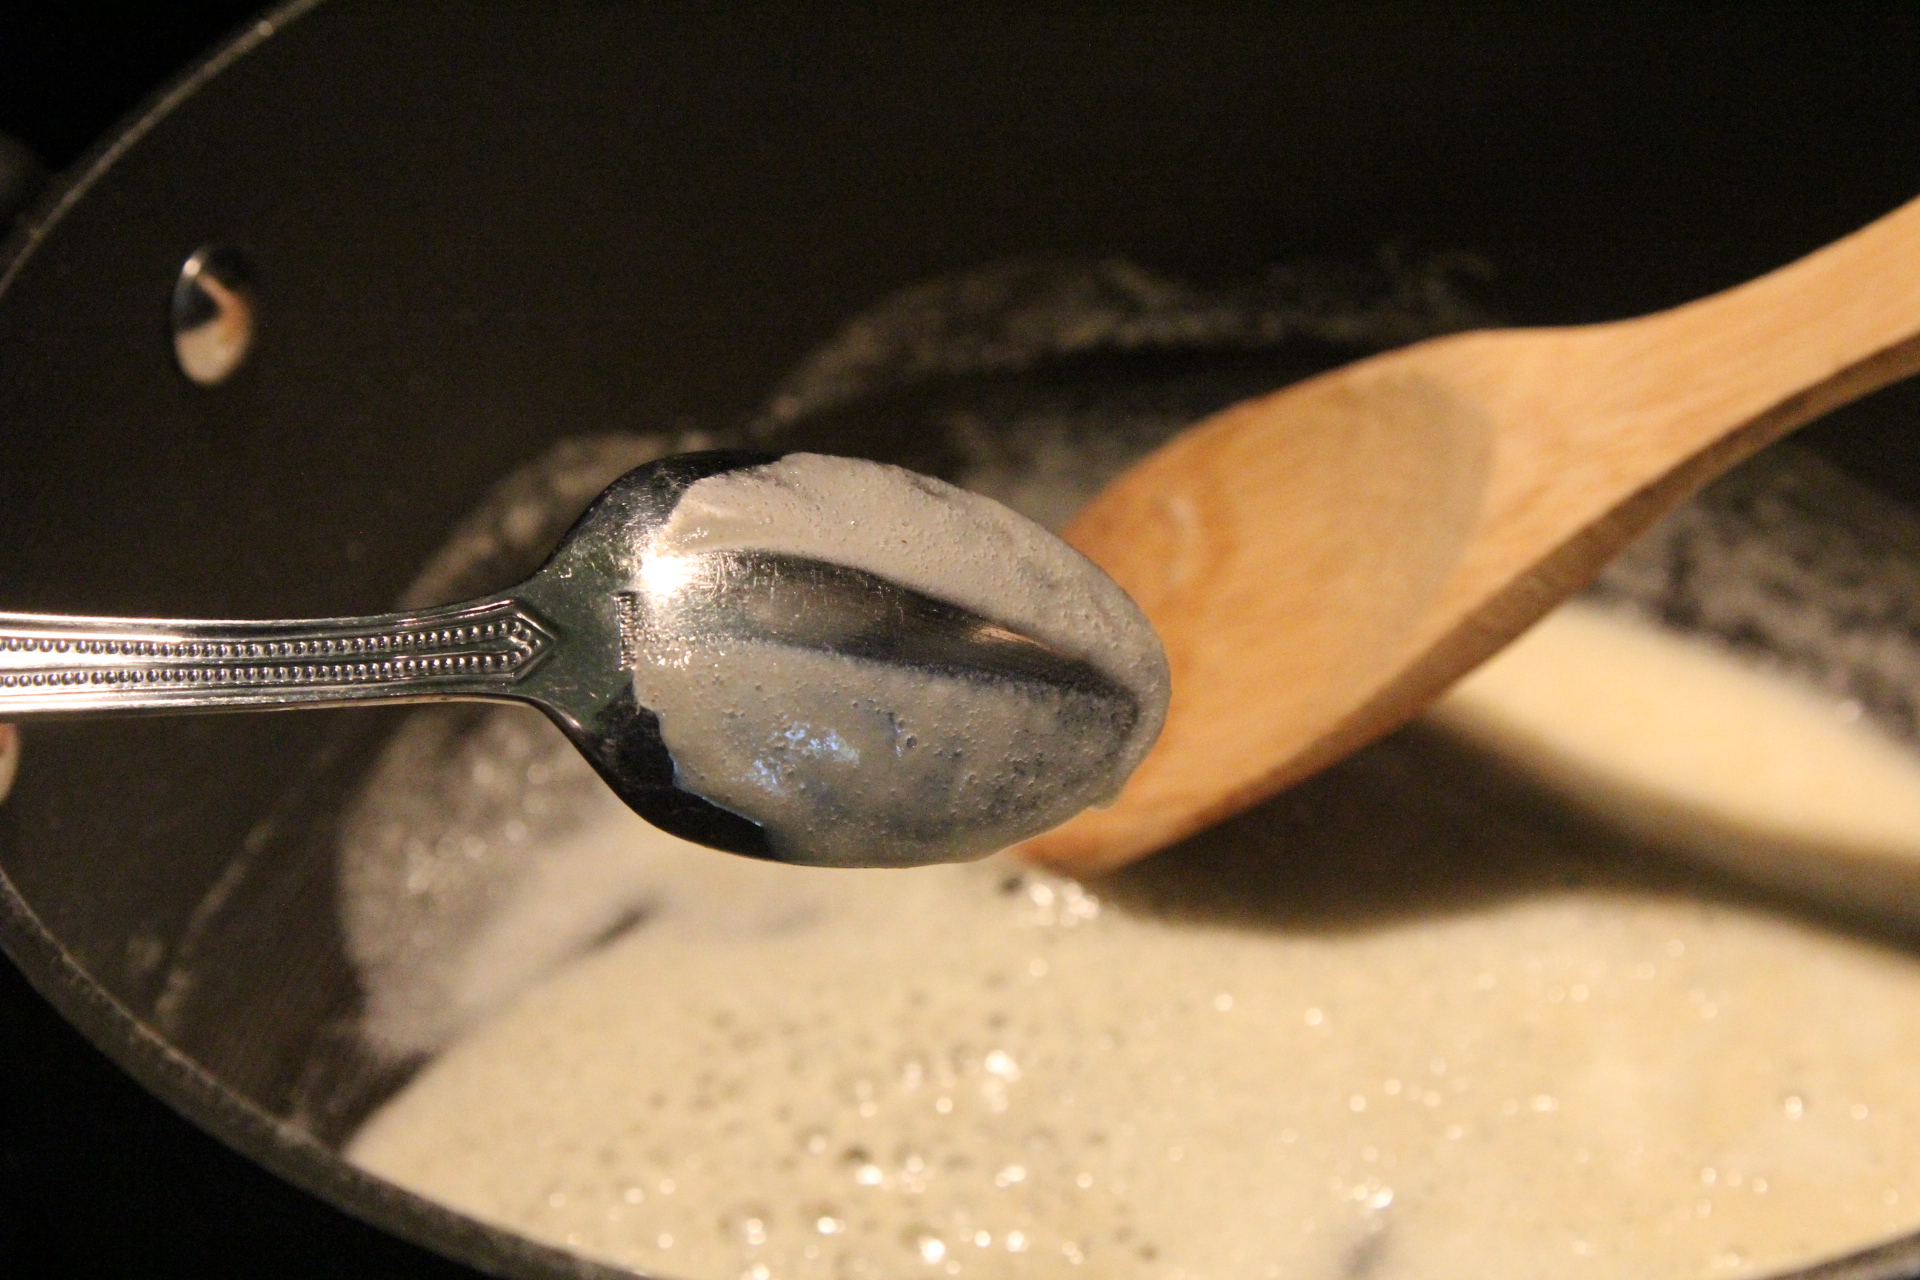
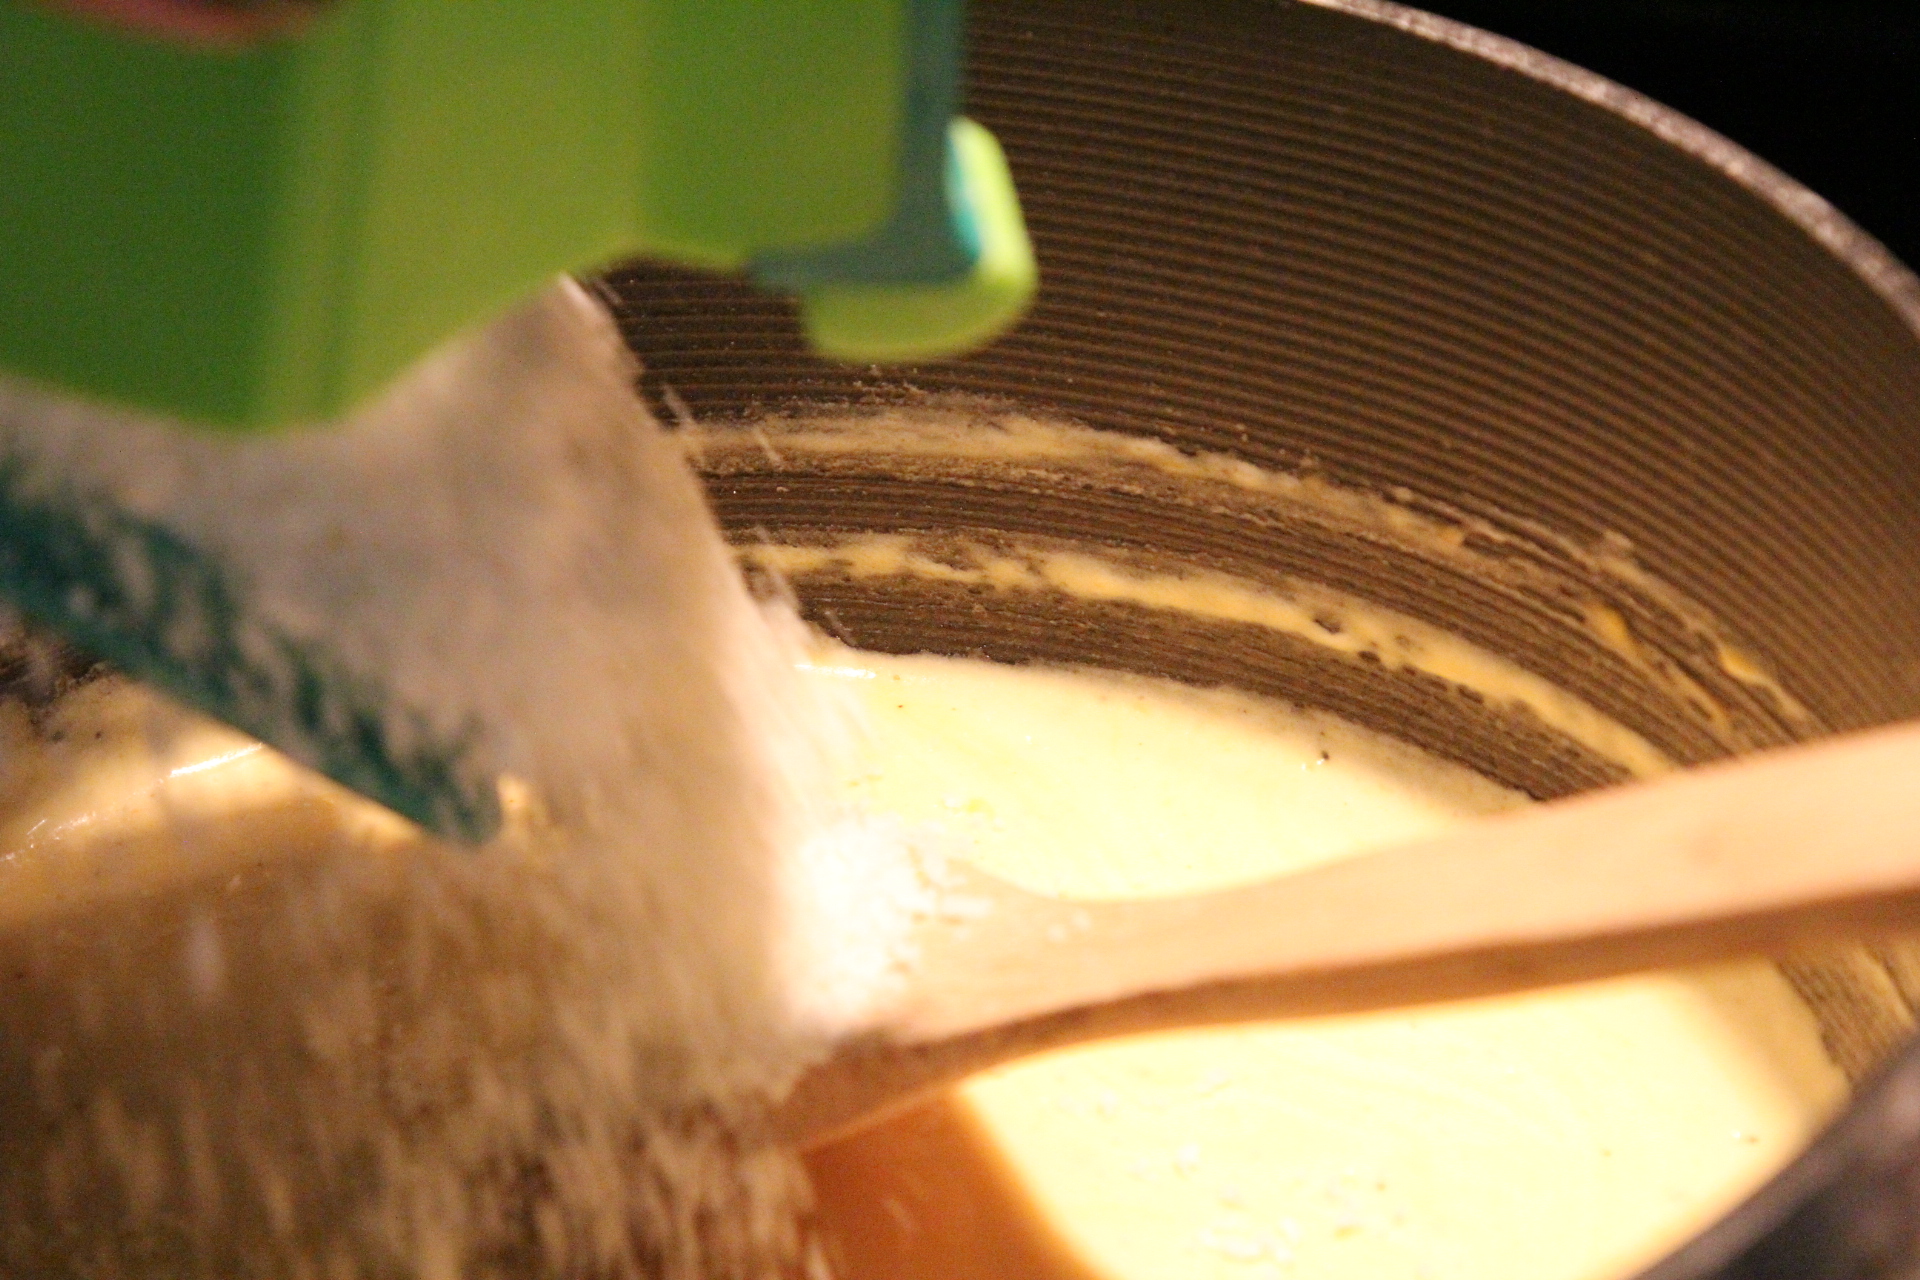
For the sauce, melt the butter and then add the flour all at once. Stir this constantly on medium heat for 3-4 minutes until it becomes golden in color and coats the back of a spoon.
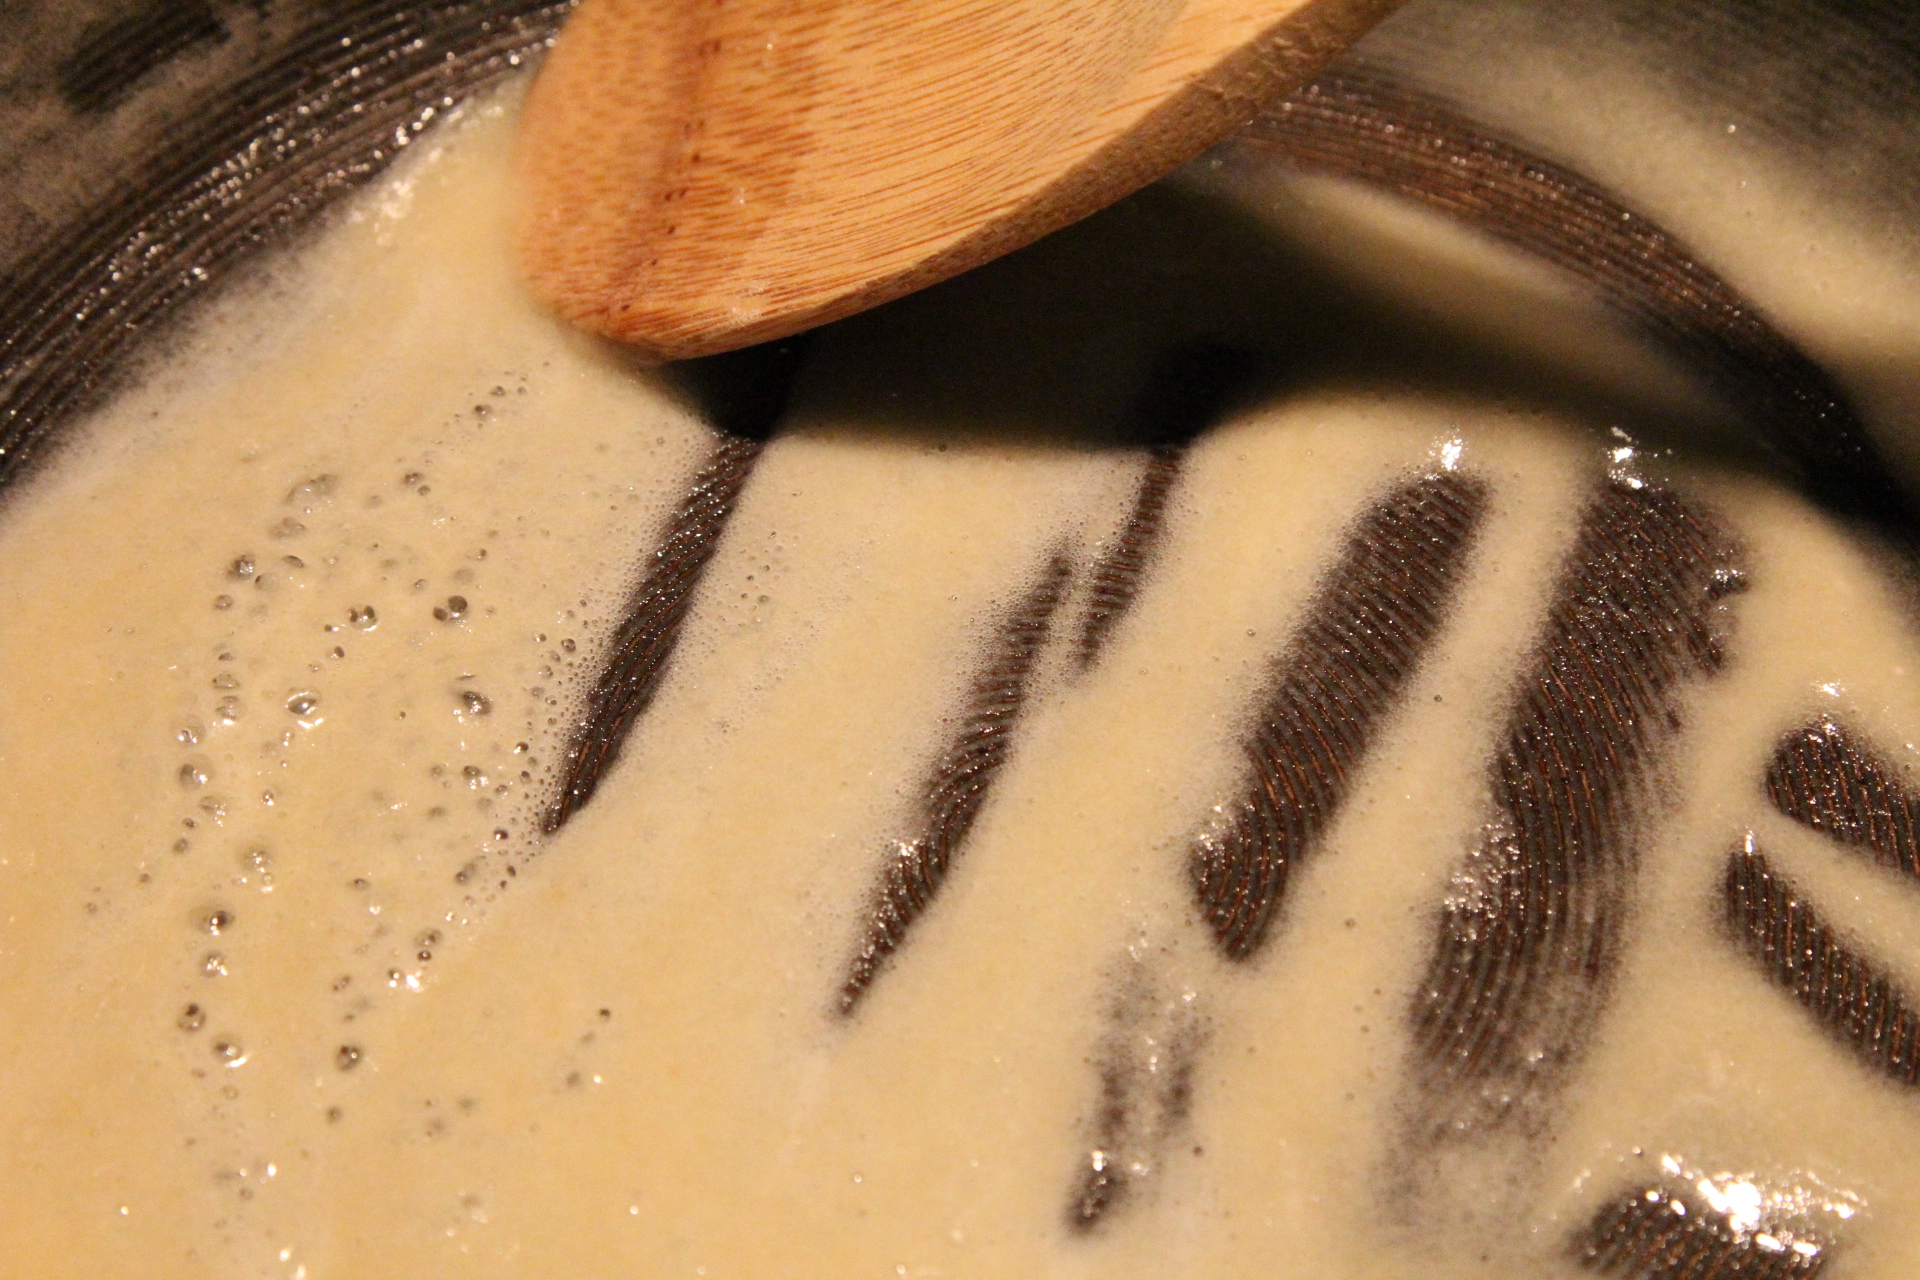
Slowly add in the heavy cream and milk and stir on medium heat.
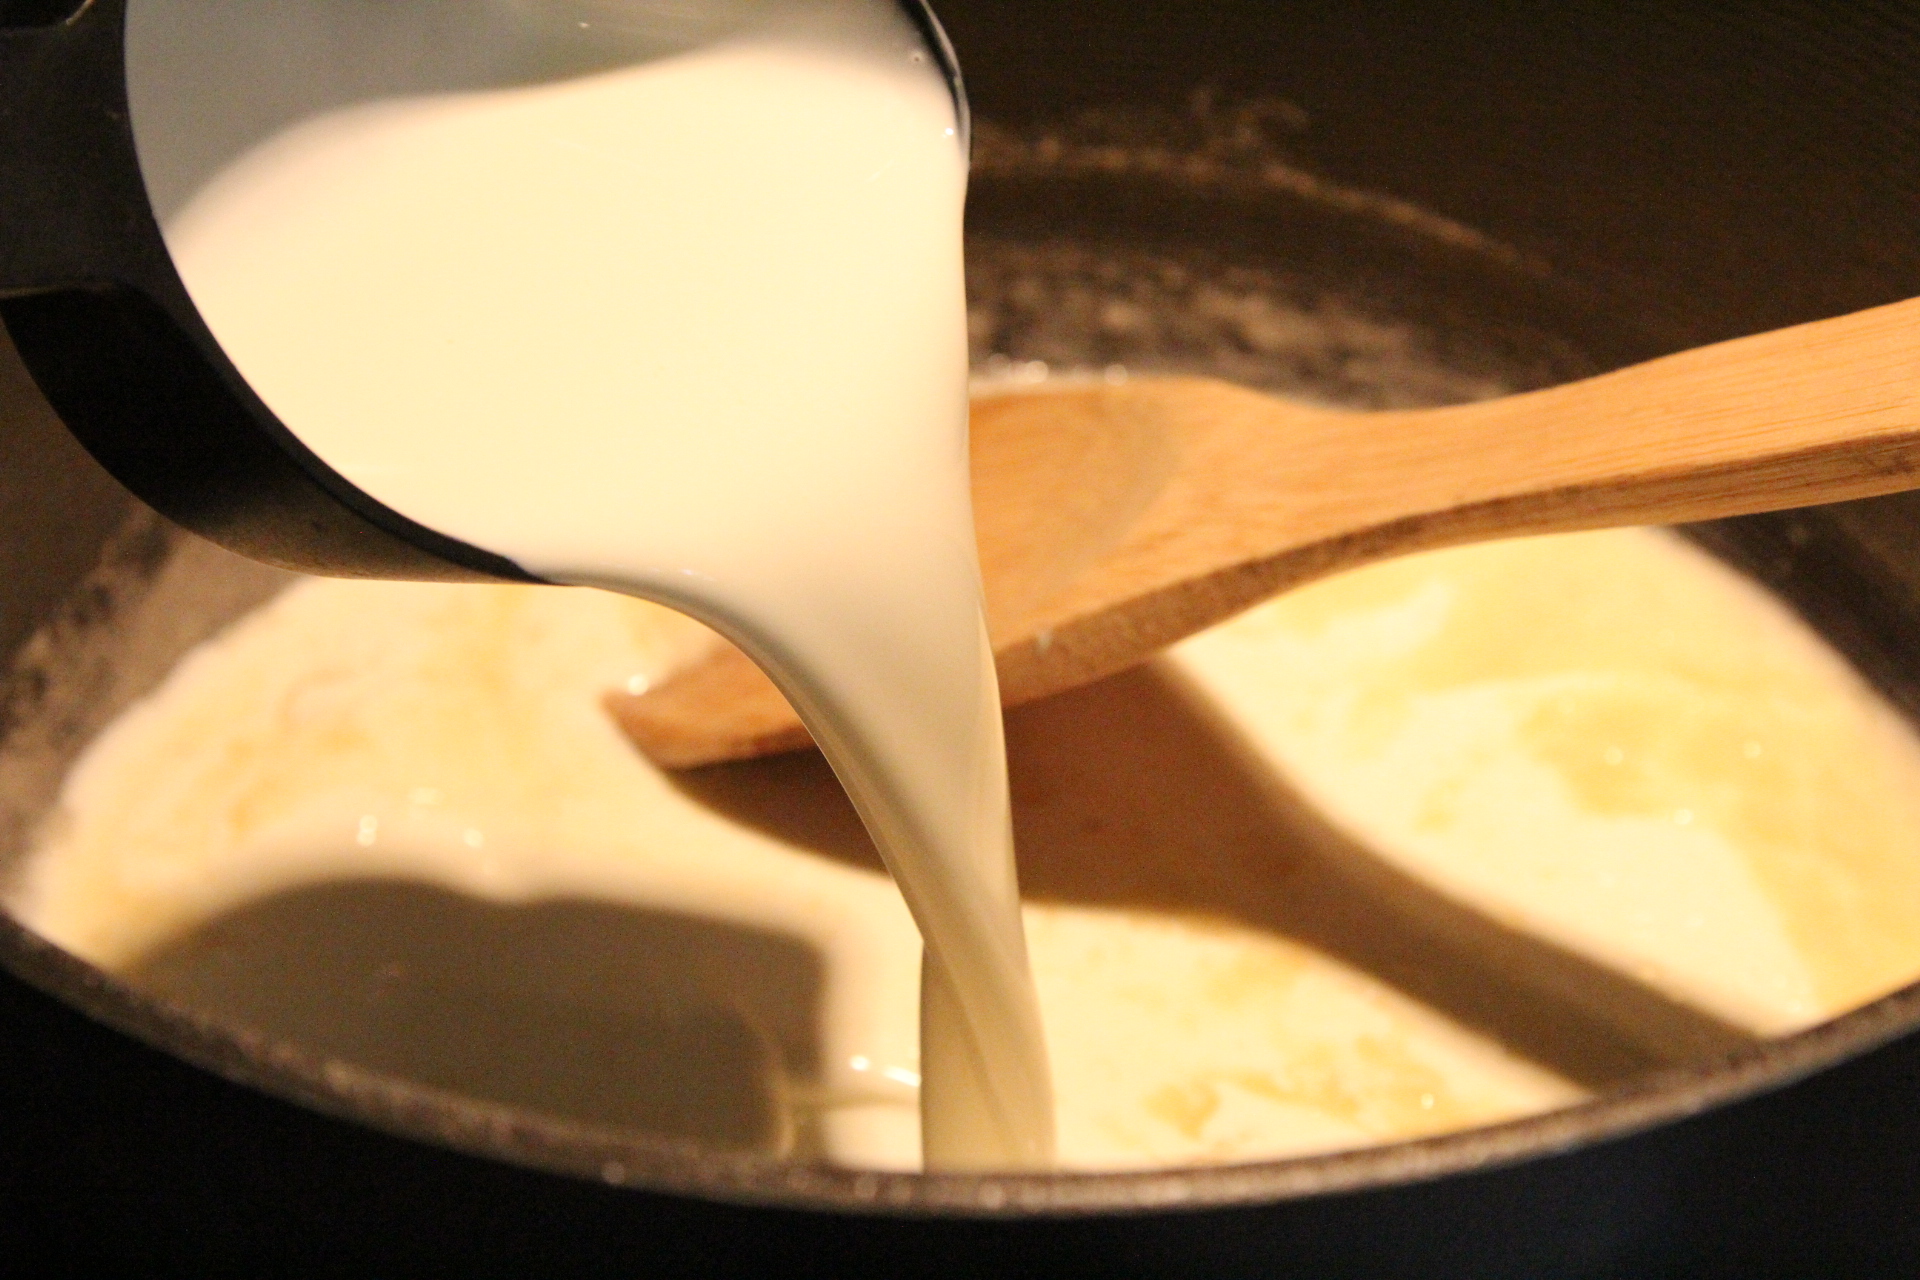
Keep staring until this thickens up.
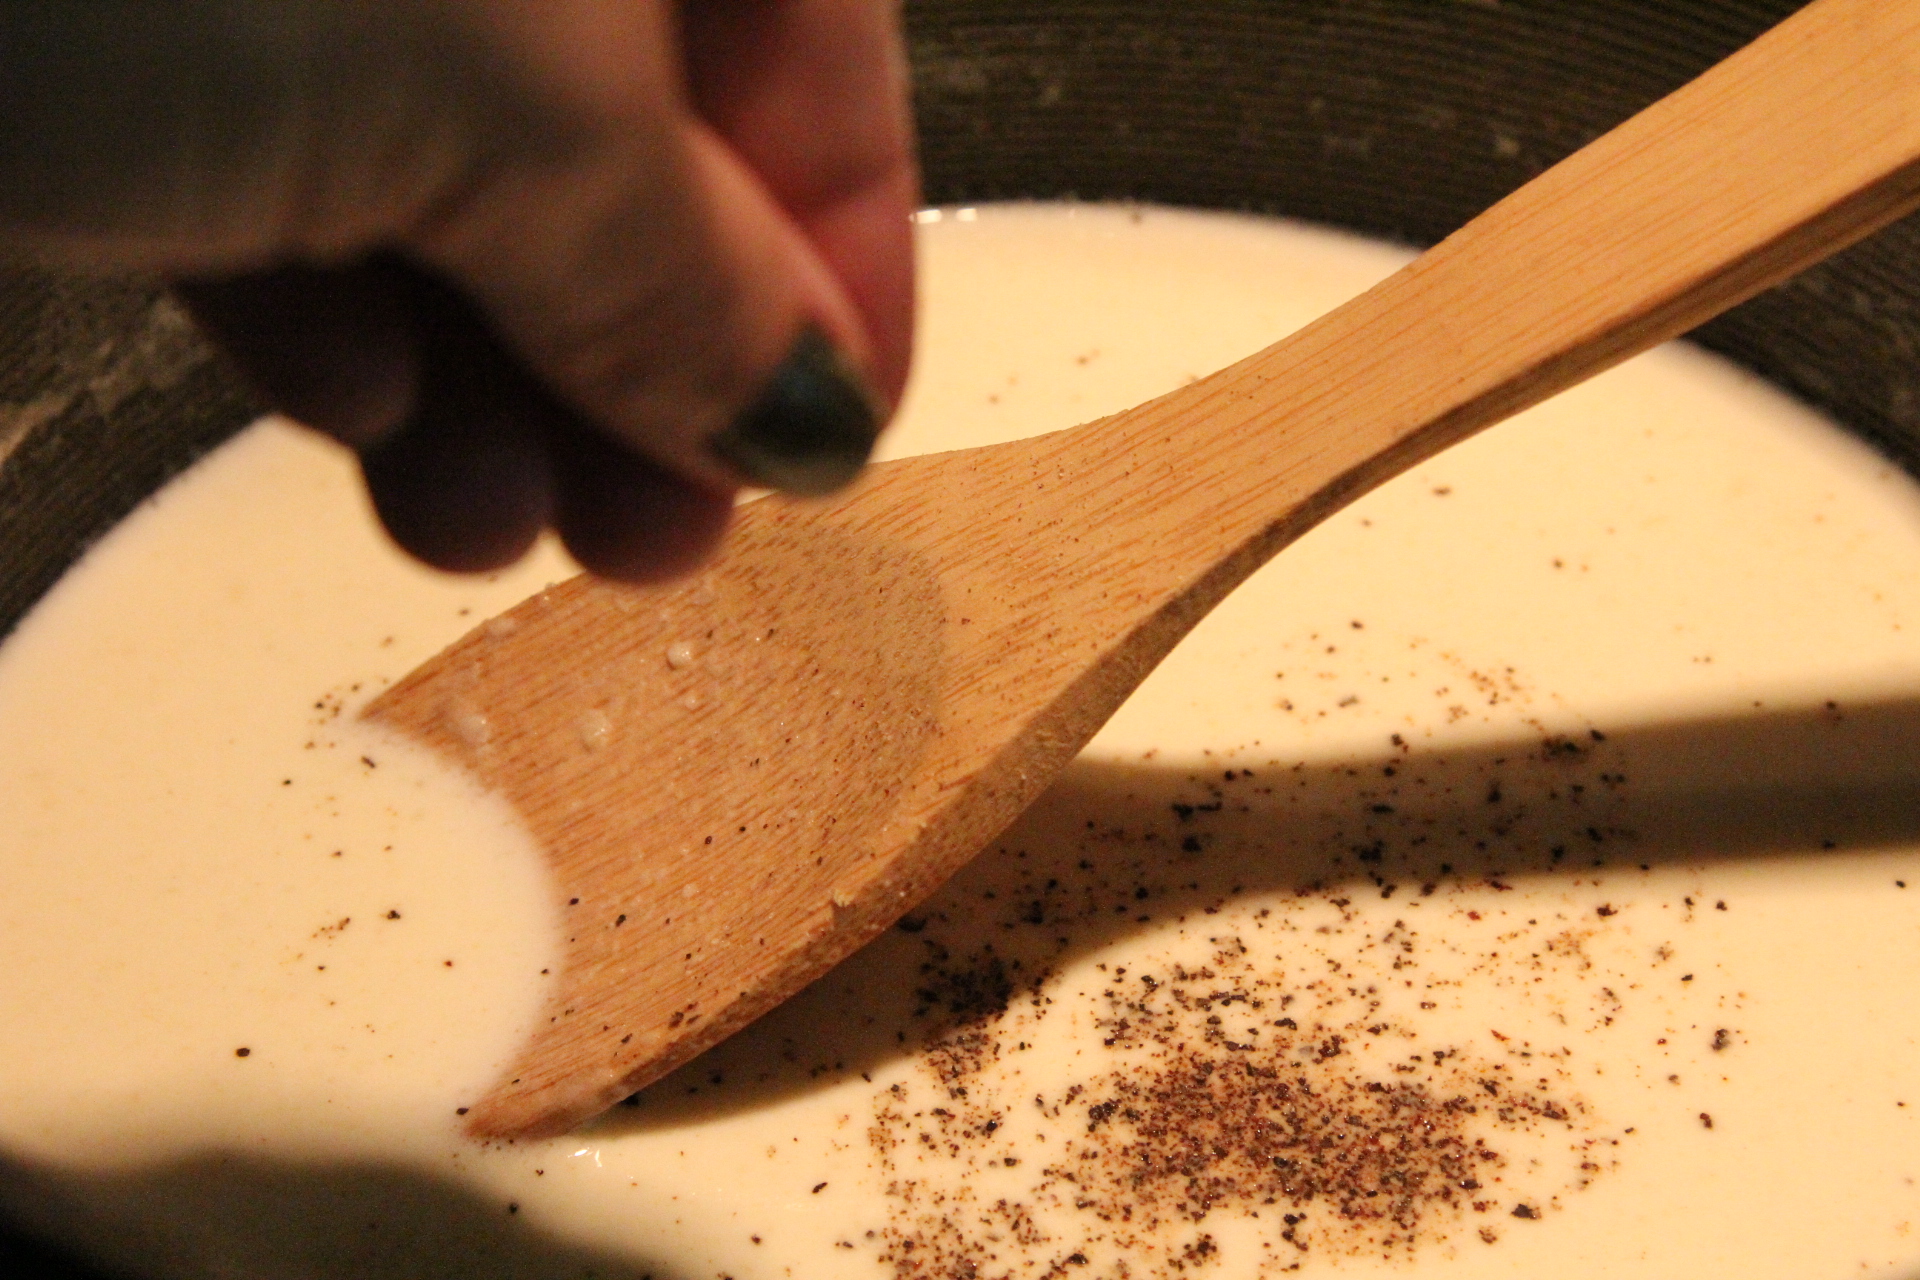
Season with Salt and Pepper.
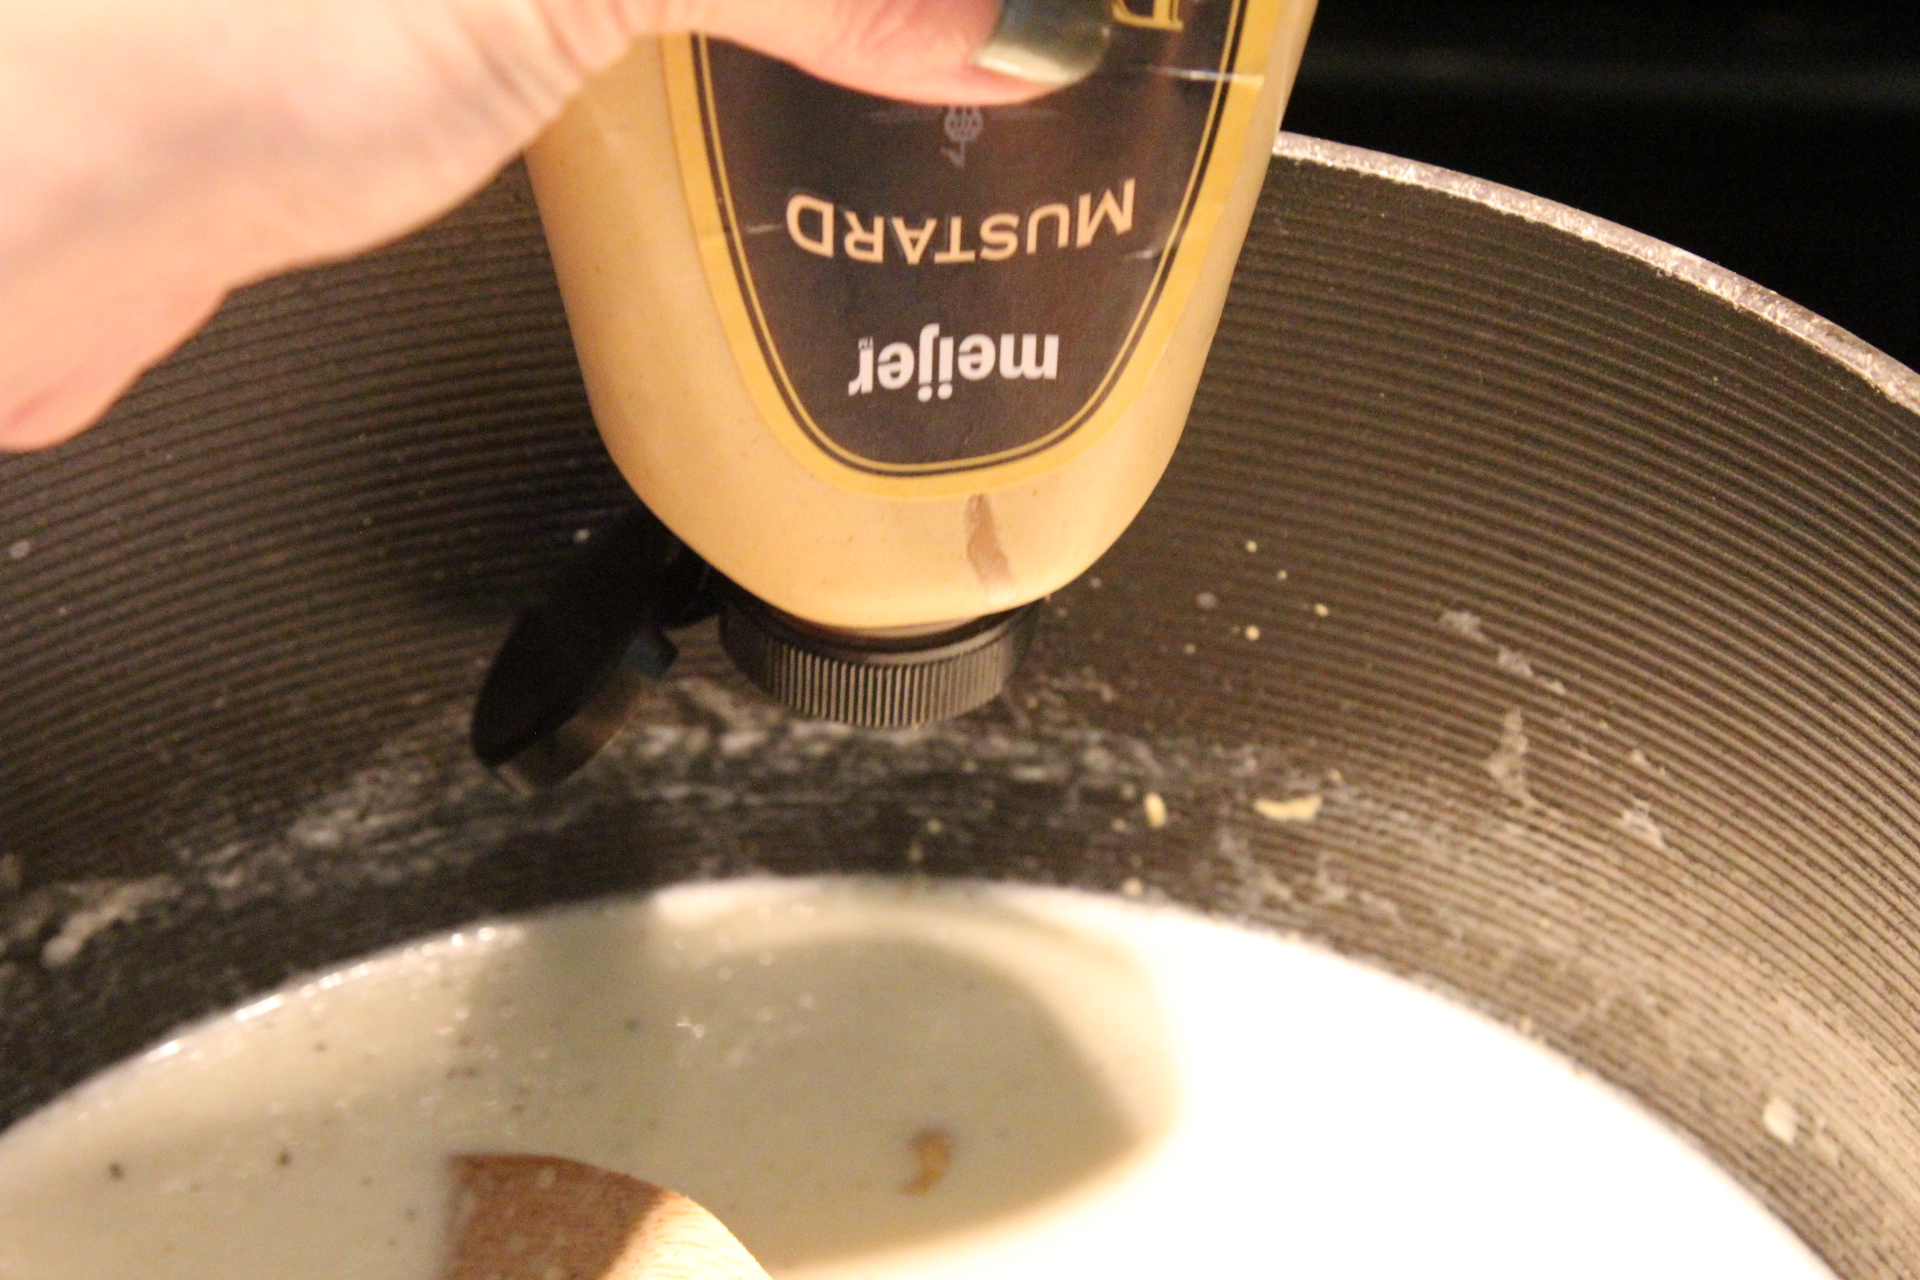
Add in the dijon mustard and stir until all incorporated.
Add the cheddar cheese a little at a time, stirring to slowly combine as the cheese melts. I reserve about a 1/2 C of cheddar cheese to add in later and I don’t measure the cheese. Basically I bought a 3 C bag of shredded cheddar and it looks like 1 C remains after the mac and cheese is made.

Grate the parmesan cheese and add that in.
Adjust Salt and Pepper if needed. You don’t want bland mac and cheese so don’t be afraid of a little salt and pepper.
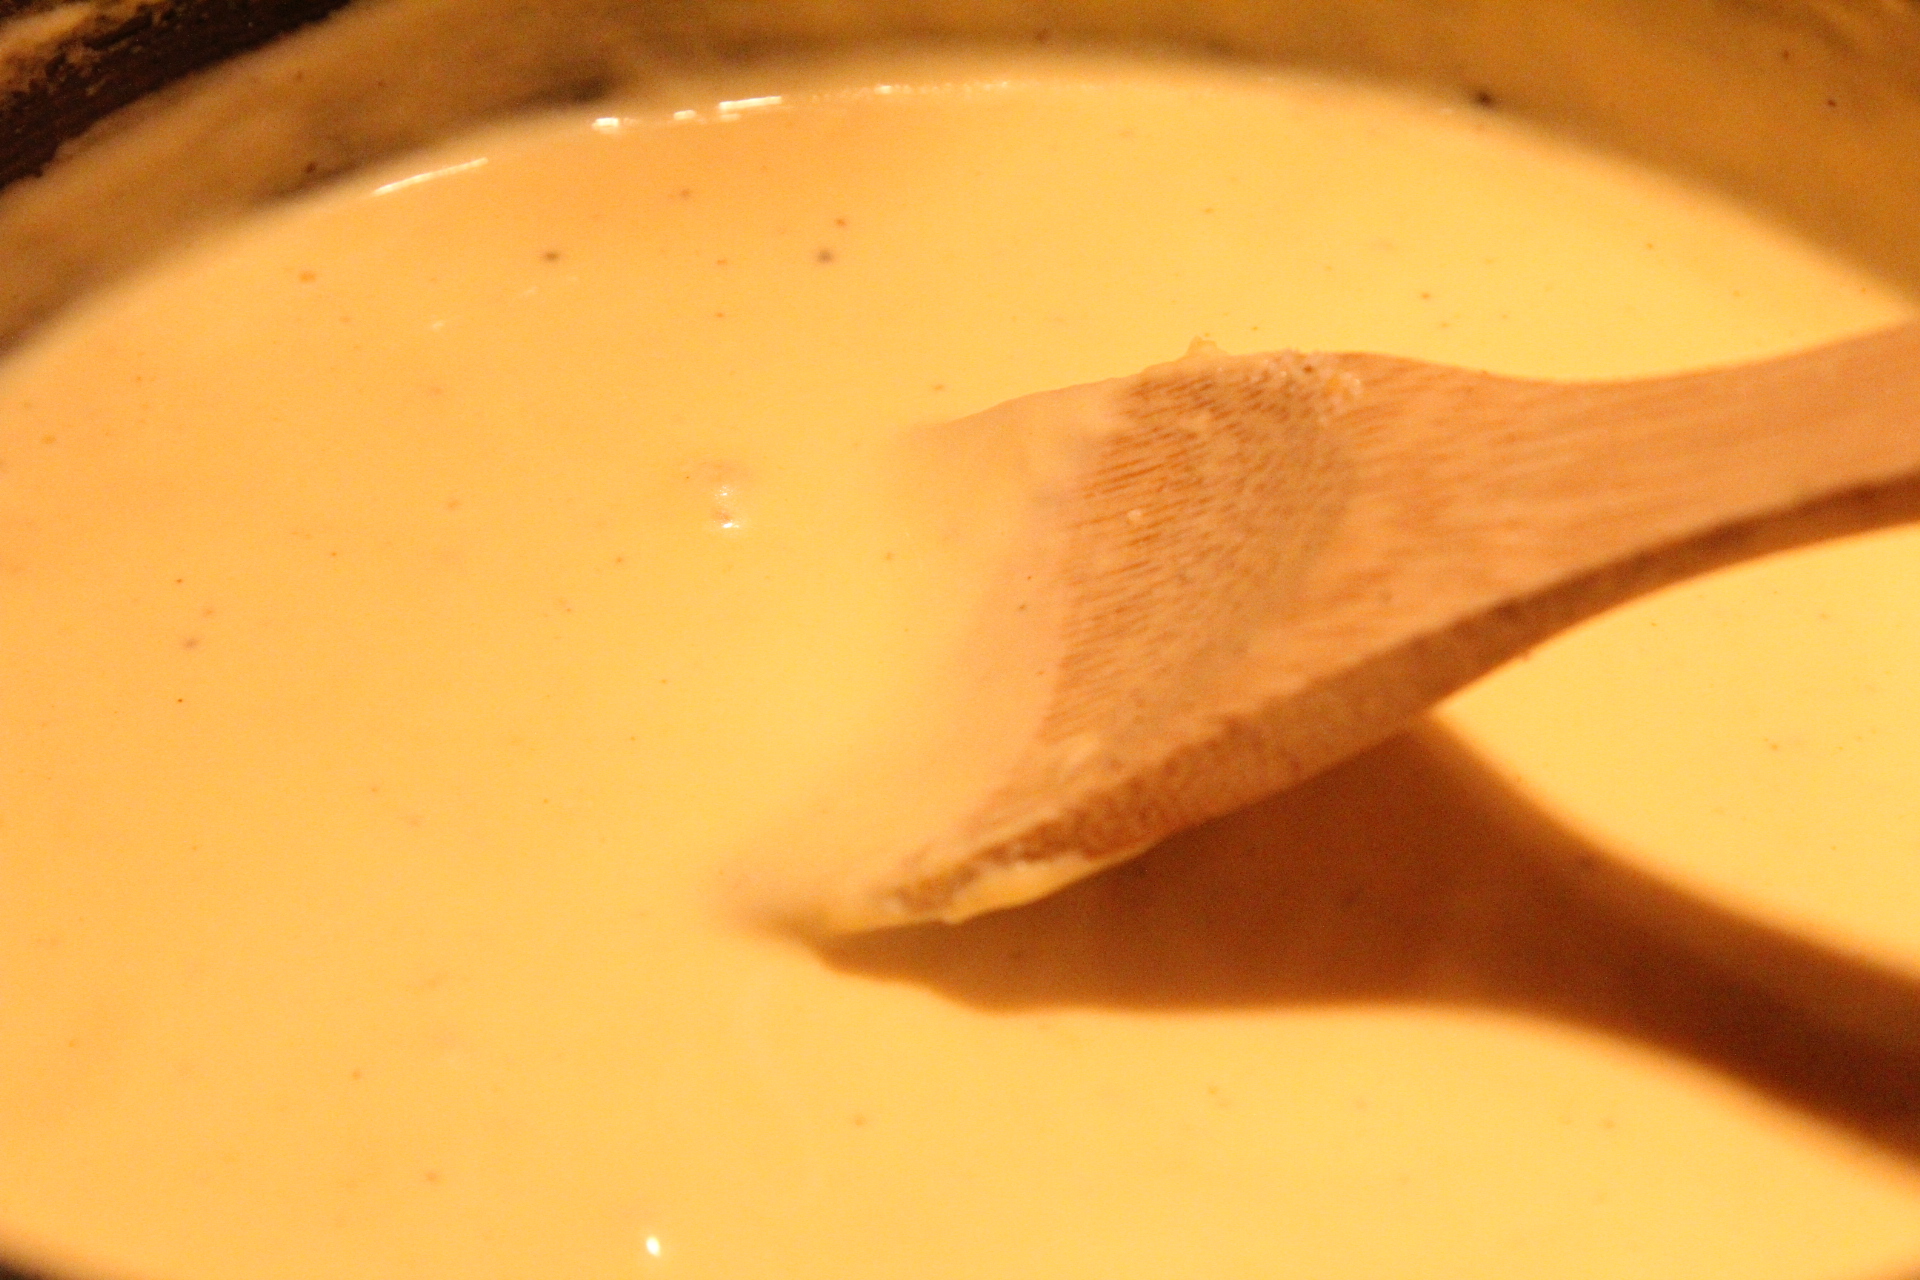
Sauce should be nice and thick, but runny enough that it will easily coat the pasta. Turn sauce on low simmer. You may need to stir in a little more milk, especially the longer the sauce sits.
Boil your pasta according to package directions. Do not over cook the pasta!
Drain pasta quickly – it’s good if there’s a little pasta water in some of the shells. This will help loosen up the sauce as you stir in the pasta. Pour the pasta into the sauce and stir until combined.

Sprinkle the remaining 1/2 C or so of cheddar into the mac and cheese, quickly stir and remove from heat. I like the mixture of liquid cheese sauce along with the little bit of shredded cheddar that may still be melting as you scoop and eat the mac.
Serve it up and eat immediately! Don’t waste any time!

This thickens up a lot in the fridge so you will need to add a little milk to any leftovers before microwaving. Give it a stir and it will be just as yummy as before.
Enjoy!
*****UPDATE 8/23/15 *****
The mac and cheese did not do well in the thermos bowls. Even though I added milk and it looked fine after microwaving, with the lid on as tight as can be and all that heat trapped inside, it continued to cook the mac and cheese and it was a little rubbery, dry, and not pleasant.
The homemade chicken noodle soup was a success in temperature and taste, though so it worked well in the thermos bowl. Tomorrow we are giving chicken and noodles (complete with mashed potatoes, because that’s how I serve them), I’ll update you to let you know how that one turns out.

