For today’s post, I thought I would share with you a little home project that my husband and I took on a few months ago. Actually, it’s been an ongoing project for a few years since we weren’t happy with our first result. A busy family of five needs some sort of desk or table for homework, writing, and a spot for the computer so after we moved into this house, my husband and I were on a mission to improve our desk area. We do not have a designated room for an office so we just use a corner of our living room as the office hub. Although, having more space and a separate designated office would probably be more productive for me to get more blogging done, honestly I wouldn’t want to be all alone in a room without my crazy dogs and family around. I also like the girls to be right where I can see them if they are on the computer so our little “office” in the corner of our living room works for us.
When we moved in, we brought along all our furniture since I can’t seem to let go of much. We had an antique desk that I had purchased several years back as our desk in our guest room in our old house so it became our full time desk in our current house. It’s a bit small for a family shared desk and lacks storage for all the clutter and stuff that you need in an office space. So we looked online and came across an idea for a craft table/desk on ana-white.com. If you’ve never stumbled across her website, I recommend it. It’s full of great ideas and very clear and understandable plans for those who may not be an expert (like us :)). We found plans to build the desk just as she did, bought all the wood and went ahead with it. Here are the plans if you are interested in making the craft table. It took a few weekends and days off to complete with the construction, sanding, painting and then sanding and staining the top. We were excited. This was going to solve our desk problems for sure. Plenty of shelving for media equipment, room for baskets to hide the desk clutter and plenty of room for the computer, multiple stools for the girls to sit and do homework or crafts. Taller desk height also meant we could stand or use stools which was neat.
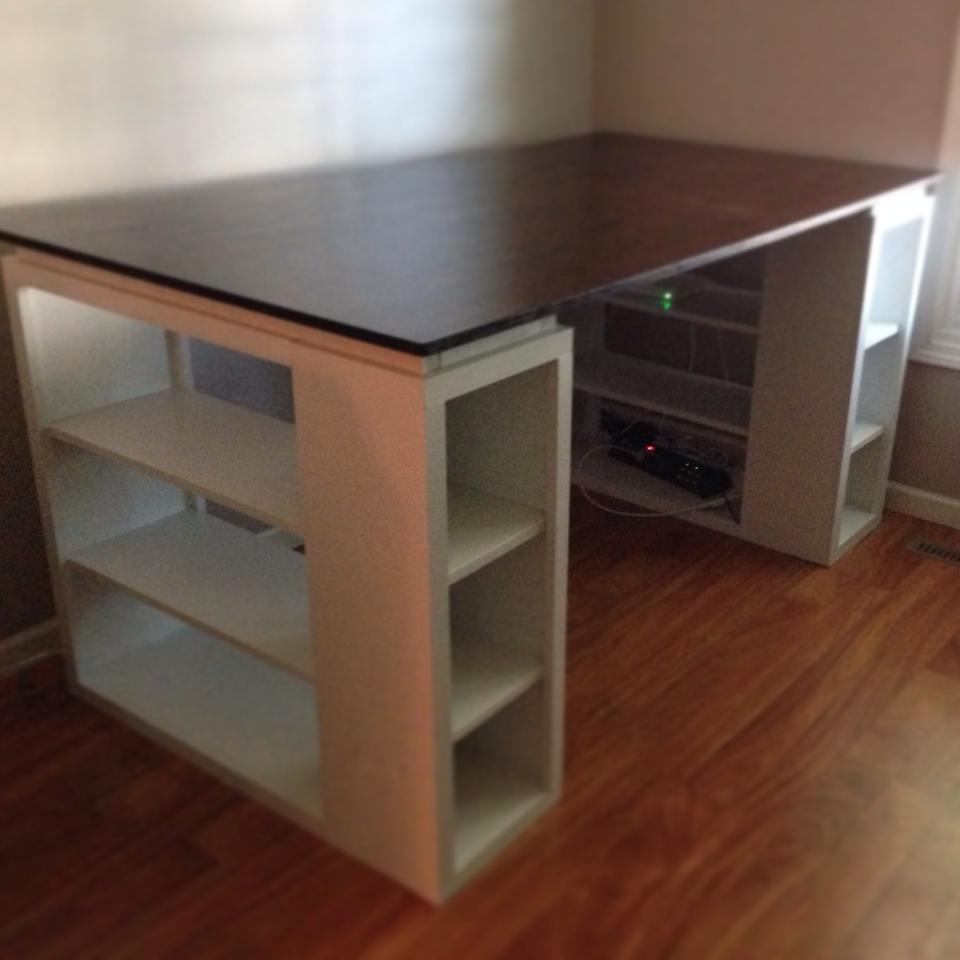
The desk came out very nice, however when we brought it into the room it just looked massive. Our room was overtaken by this enormous, but nicely constructed desk. So we decided to move it back out into the garage where it had been built, move our old standby antique desk back into it’s spot and rethink this whole desk thing. We love antiques and a mixture of old and new, classic with a touch of modern. It’s hard to find when shopping for a desk. Either they were too dainty, too far gone, lacked storage options, or just way out of our price range. Pottery Barn and other high end stores seemed to have a few we liked, but we were not going to spend that kind of money on a desk. After many many, many poor furniture purchase choices over the years, we try to be smarter now. We try to be budget seekers and really find the best fit for our family, instead of buying the first thing we see. Luckily, we were able to sell our craft table/desk at our garage sale last summer to a young woman who sews. It was a perfect fit for her and we were happy to see it go to her home where it will be utilized.
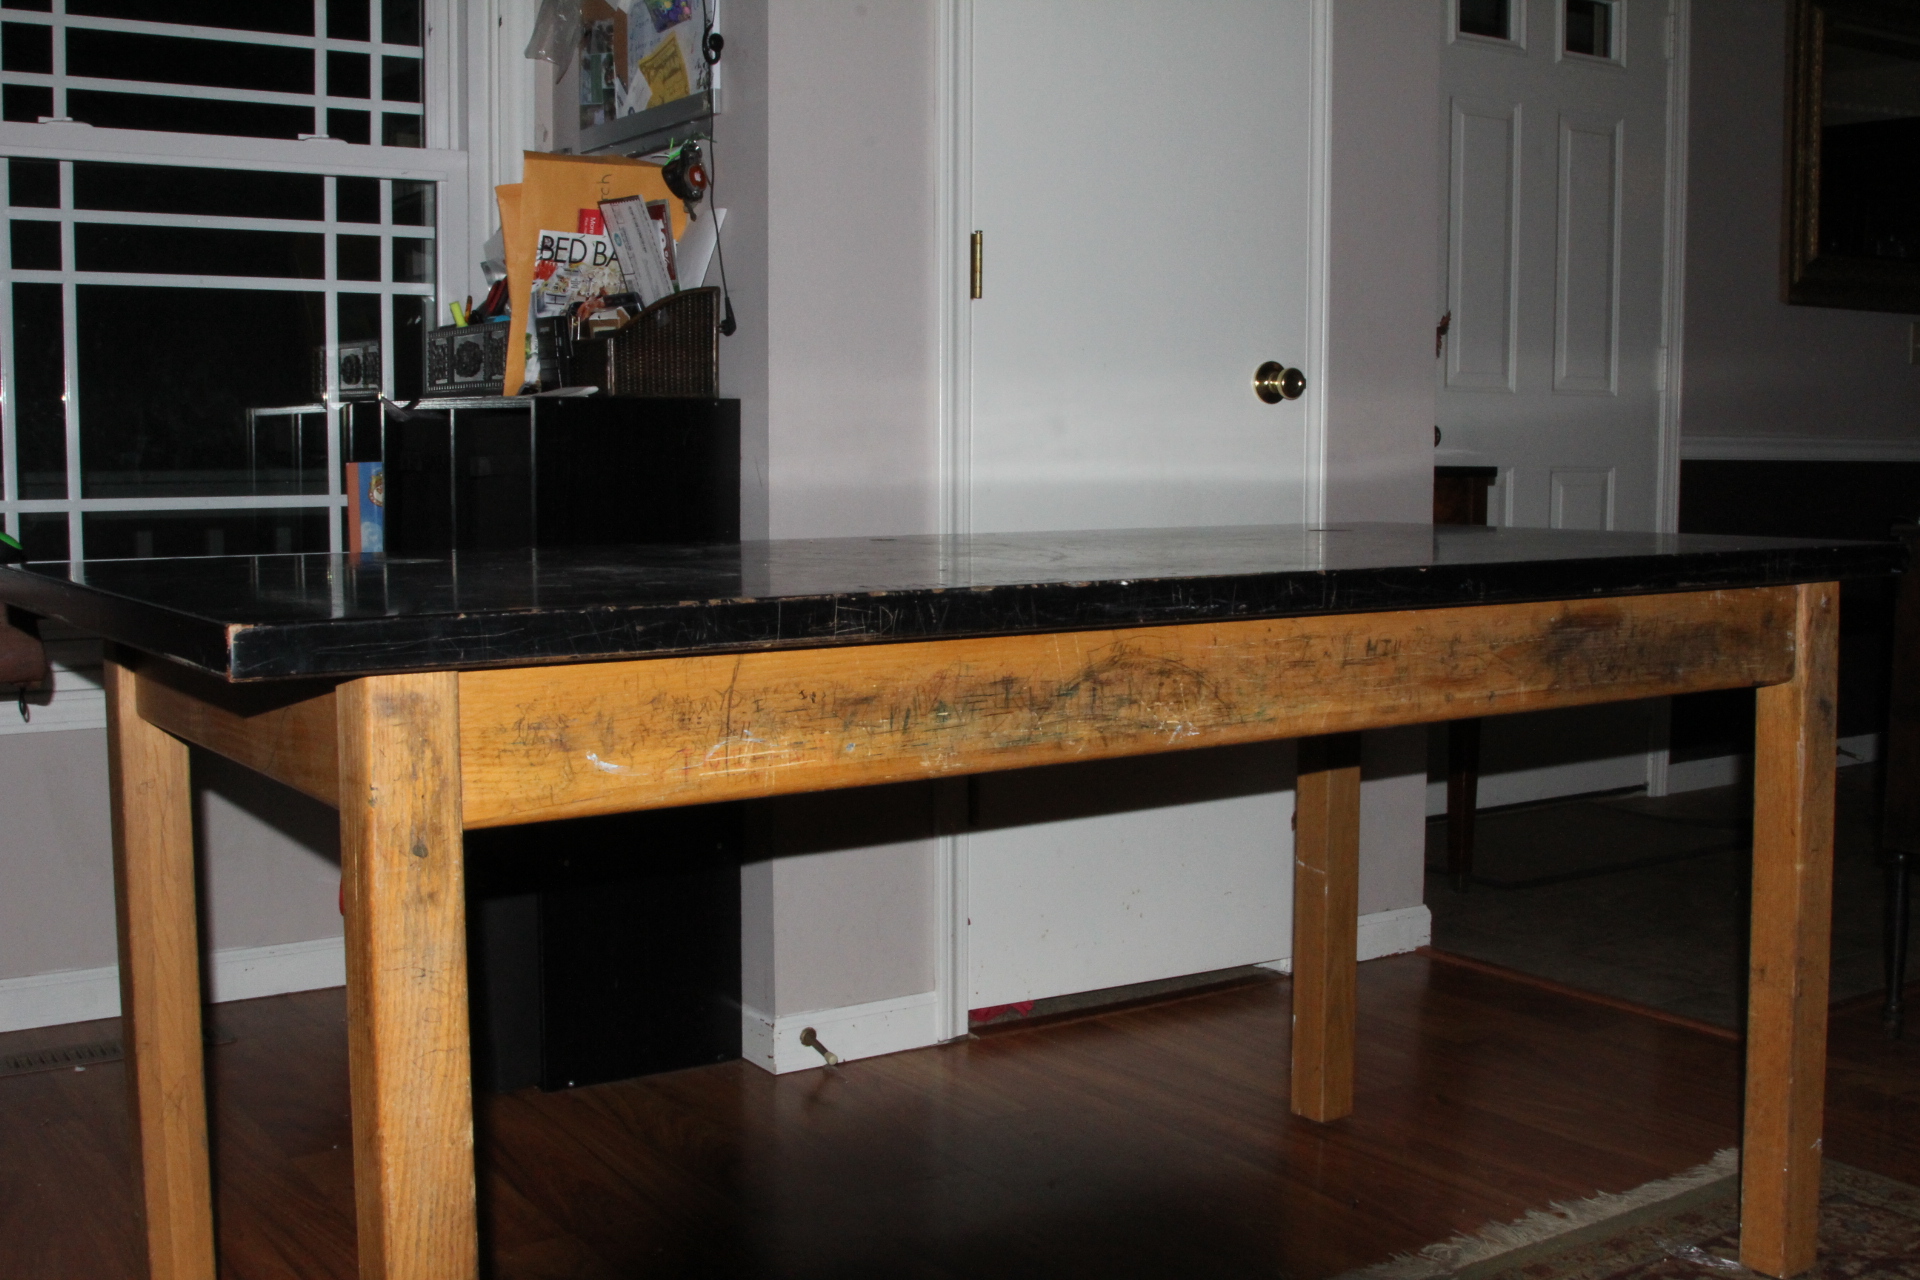
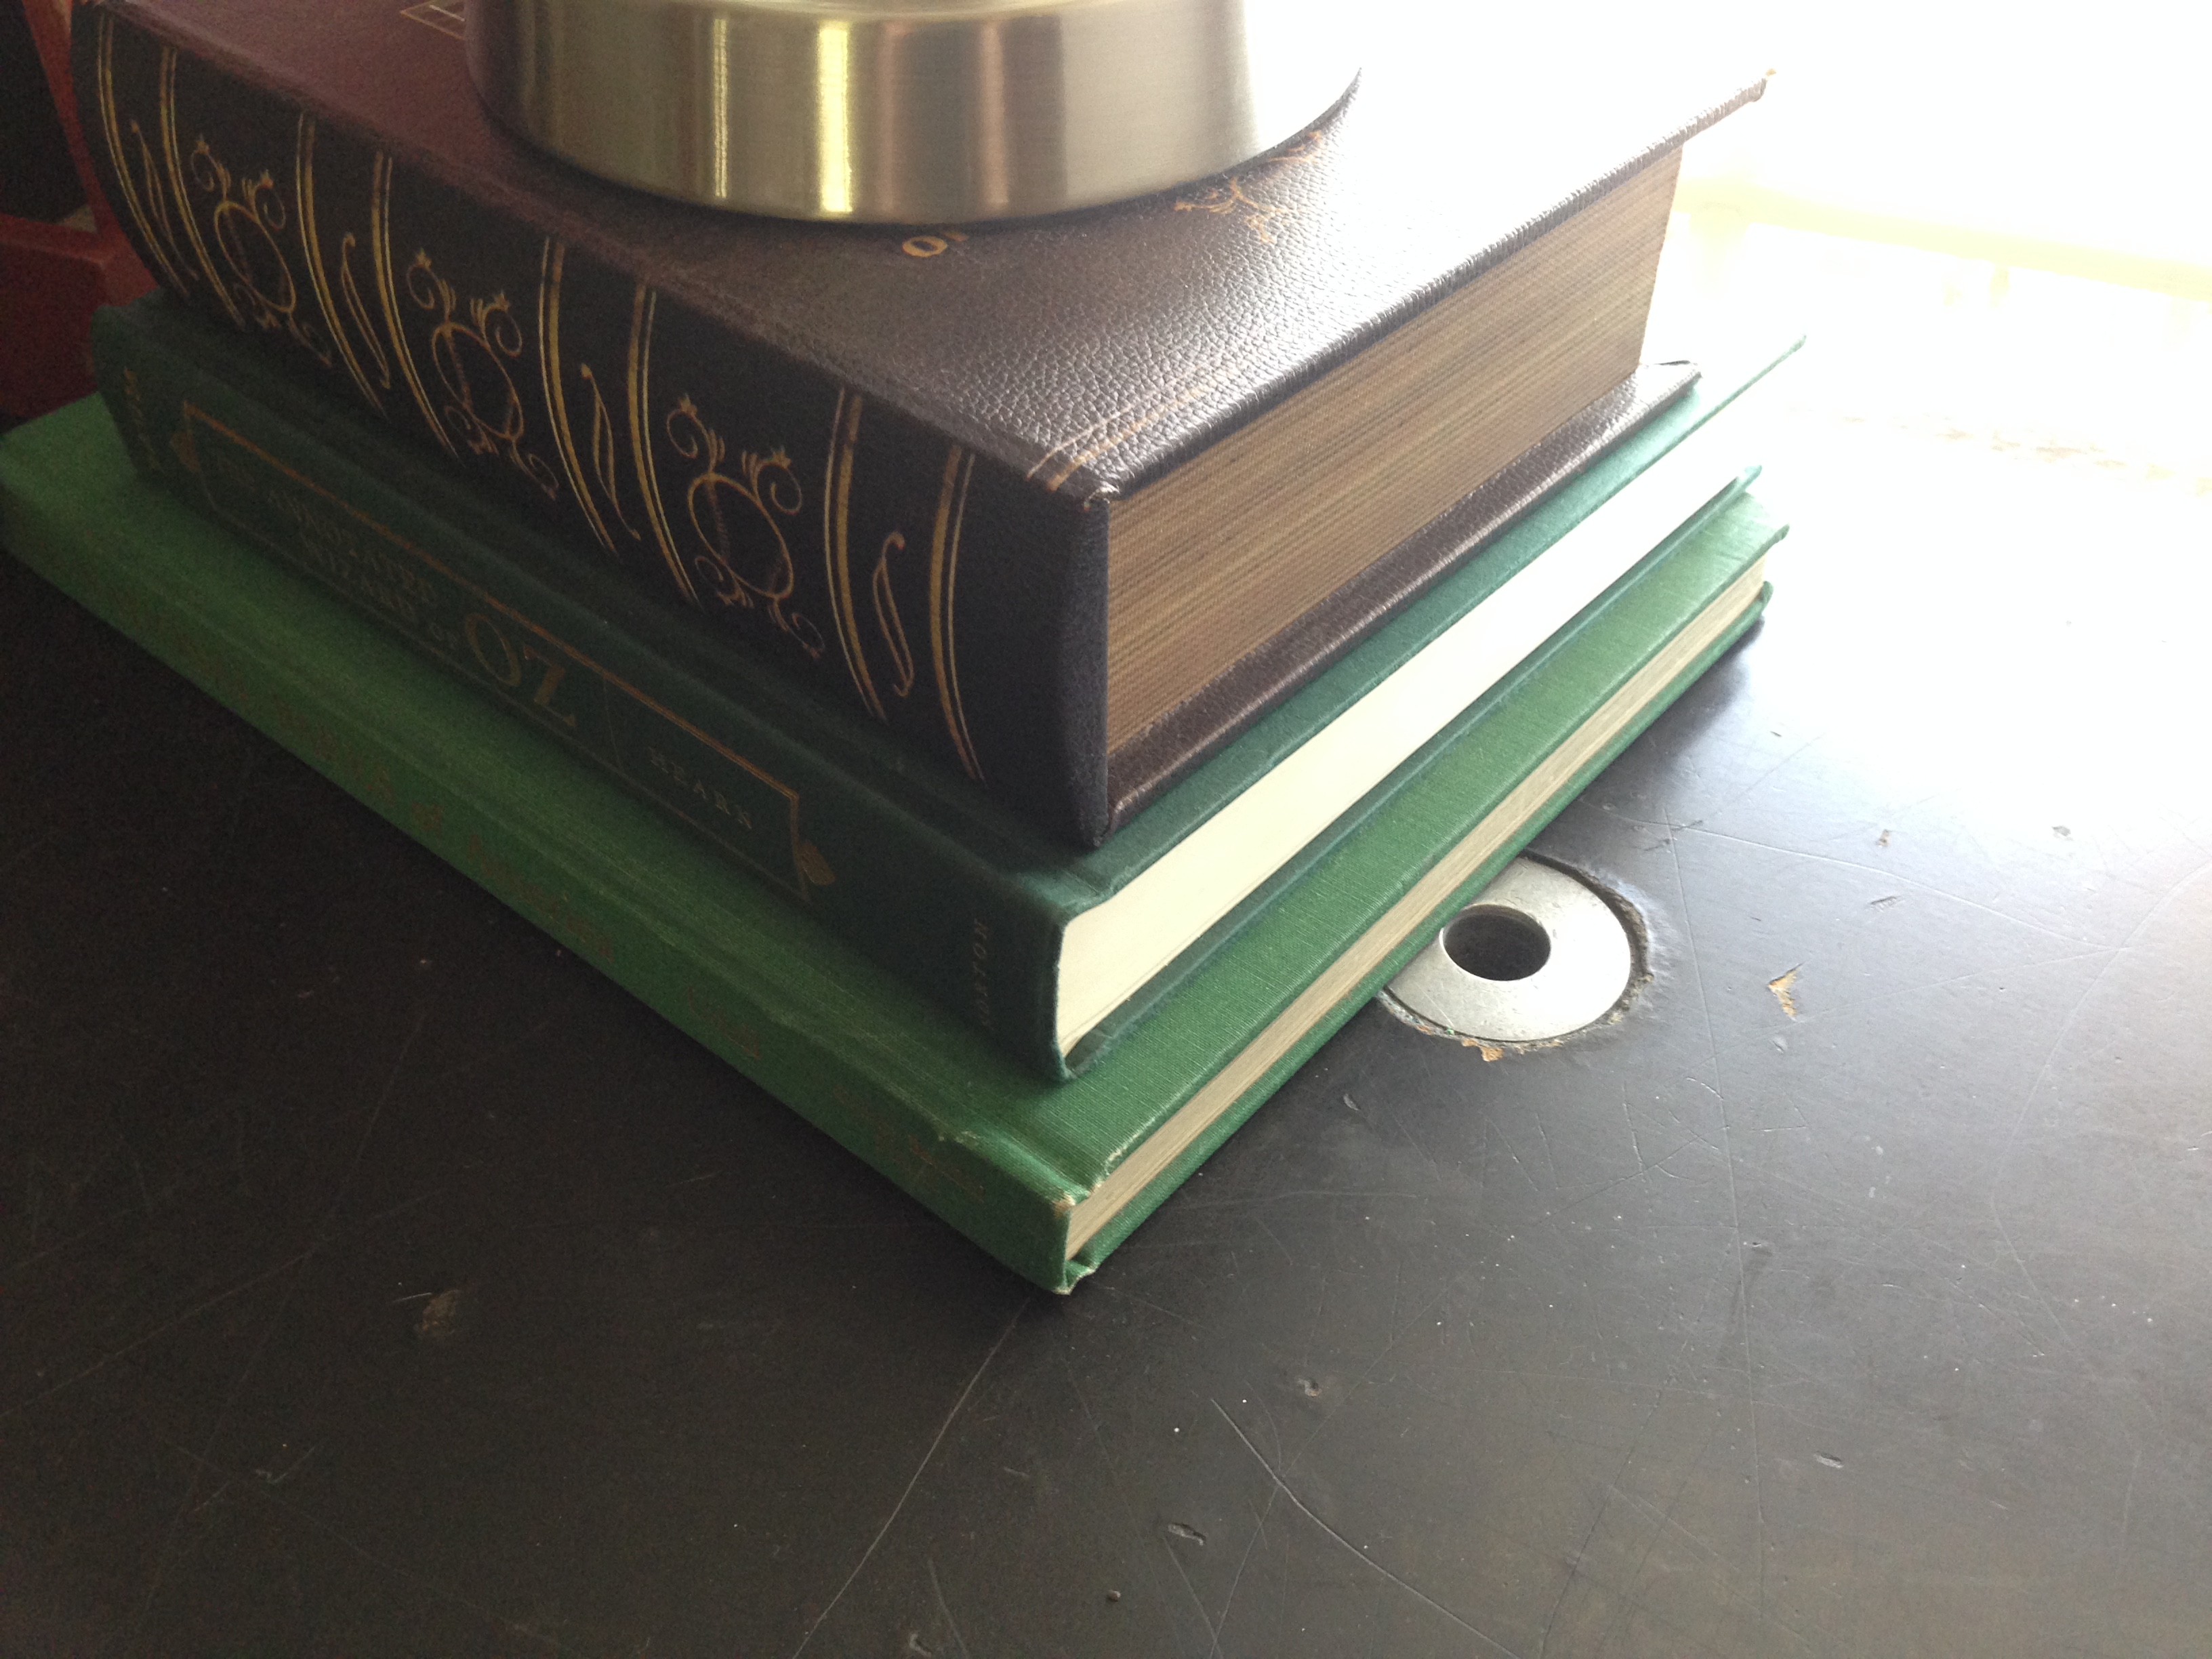
For over a year, we would look online at desk ideas. We thought about trying to build one again, but smaller and fit to our room’s size. I liked the idea of a built in look with shelves above for storage and worked with the window in our office area, but were concerned about future buyers of the house. Would they like the desk, would we have to remove it all and have a big mess when trying to sell our house. On a trip to one of my favorite antique stores Green Oak Antiques in Rochester IN, we hit the jackpot. They had this cabinet that I had seen posted a month or so prior when I thought for sure it had been sold by then. They reused an old window for the door, but constructed the shelves out of very sturdy wood and gave it an aged finish in a wonderful red that caught my eye the second I saw it. So we put our name on that little gem (it’s the red cabinet with the glass door in the pictures below) while we continued to look around. The antique store is over an hour away from where we live so when we go, we like to take our time. We make a few trips around the whole place, look in all the little nooks and rooms and their junk garden outside before we make our decisions and purchases and head home. They will hold onto purchased items if you don’t have room to take it home that day so we had them hold onto the cabinet for us. One of my favorite rooms in the place is called “The Rough Room.” It’s basically an outside room covered with a roof, but is full of the old, dusty pieces that need a little love or are perfect in their aged patina (depending on who’s looking at them). I saw this table sitting there, with a couple pieces of furniture piled on top of it and I liked the size of it. I liked the aged look and once I looked closer, I noticed it was an old science lab table from a high school or college. It had the bunsen burner holes, the scratches, the graffiti from students – it was perfect! I had to have it! I knew it would be a perfect desk and after hunting my husband down across the store, he agreed it was a great find. We negotiated the price and we were told it came out of an old science lab at Purdue University. That’s pretty darn cool. Takes me back to my high school science days for sure! I can’t help but wonder how many frogs and pig fetuses were dissected on this table!
I thought about painting the legs black and giving the top a new coat of black, but we like the rough look so we’ve decided to keep it how it is. It didn’t solve our need for storage so we decided to build our own shelves to hang on the wall. Instead of individual shelves, we wanted more of a built in look so we drew up our own simple plans for a cubby style shelf that would hang over the desk. My husband constructed the shelf out of 1 x 10’s and it is braced on the back and screwed into the wall studs through 1 x 3 boards. He trimmed out the front with flat 1 inch trim on the top, sides, and bottom. I filled in the nail holes, sanded the edges and painted it and it fits snugly in place. It will be easy to remove when we eventually move and it holds all of the office clutter nicely. I found the baskets that I liked and we basically made the shelf dimensions around that. I wanted a spot for my camera so it was easily accessible since I use it almost daily, a spot for bills, mail and coupons. I needed a place for notebooks, stationary and special markers and office items that are not for the kids. Those are safely tucked in the top basket. It was important to me to have a designated basket for each of our girls. These are in a row on the bottom shelf to keep papers and whatever else in. Everything has a place and it’s finally organized and most of the unavoidable family clutter of “stuff” is hidden away.
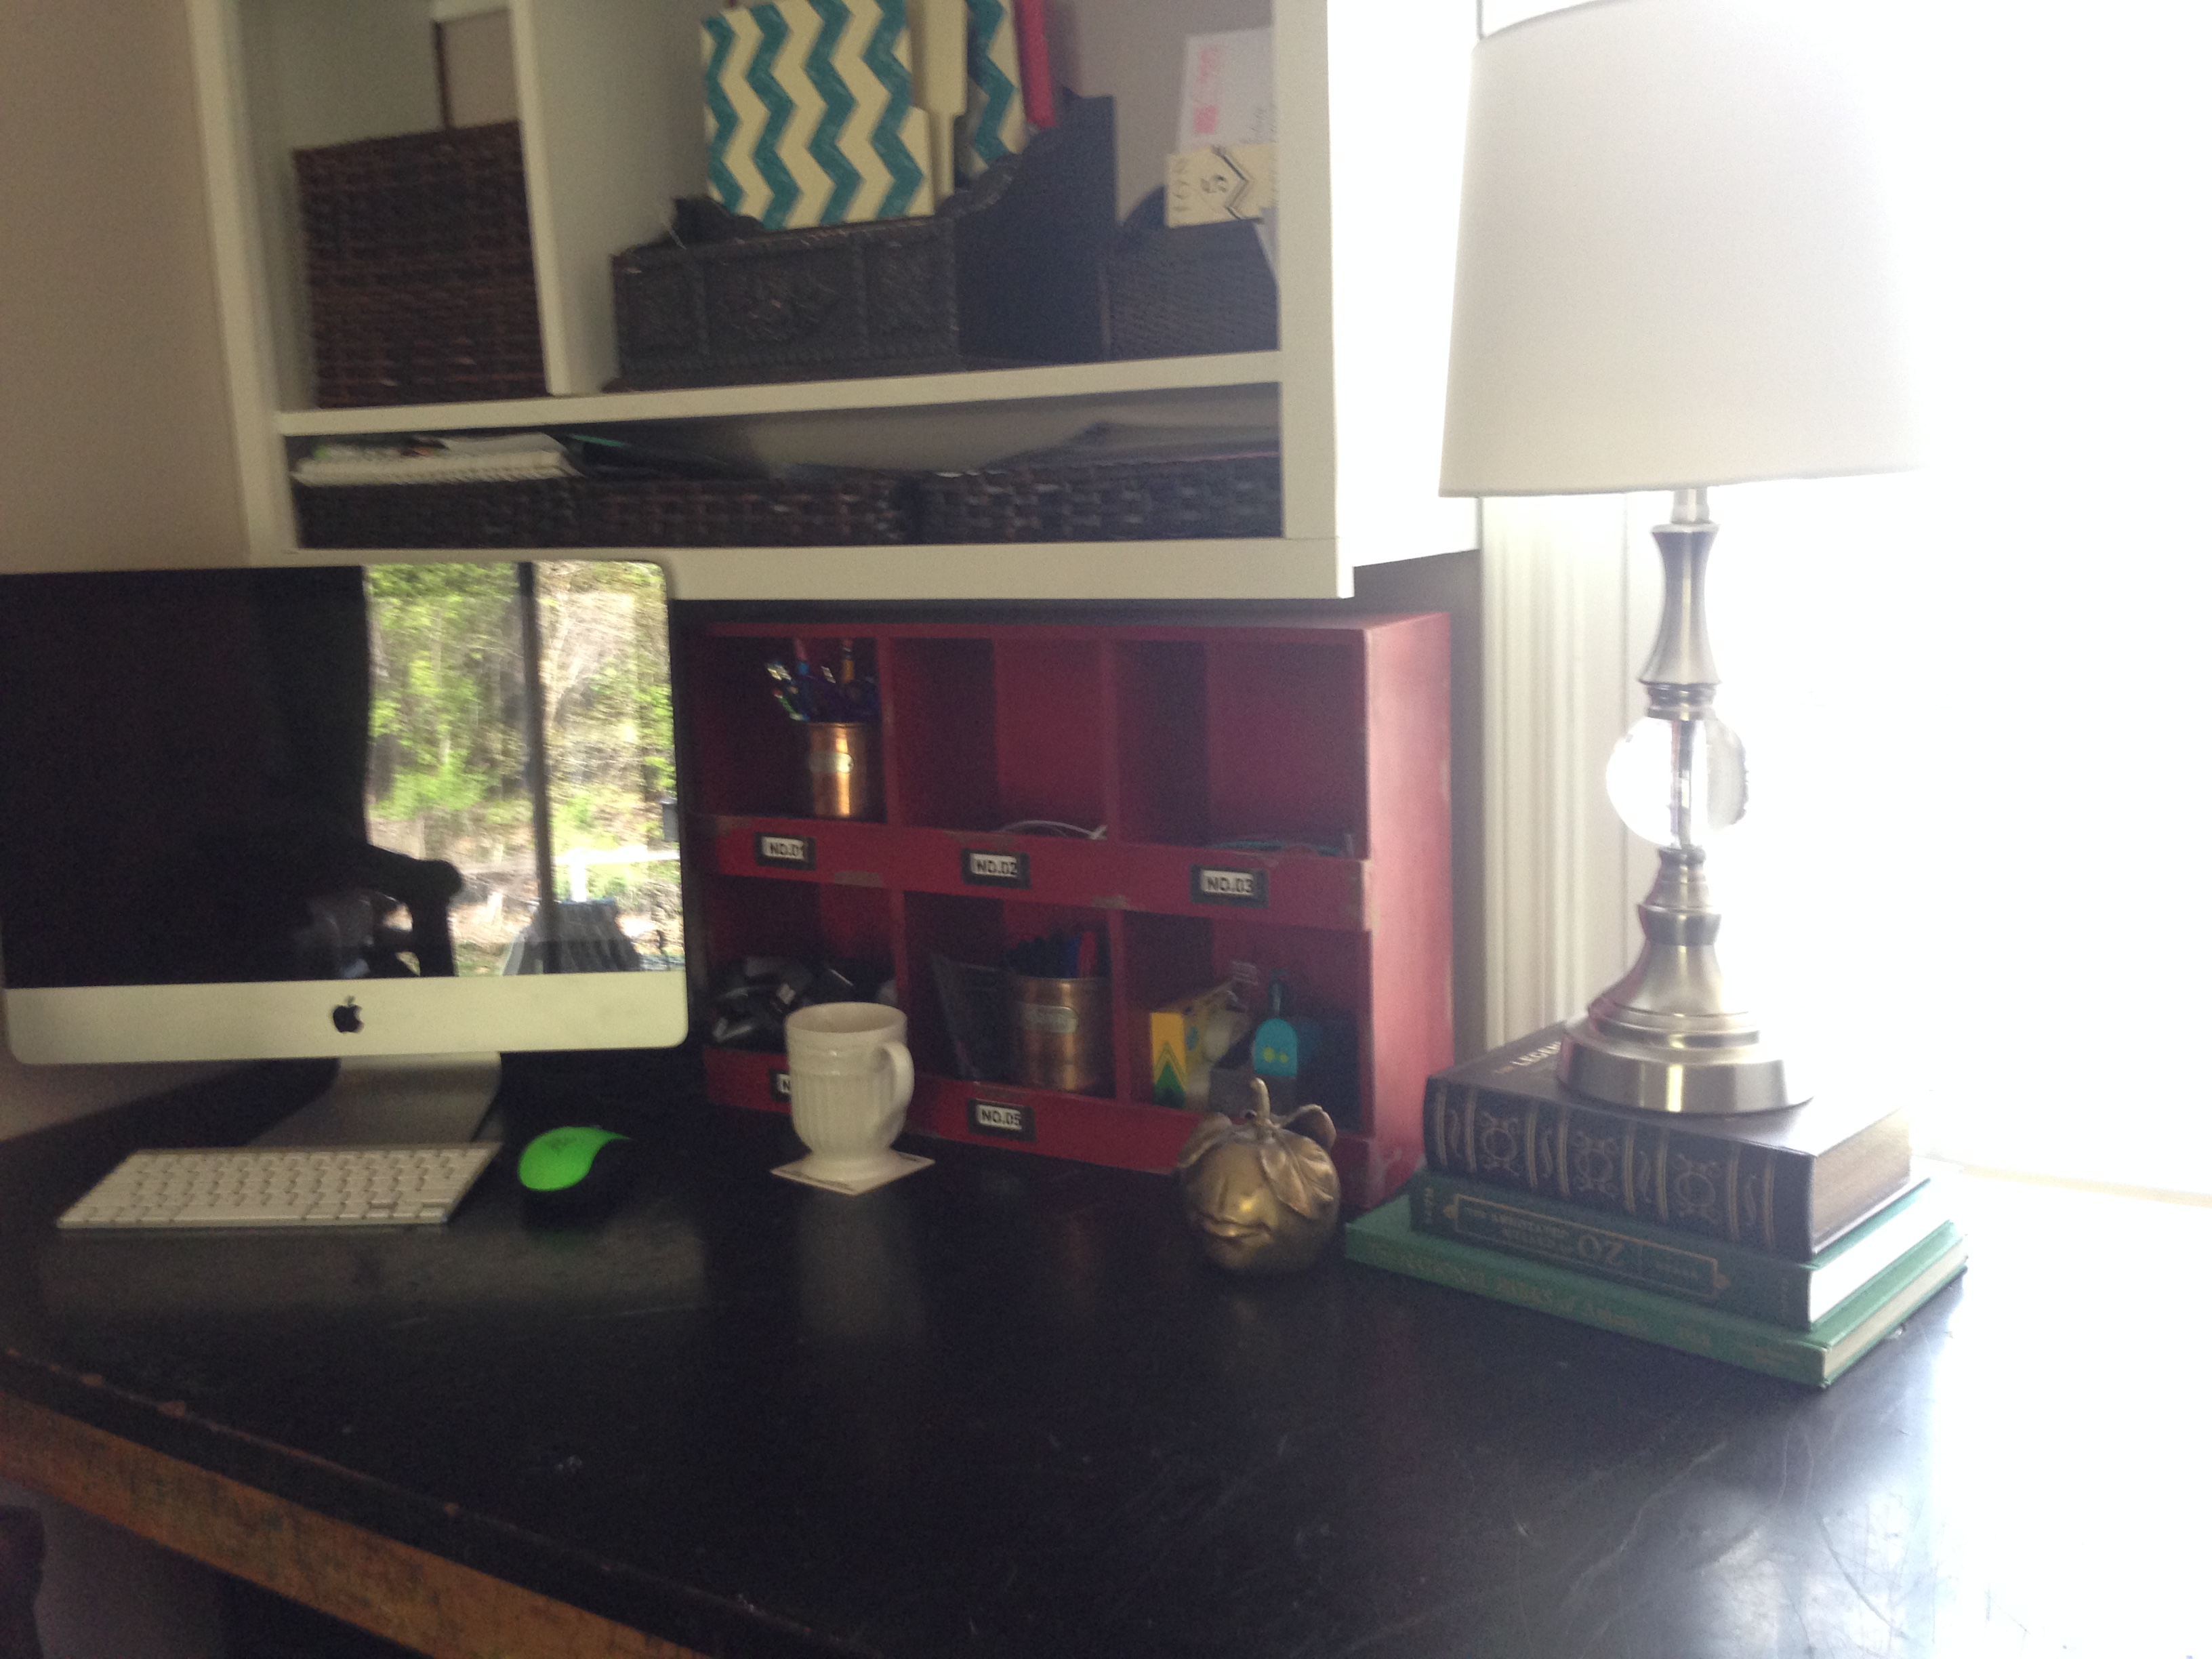
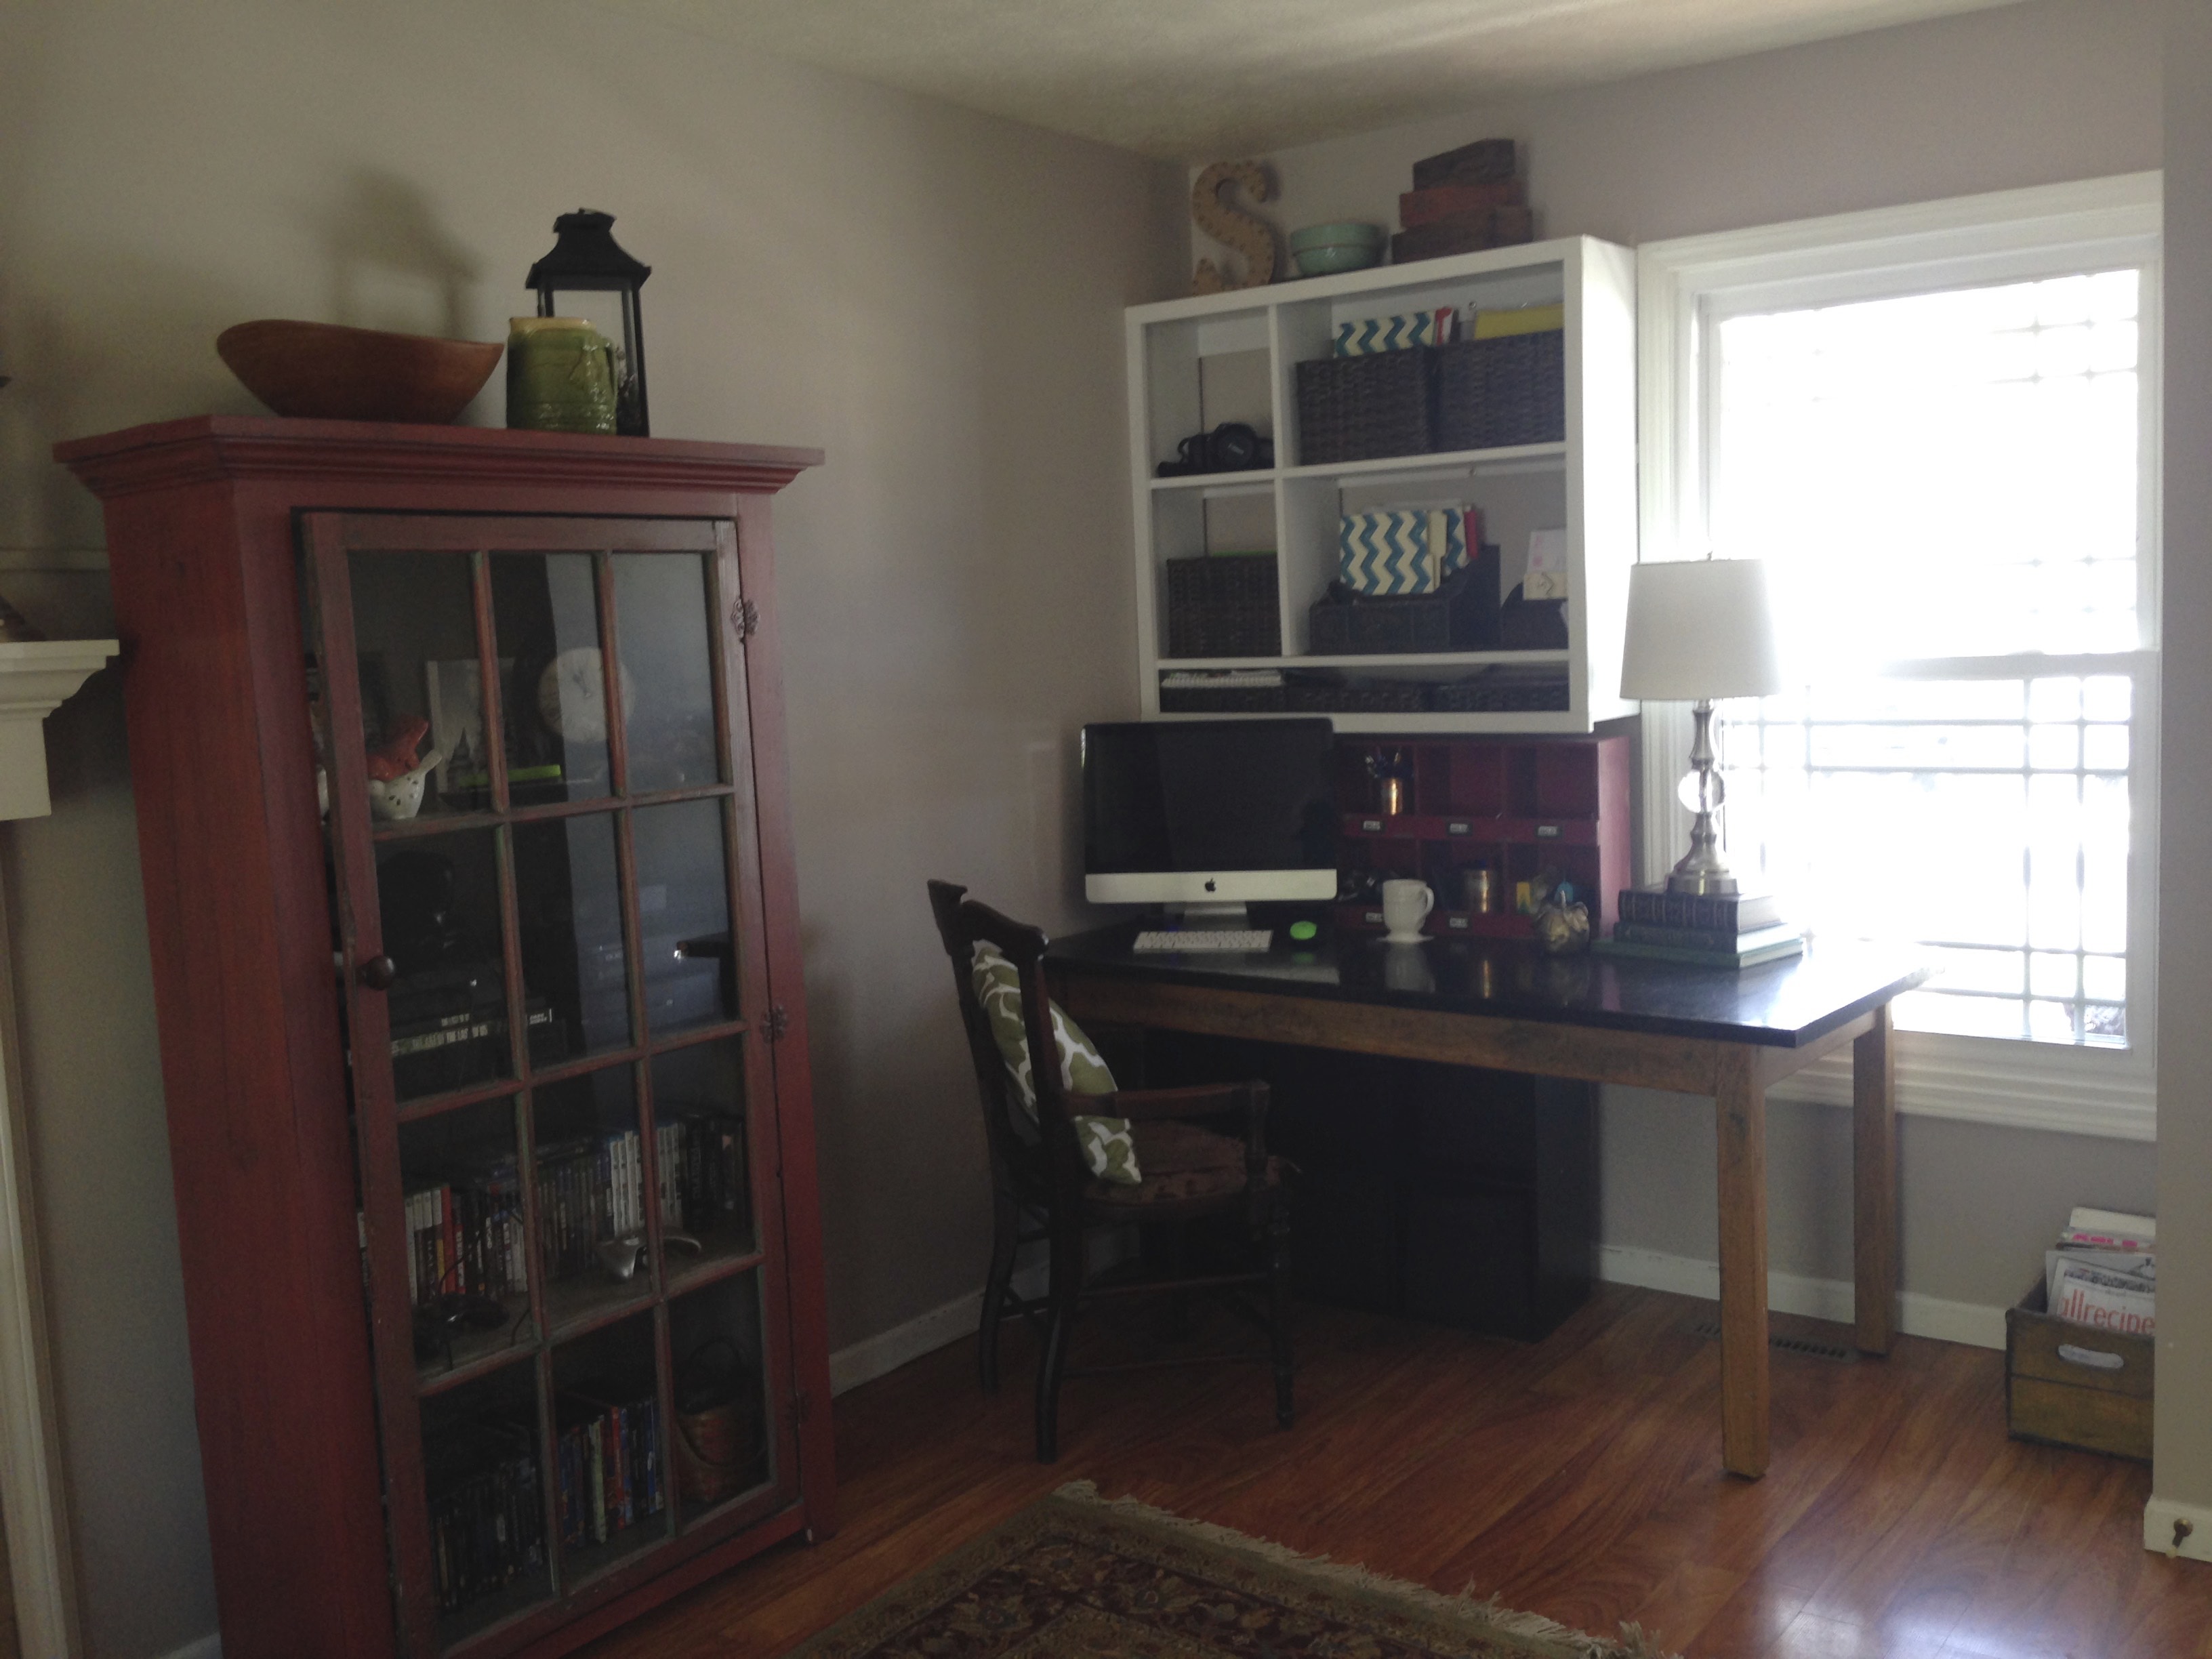
So here’s our finished office area!


I found a red shelf with six cubbies to hold office supplies, keys, and all the other stuff that we seem to bring into the house.
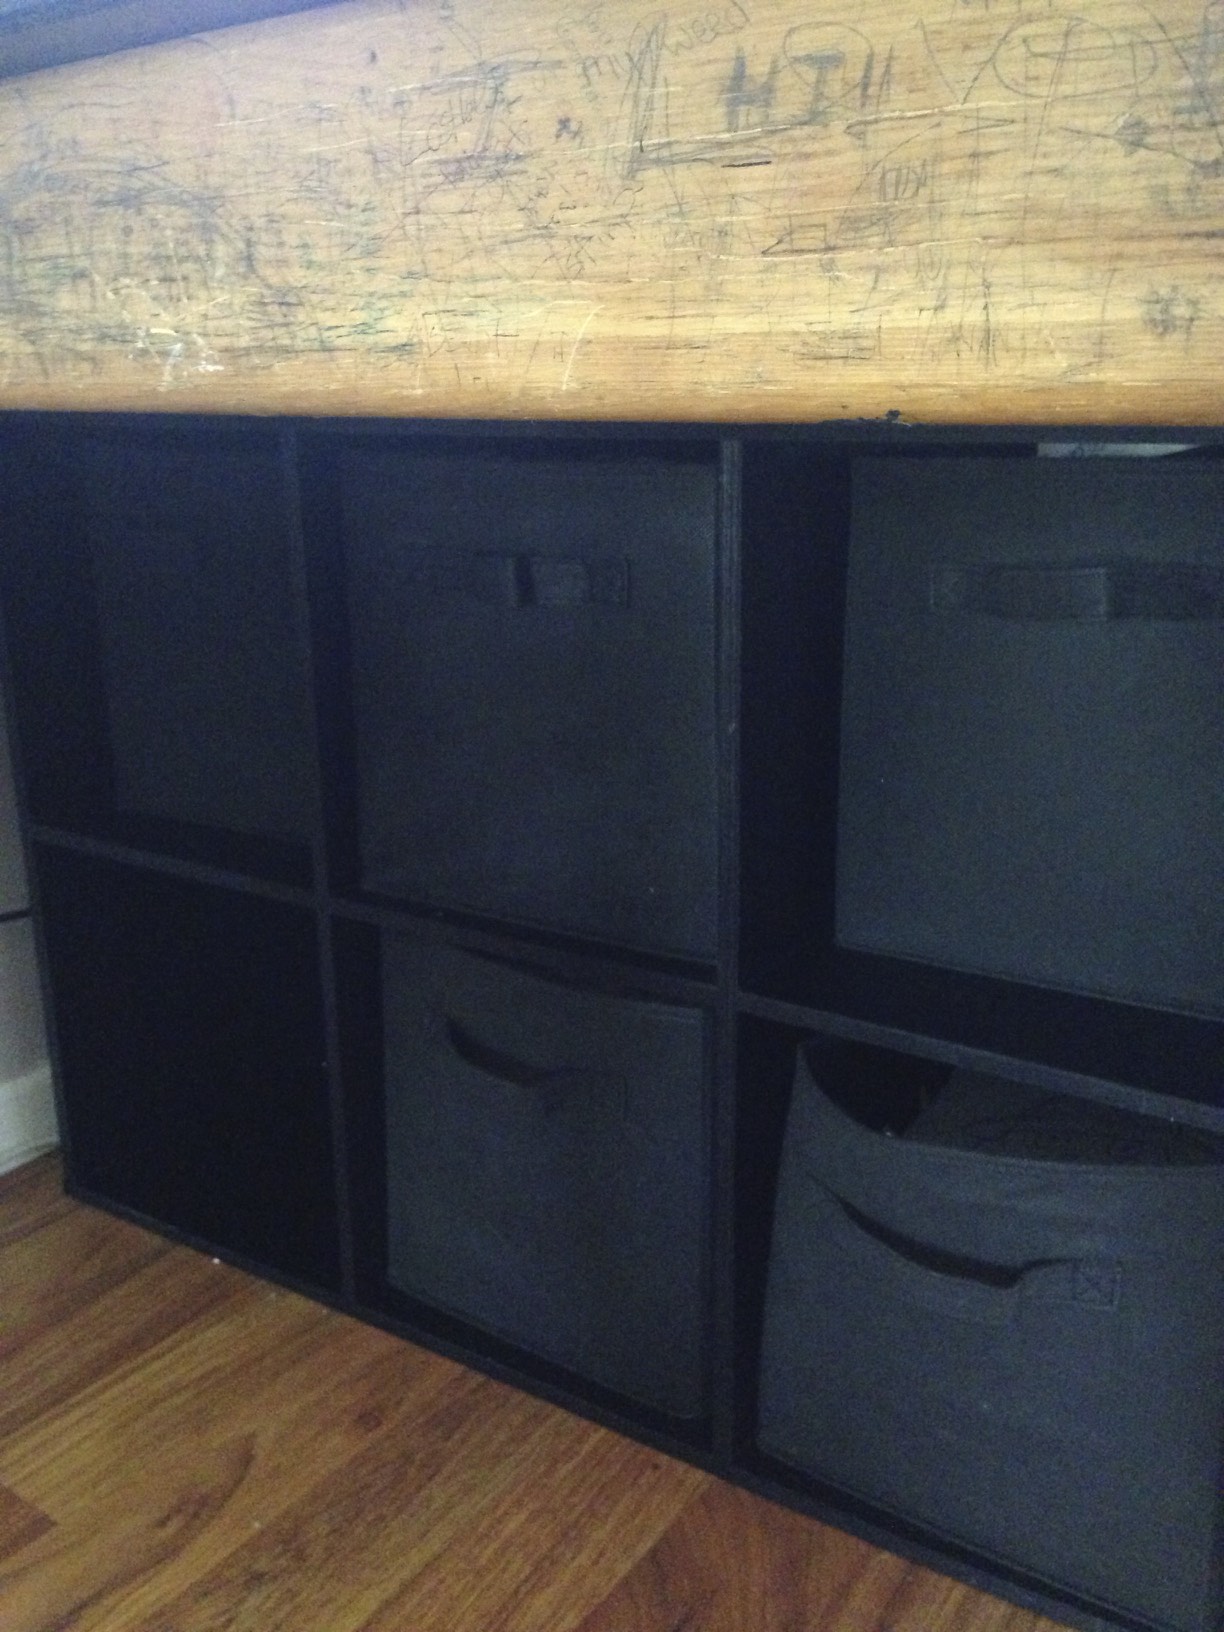
Under the desk, we turned a shelf we already owned on it’s side and use the cloth cubes to hold paper, coloring books, art supplies, and things that the girls need to be able to access on their own. It’s also nice because it hides all those pesky cords.
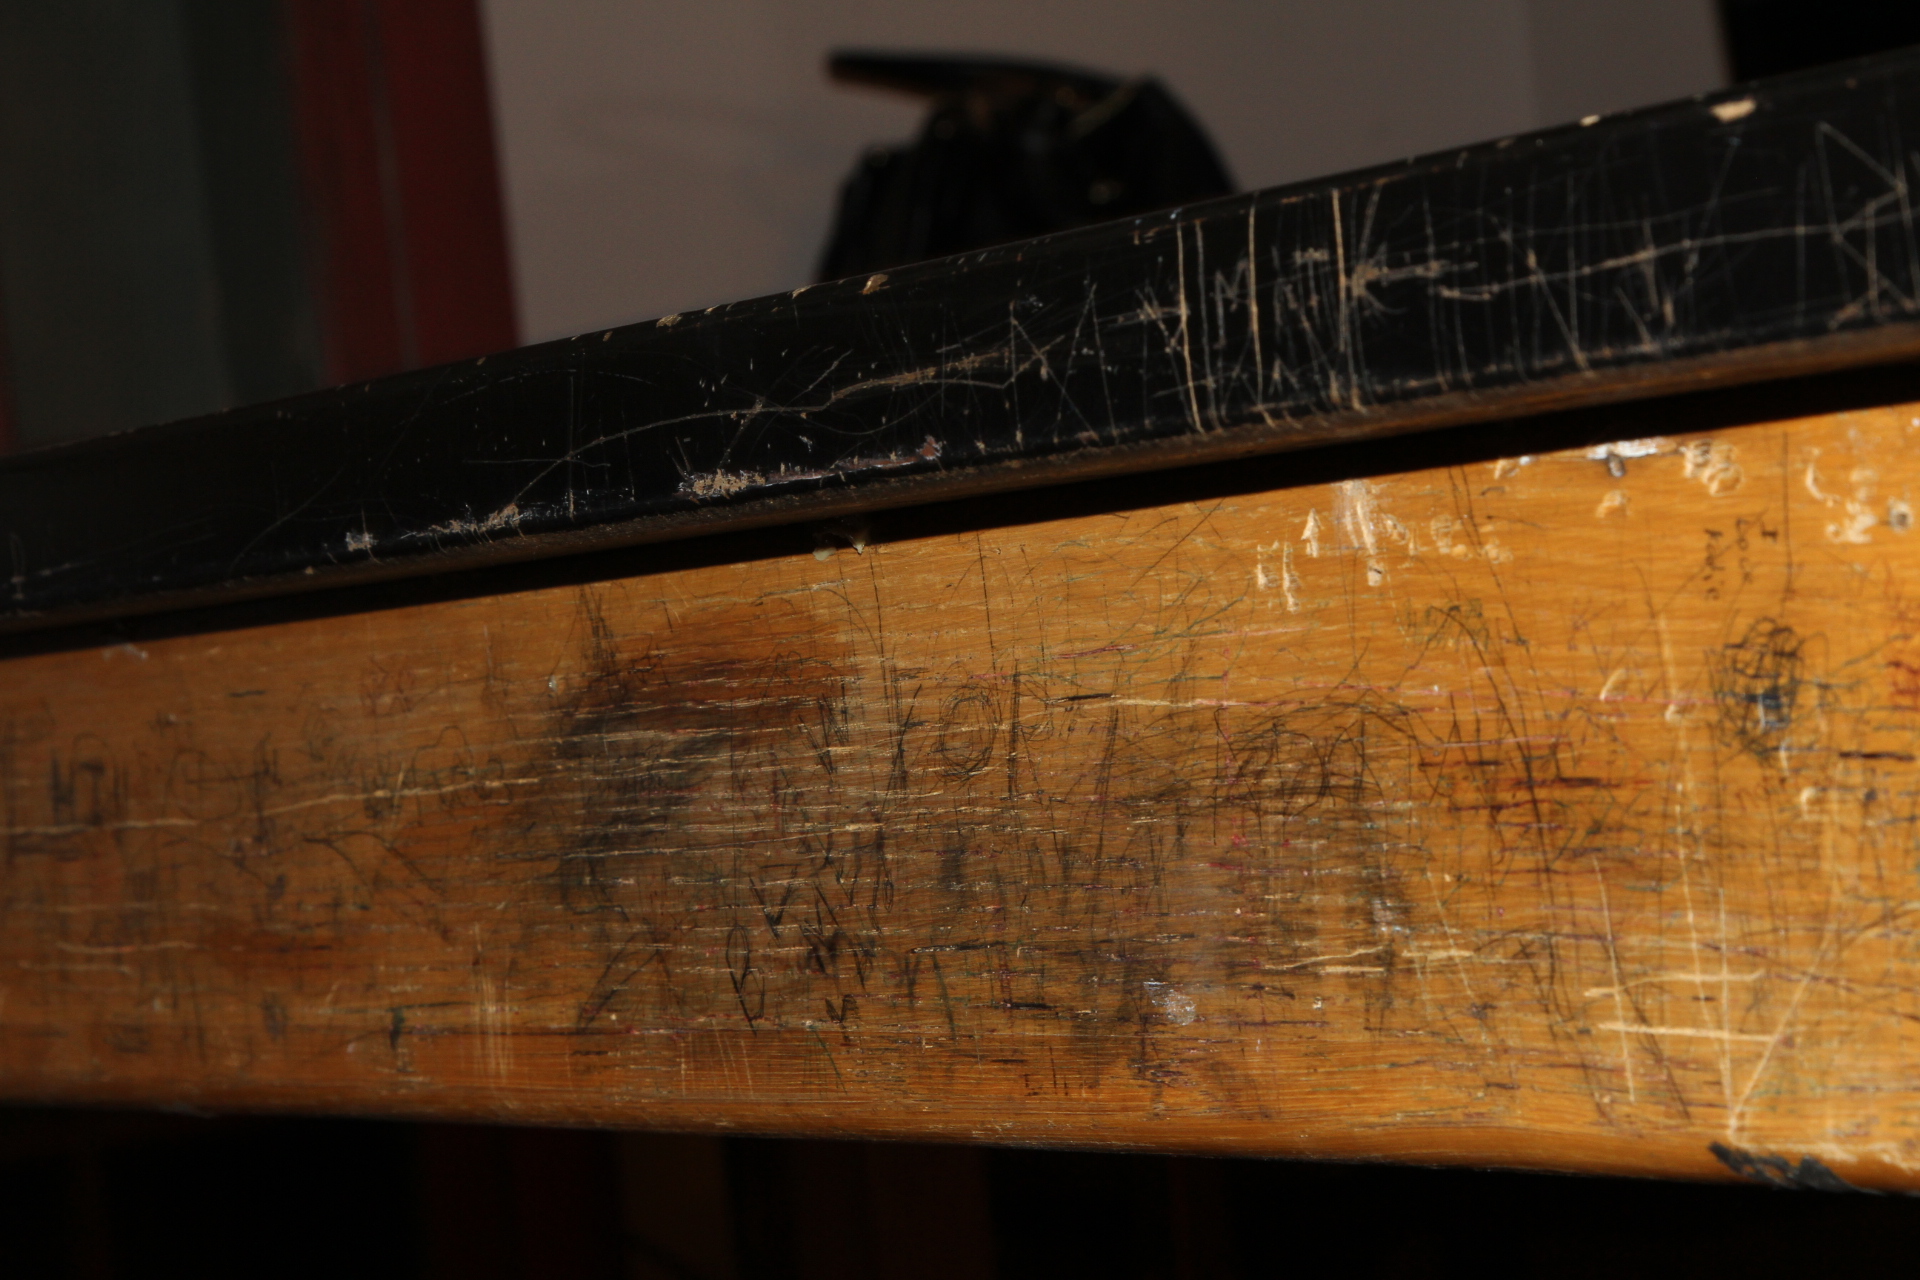
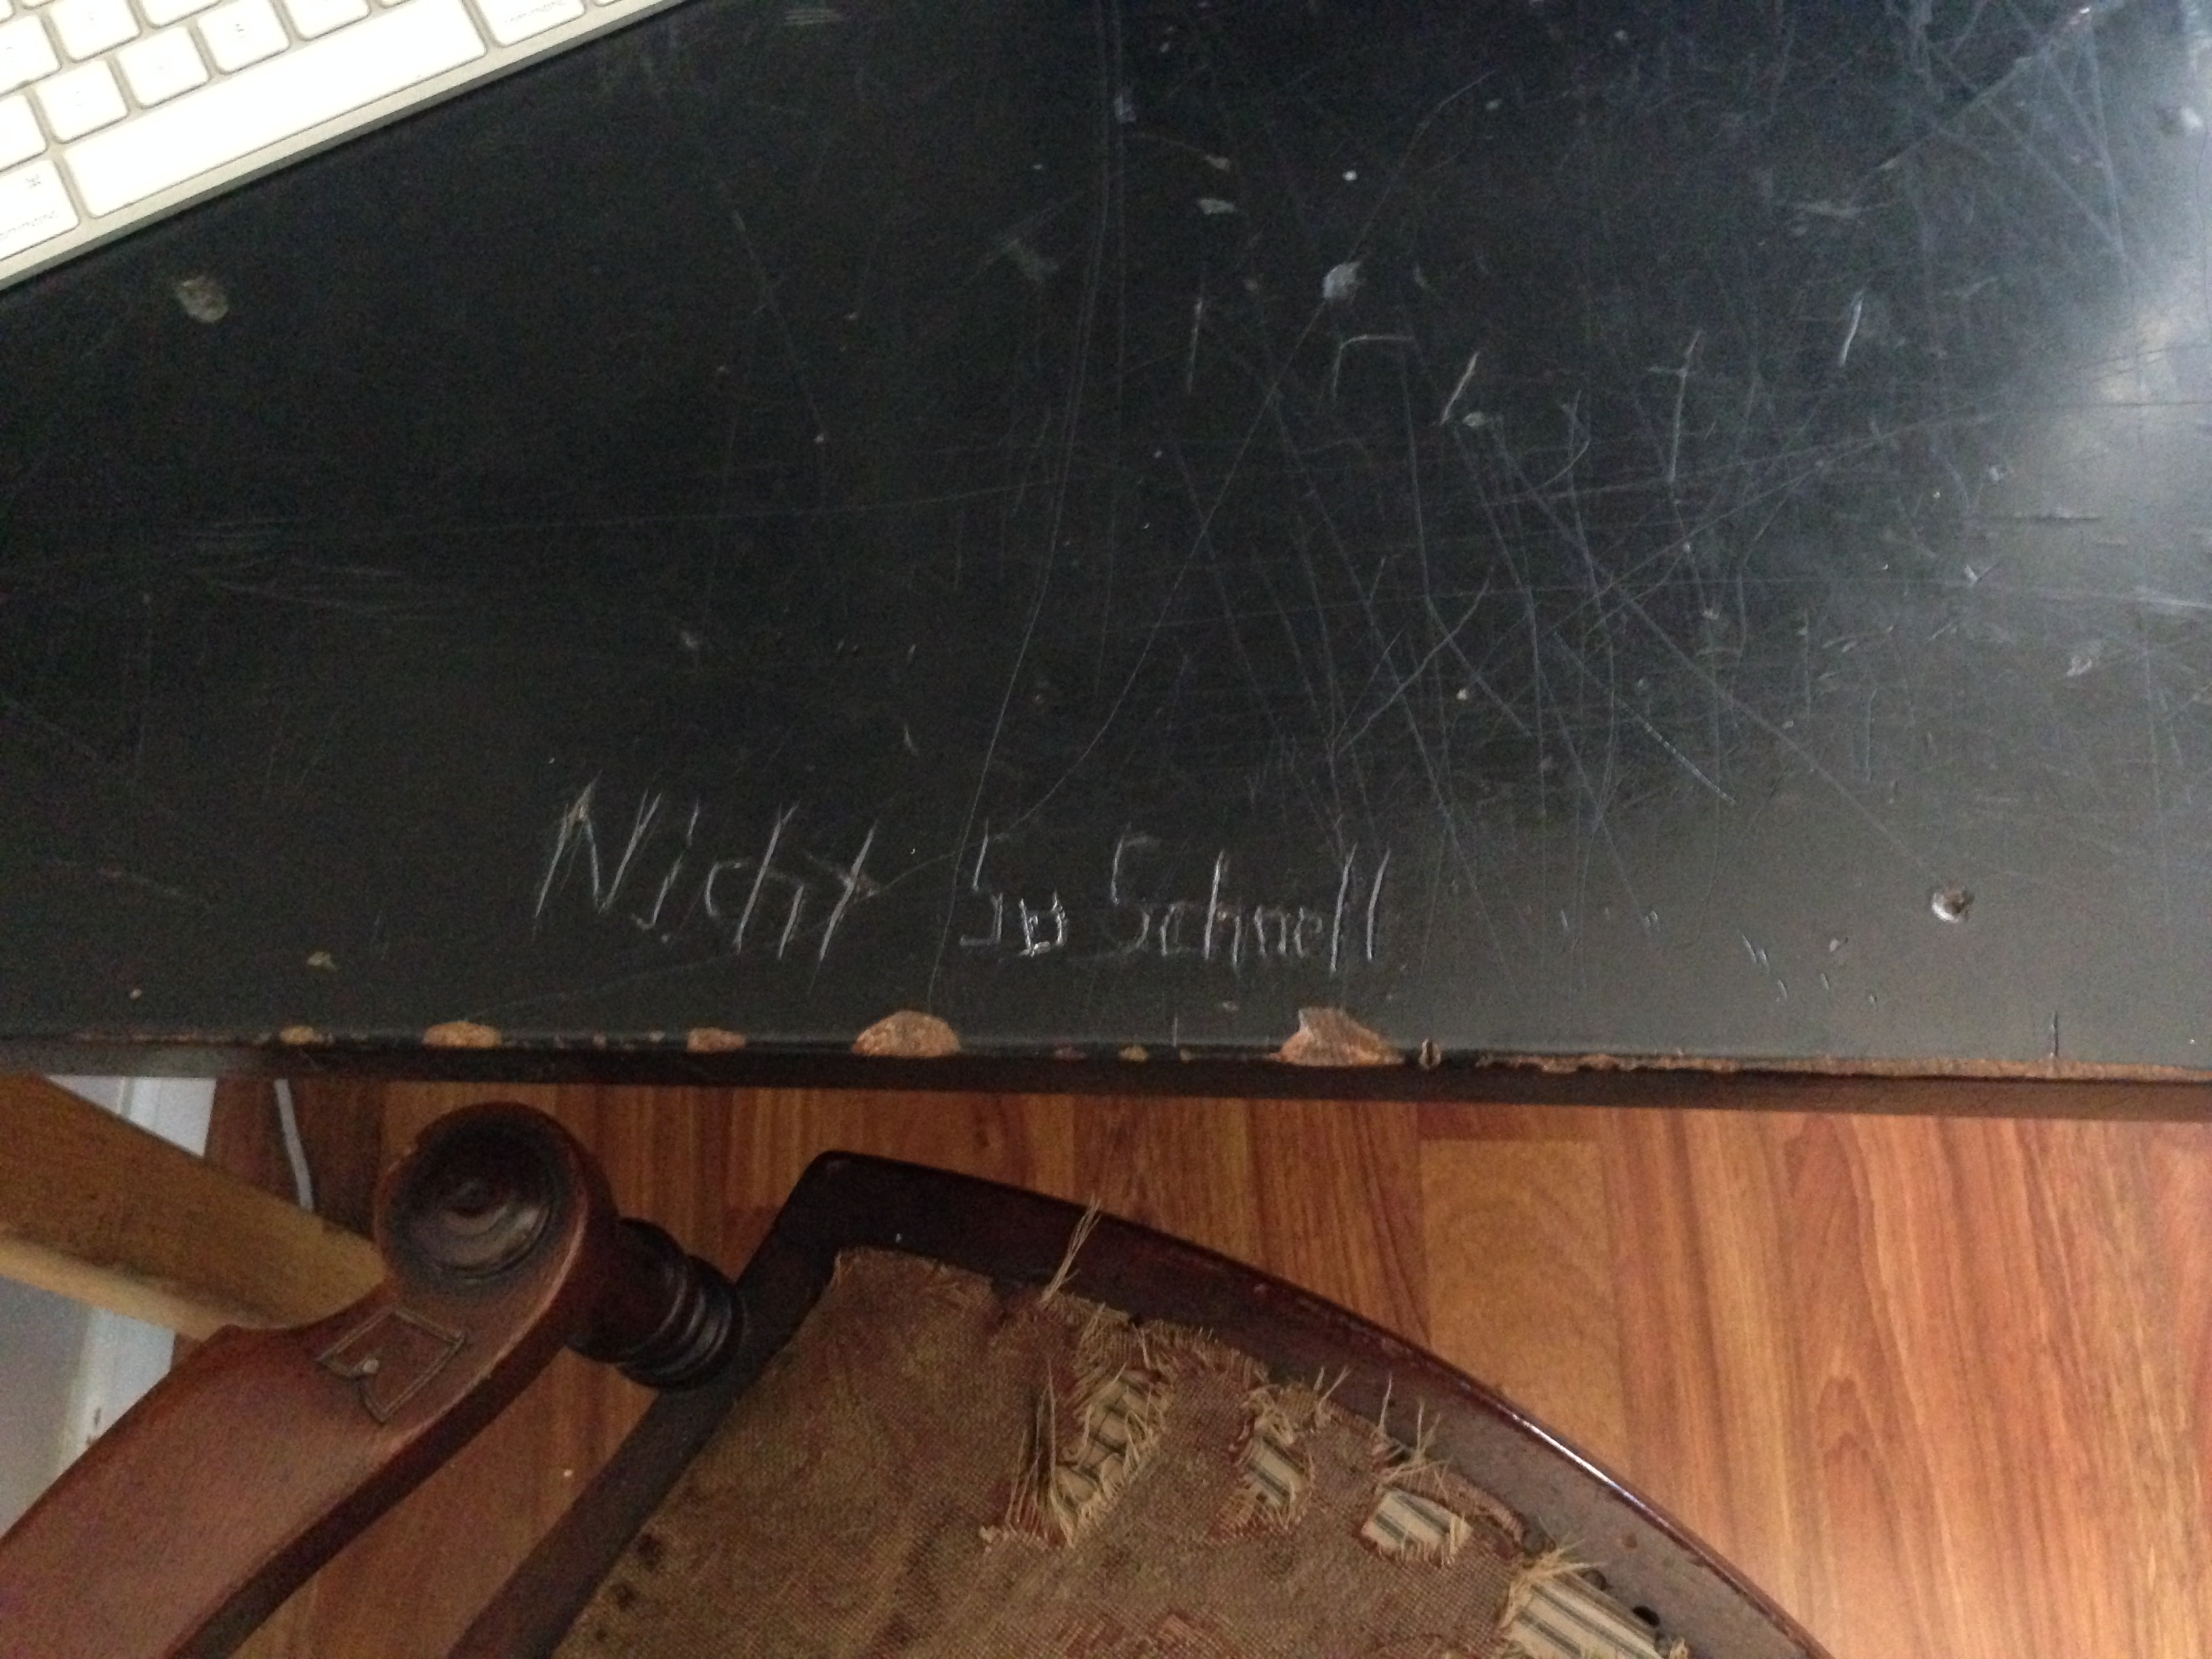
More details of the desk’s worn charm that I love. I’m not sure if they were trying to write in German or just really bad at spelling, but it’s entertaining either way. “Nicht So Schnell” is carved into the table. “Not so fast” is the German translation. Not so fast, buddy! Our old chair is in need of recovering but I can’t decide on what fabric to choose to honor the beauty and history of the chair. That will be another project!
We are so happy with our little office corner and it’s just the look I wanted. I like the old rustic worn pieces mixed with the clean modern and classic touches and little splashes of color to help tie it in with the rest of the room.
Here’s a breakdown of the pieces and my best estimate on prices and where we found them:
Science Lab Table – Green Oak Antiques (Rochester IN)- Priced at $125, we paid $75.
Wood for shelves we built – Menards – around $100. We already had the paint.
Baskets for shelves (it’s actually three baskets that came with lids and we used the lids for the bottom row of baskets.)
Hobby Lobby – around $15 each. I can’t remember exactly and don’t have my receipt.
Red Wooden shelf with six cubbies – Hobby Lobby – half off at $40.
Black ClosetMaid 6 Cube Organizer (below desk) – Target – already owned it, but it was around $35 on sale.
ClosetMaid Fabric Drawers – Target – around $3 Each.
Black Tiered Mail Holder on shelf – TJ Maxx years ago – probably around $12.
Small bill holder on shelf – I don’t remember where I picked it up years ago – probably $5.
Chevron Patterned file folders -Target – around $4 for a pack of three.
Antique Copper Canisters holding pens and pencils in red cubby – yard sale years ago – probably less than $5 for the whole set.
Lamp – TJ Maxx – it was a gift, but I’m guessing around $40-$50.
Big “book” under lamp is actually a box that opens up – Hobby Lobby – $10.
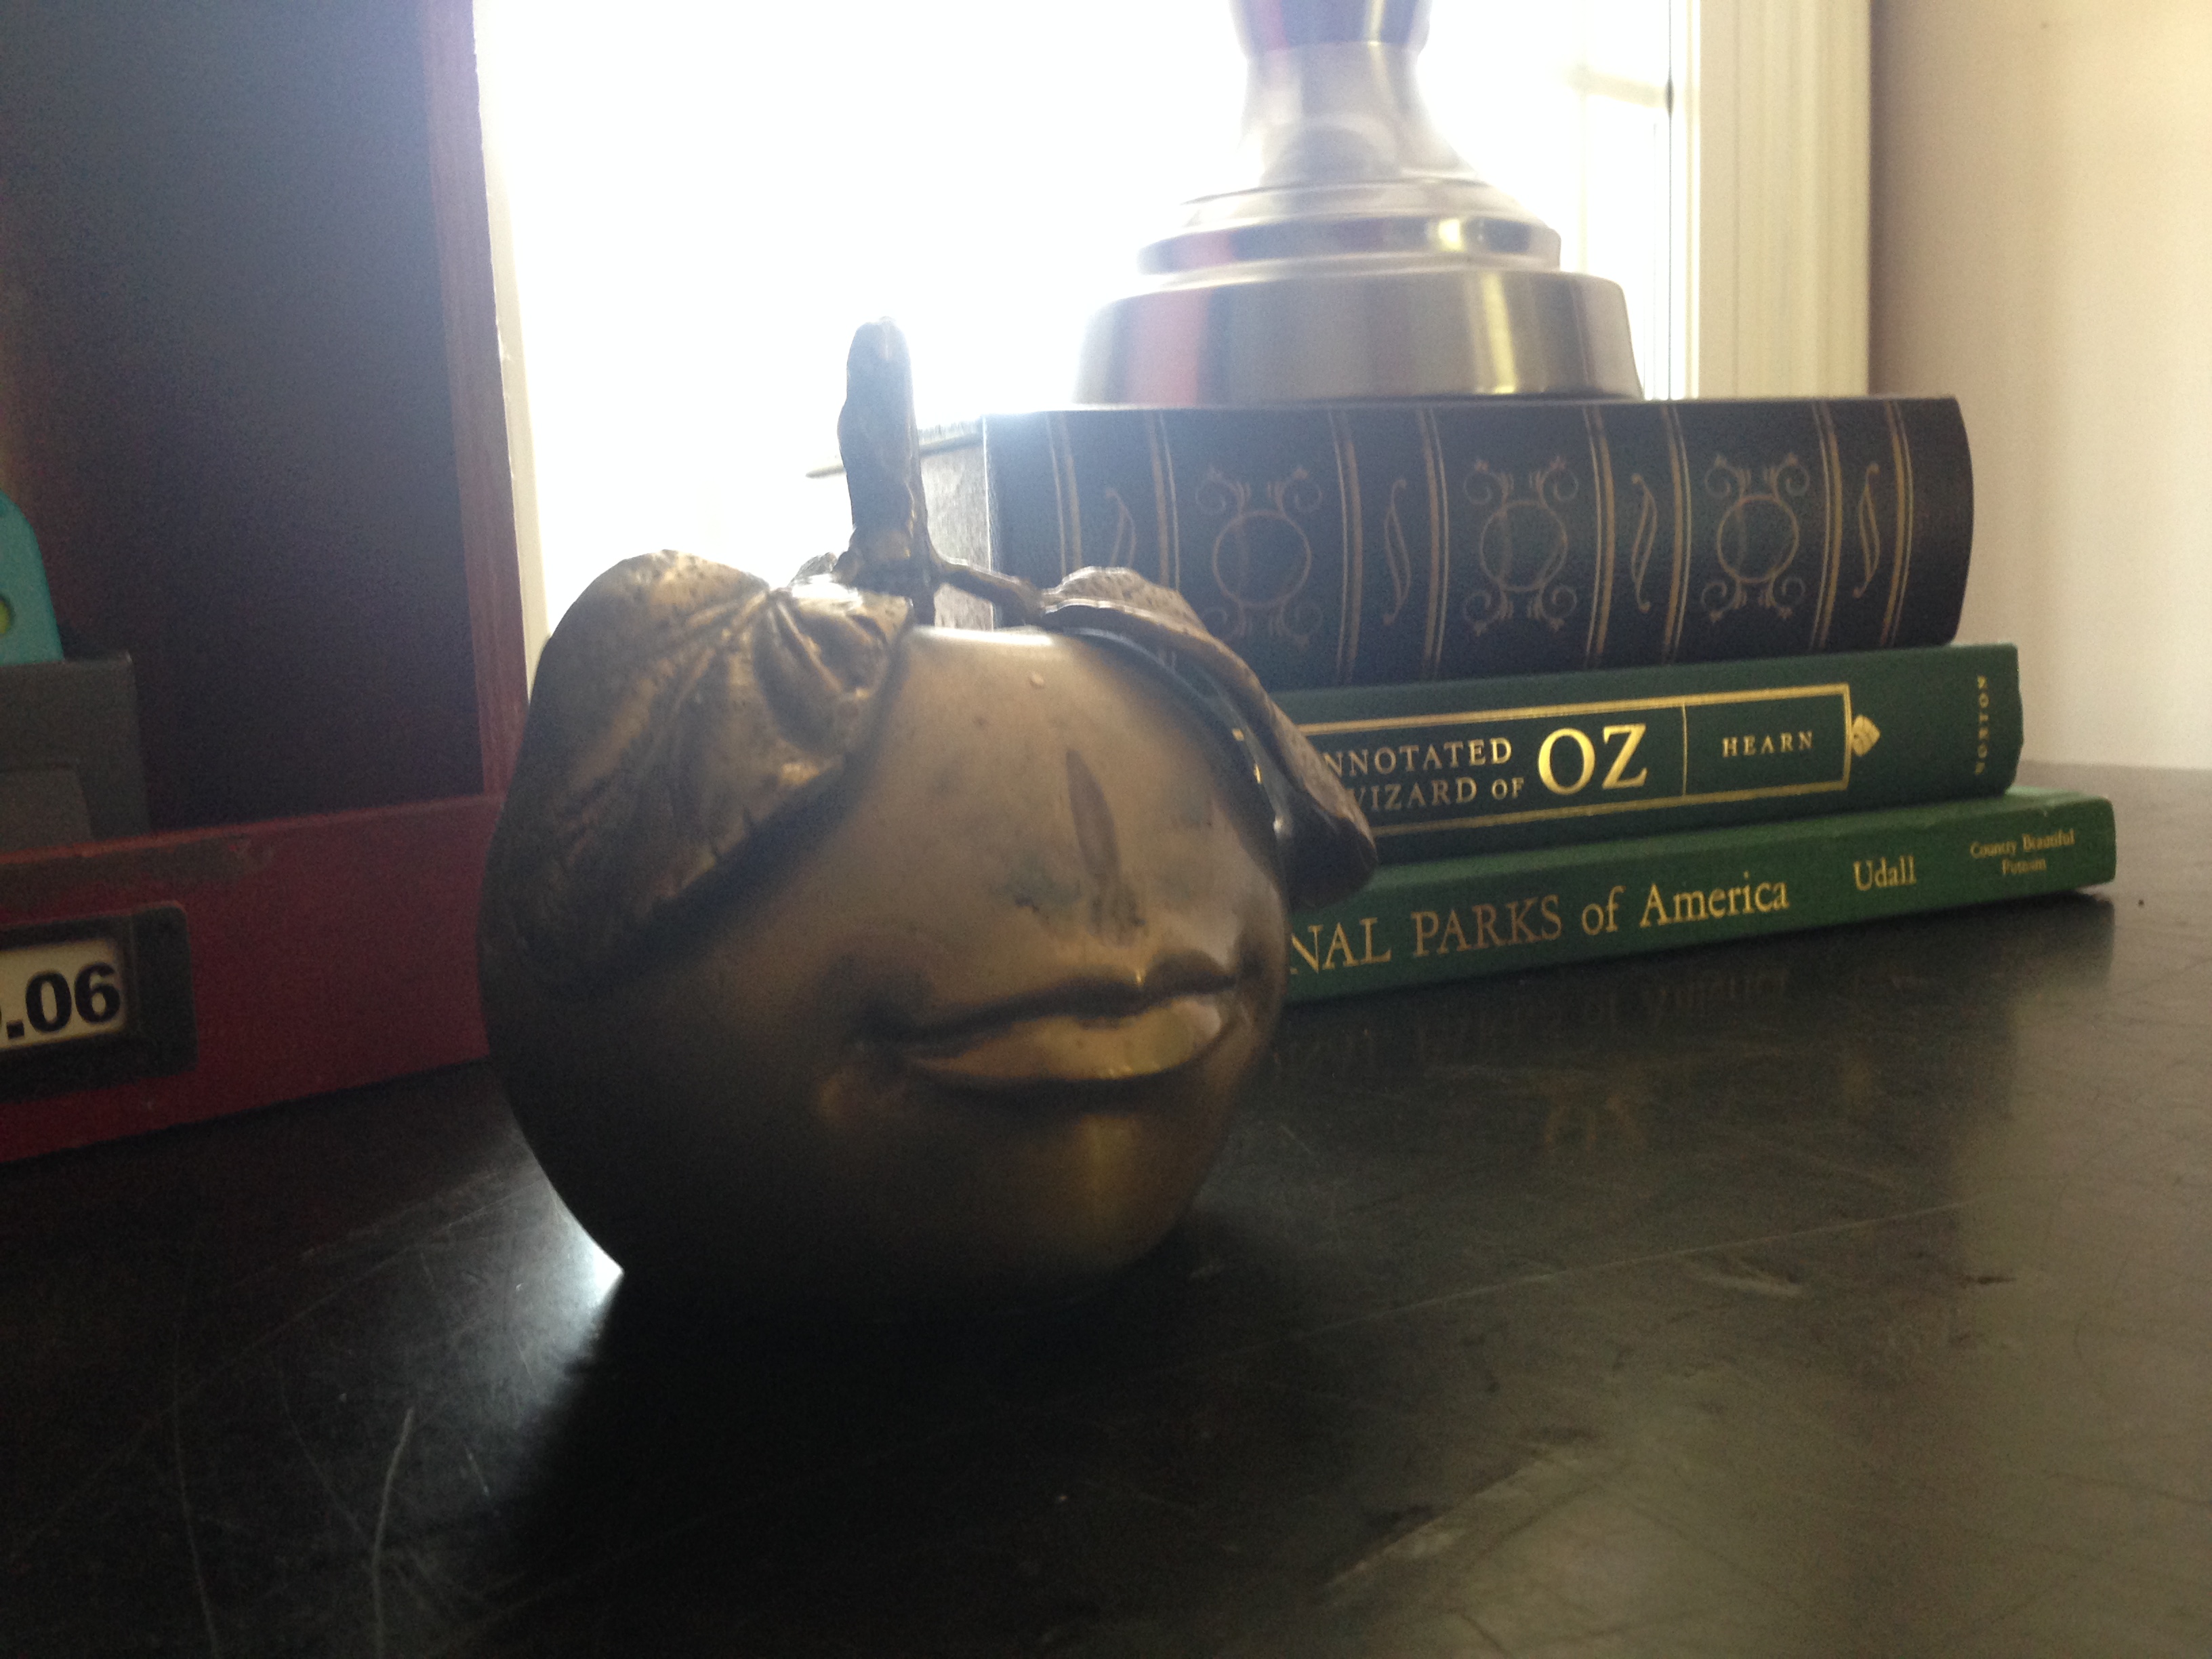
Wizard of Oz Book was a gift and is priceless 🙂
The National Parks of America Book was handed down to me from my great aunt.
Burlap letter ‘S’ on top of the shelf (in case we forget what our last name begins with) – Hobby Lobby – half off at $10
Antique Turquoise Bowl on top of shelf – from my great grandmother – priceless 🙂
Old wooden cheese boxes on top of shelf – gifts to me – prices unknown.
Creepy Face Bronze Apple – A gift – Stanley Hotel Gift shop Estes Park CO – Priceless 🙂
Old Wooden Squirt crate holding magazines on the floor – Clinton Antique Mall (Clinton IL) – I don’t remember how much we paid. Maybe $15.
Antique Chair – I don’t remember where we bought it for sure. Probably an antique store, no clue on price.
Green and white print throw pillow – Aldi’s – set of two for $13
I know this is kind of a long winded post, but hopefully it helps give you ideas or what NOT to do when trying to build your own desk. Always make sure the dimensions of the furniture are going to work in your space before spending time and money on a project! Lesson Learned! It all worked out for the better and I love our little office area!
Enjoy!


Love it – fits the space and your style perfectly! I really like how you can look out the window too!
LikeLike
Thank you! I think I want a shade of some sort for the window for privacy and when it’s nap time, but that’s another project all together 😄
LikeLike