
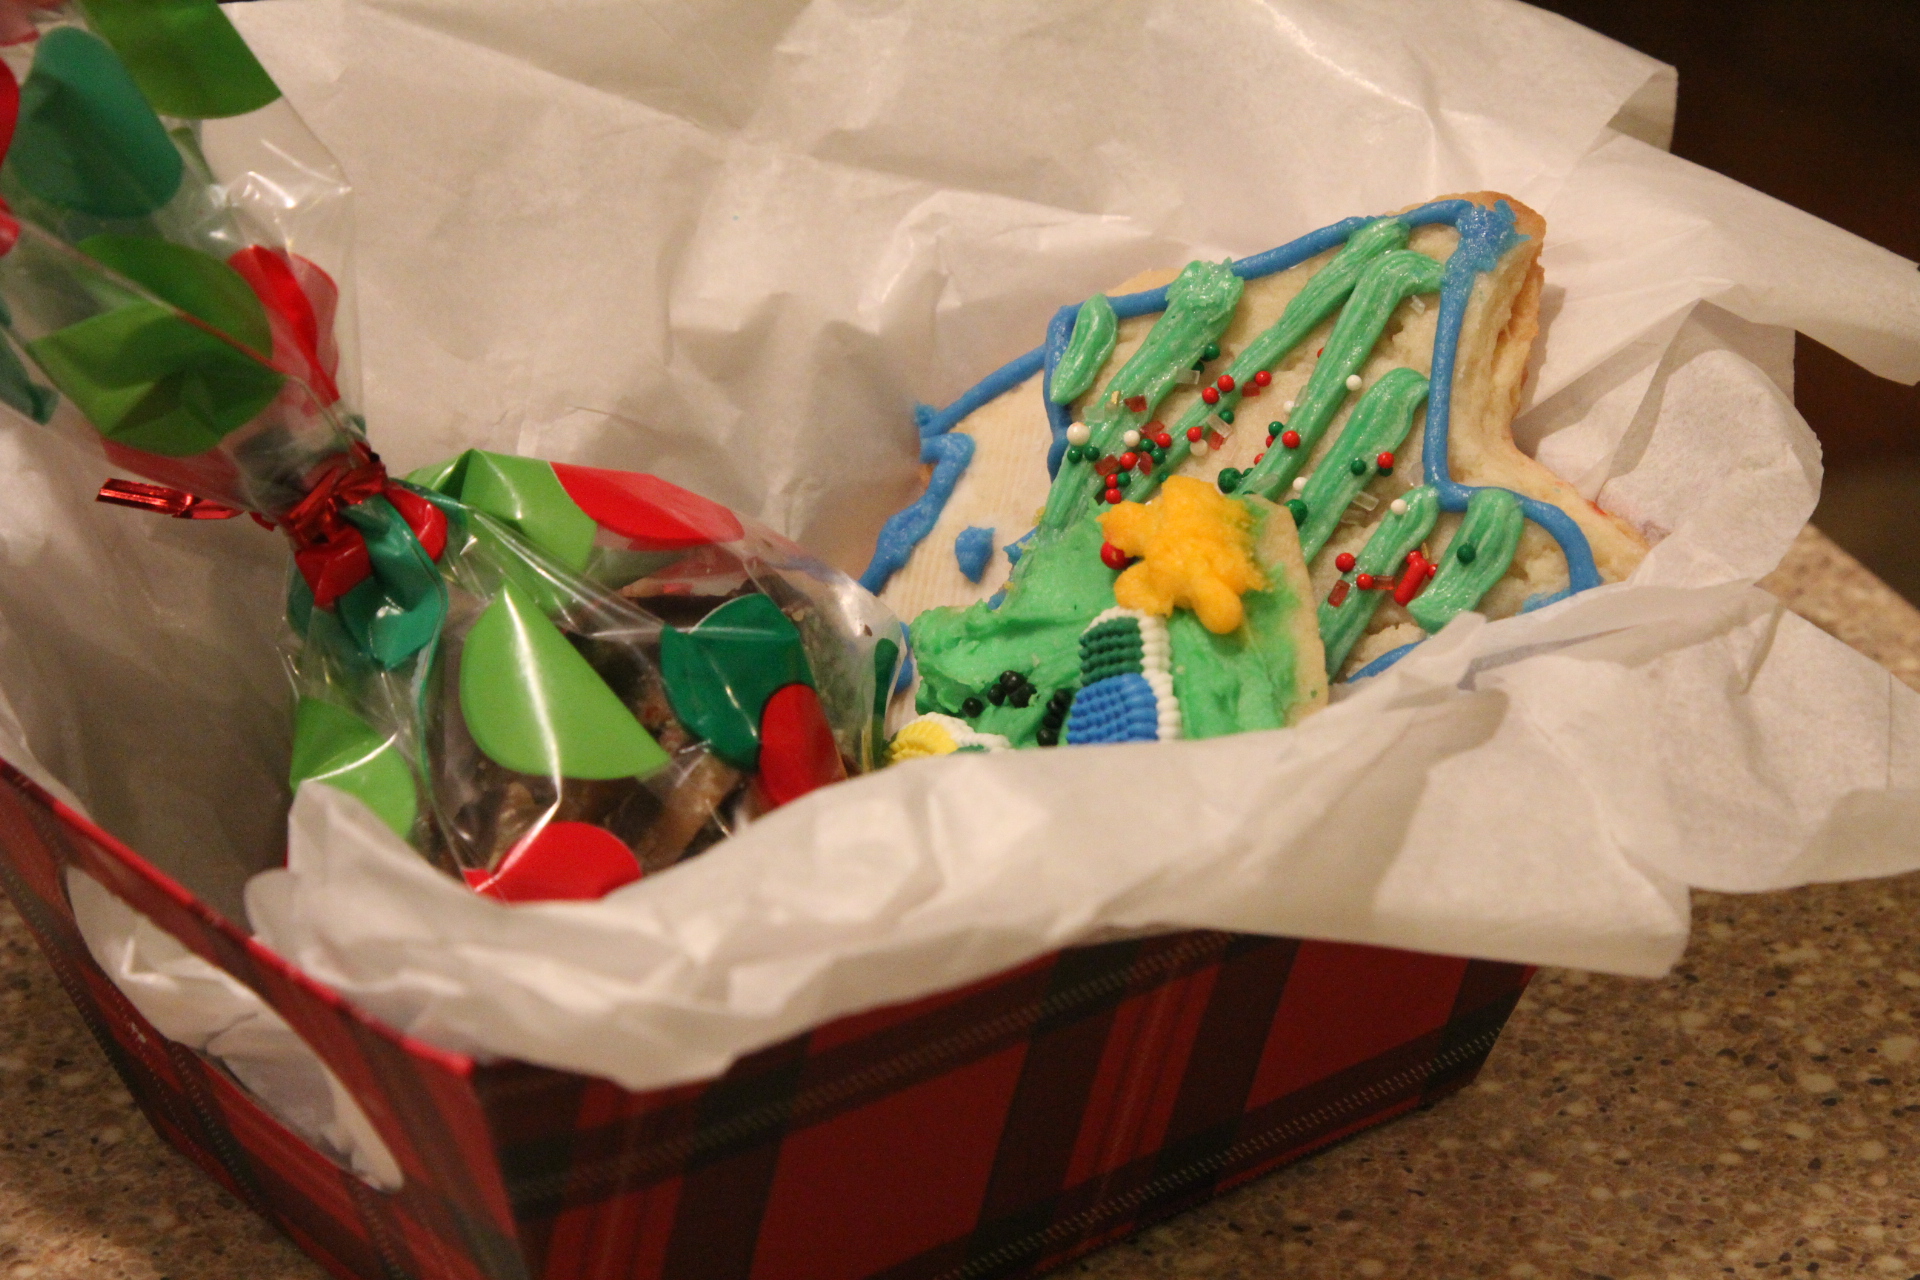
I have a friend who makes the best toffee. I swear she could start her own toffee business. Jean has been making this toffee for years. She used to bring this special treat to work around Christmas time and we would all nibble on it throughout the day and she happily shared her recipe with me. I remember the first time I made it, I was a little scared. I do not make candy or anything like that so knowing the different stages changes the ingredients go through was new to me. Jean is so generous and agreed for me to share her recipe with all of you! I will note some tips below the recipe to hopefully help you. I recommend using a candy thermometer if you are unfamiliar with making candy so that you have an idea of what the temperature is, because you sure as heck can’t test it with your finger. It is like molten lava ready to burn your skin off. I’ve been making it for a few years now, always closely reading Jean’s recipe and her helpful tips as I go. I ban all dogs and kids from the kitchen when I’m making this toffee. Well, except for my 10-year-old assistant photographer that happily snapped away when I was making it yesterday. It is not difficult, but it does need your full attention and you need to make sure you have all your ingredients and supplies ready. You have to work quickly once the toffee reaches the desired temperature so having all your items opened, ready to go and hot pads at your side are important. I always give this toffee as gifts to our neighbors and friends so I make several batches of it. My husband is taking a big tray of sugar cookies and toffee in to work today so hopefully his coworkers will love it.

Sugar, Unsalted Butter, water, Vanilla, Pecans, and thin chocolate bars like Hershey’s.

Ingredients:
1 C granulated sugar
1 C unsalted butter
5 TBS Water
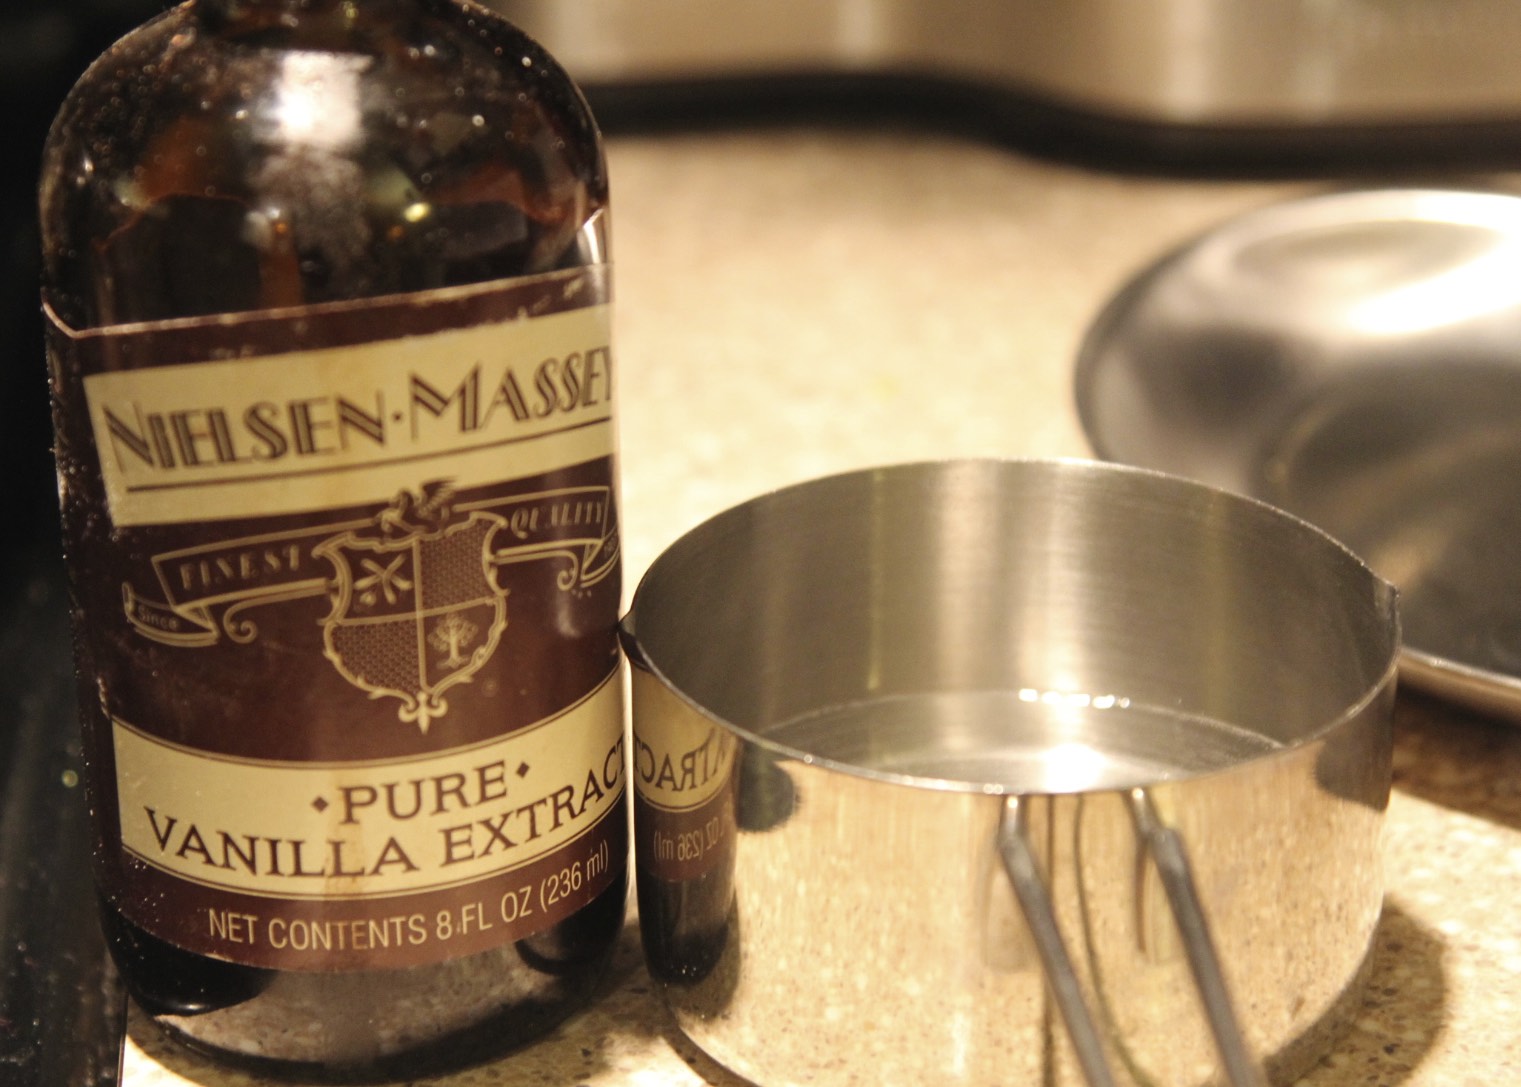
1 teas vanilla
Hershey Bars or thin chocolate bars – I use milk chocolate and dark chocolate
Finely Chopped Pecans
Directions:
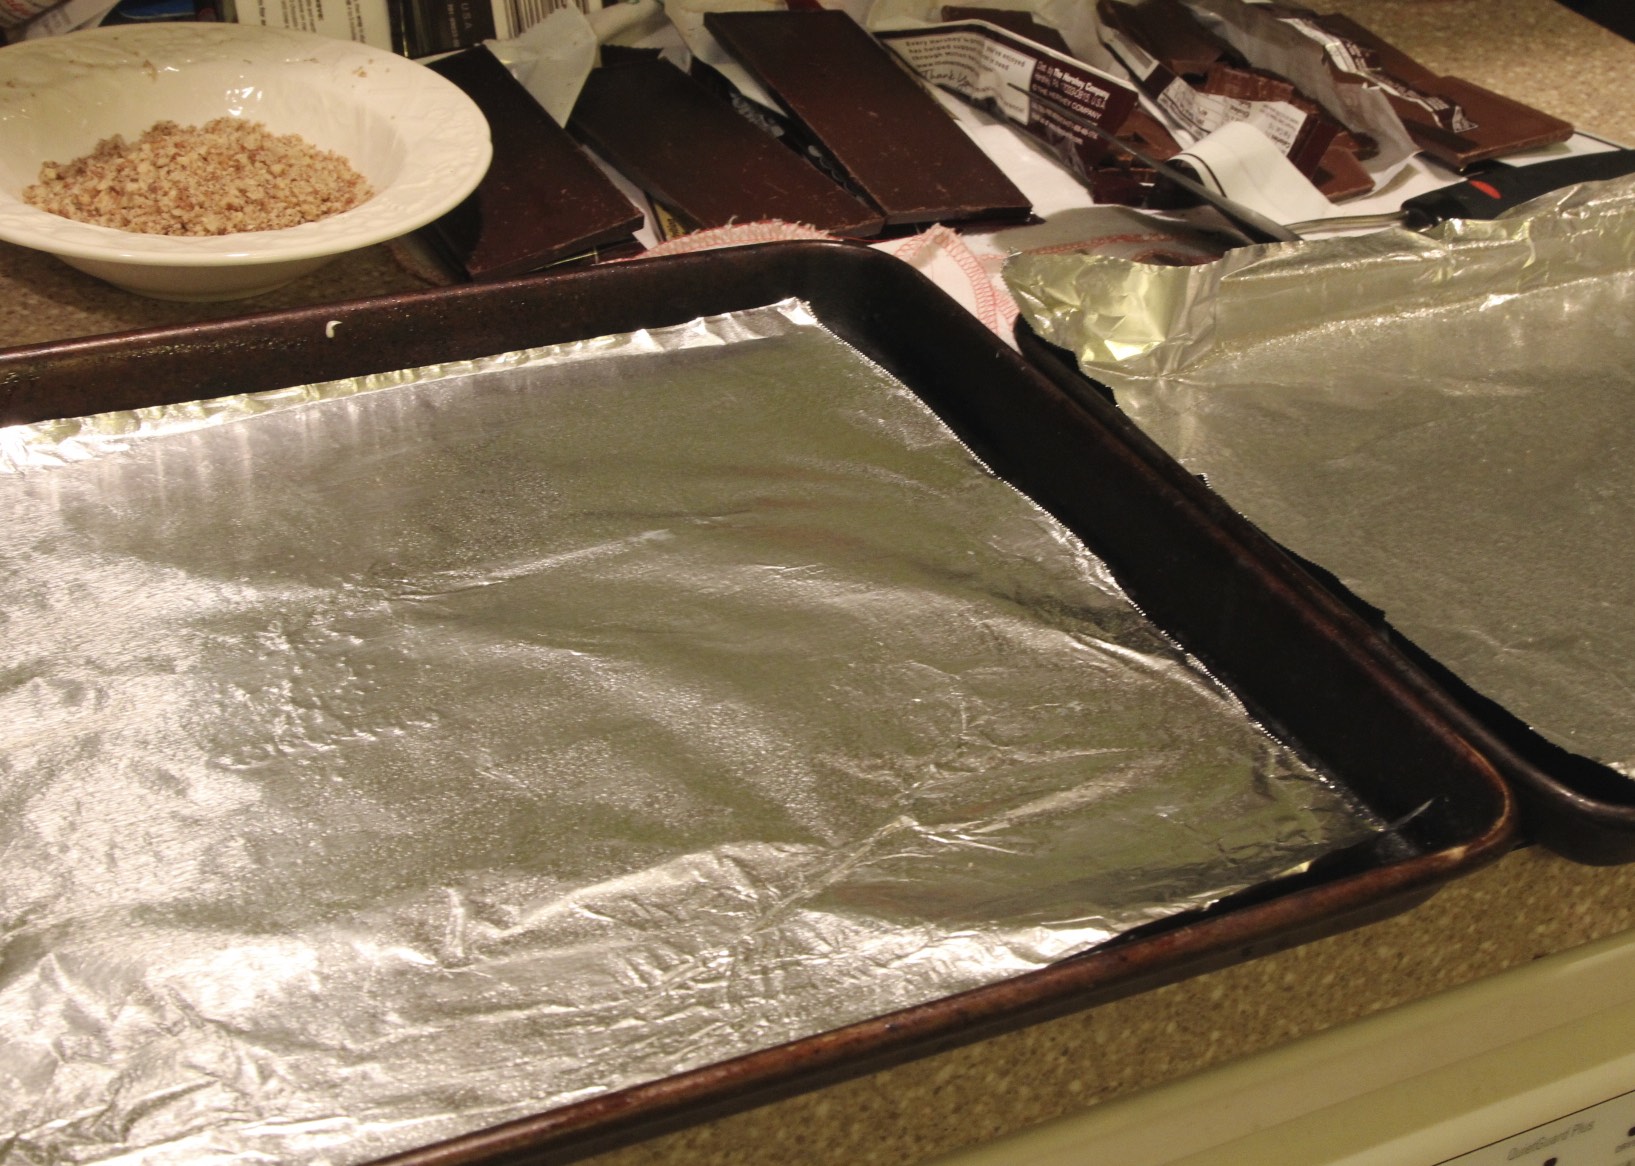
Have all your ingredients and tools ready and layed out ahead of time. Unwrap chocolate bars, chop nuts, have spatula, candy thermometer ready, butter foil and lay on jelly roll pan or tray, have vanilla ready to use.
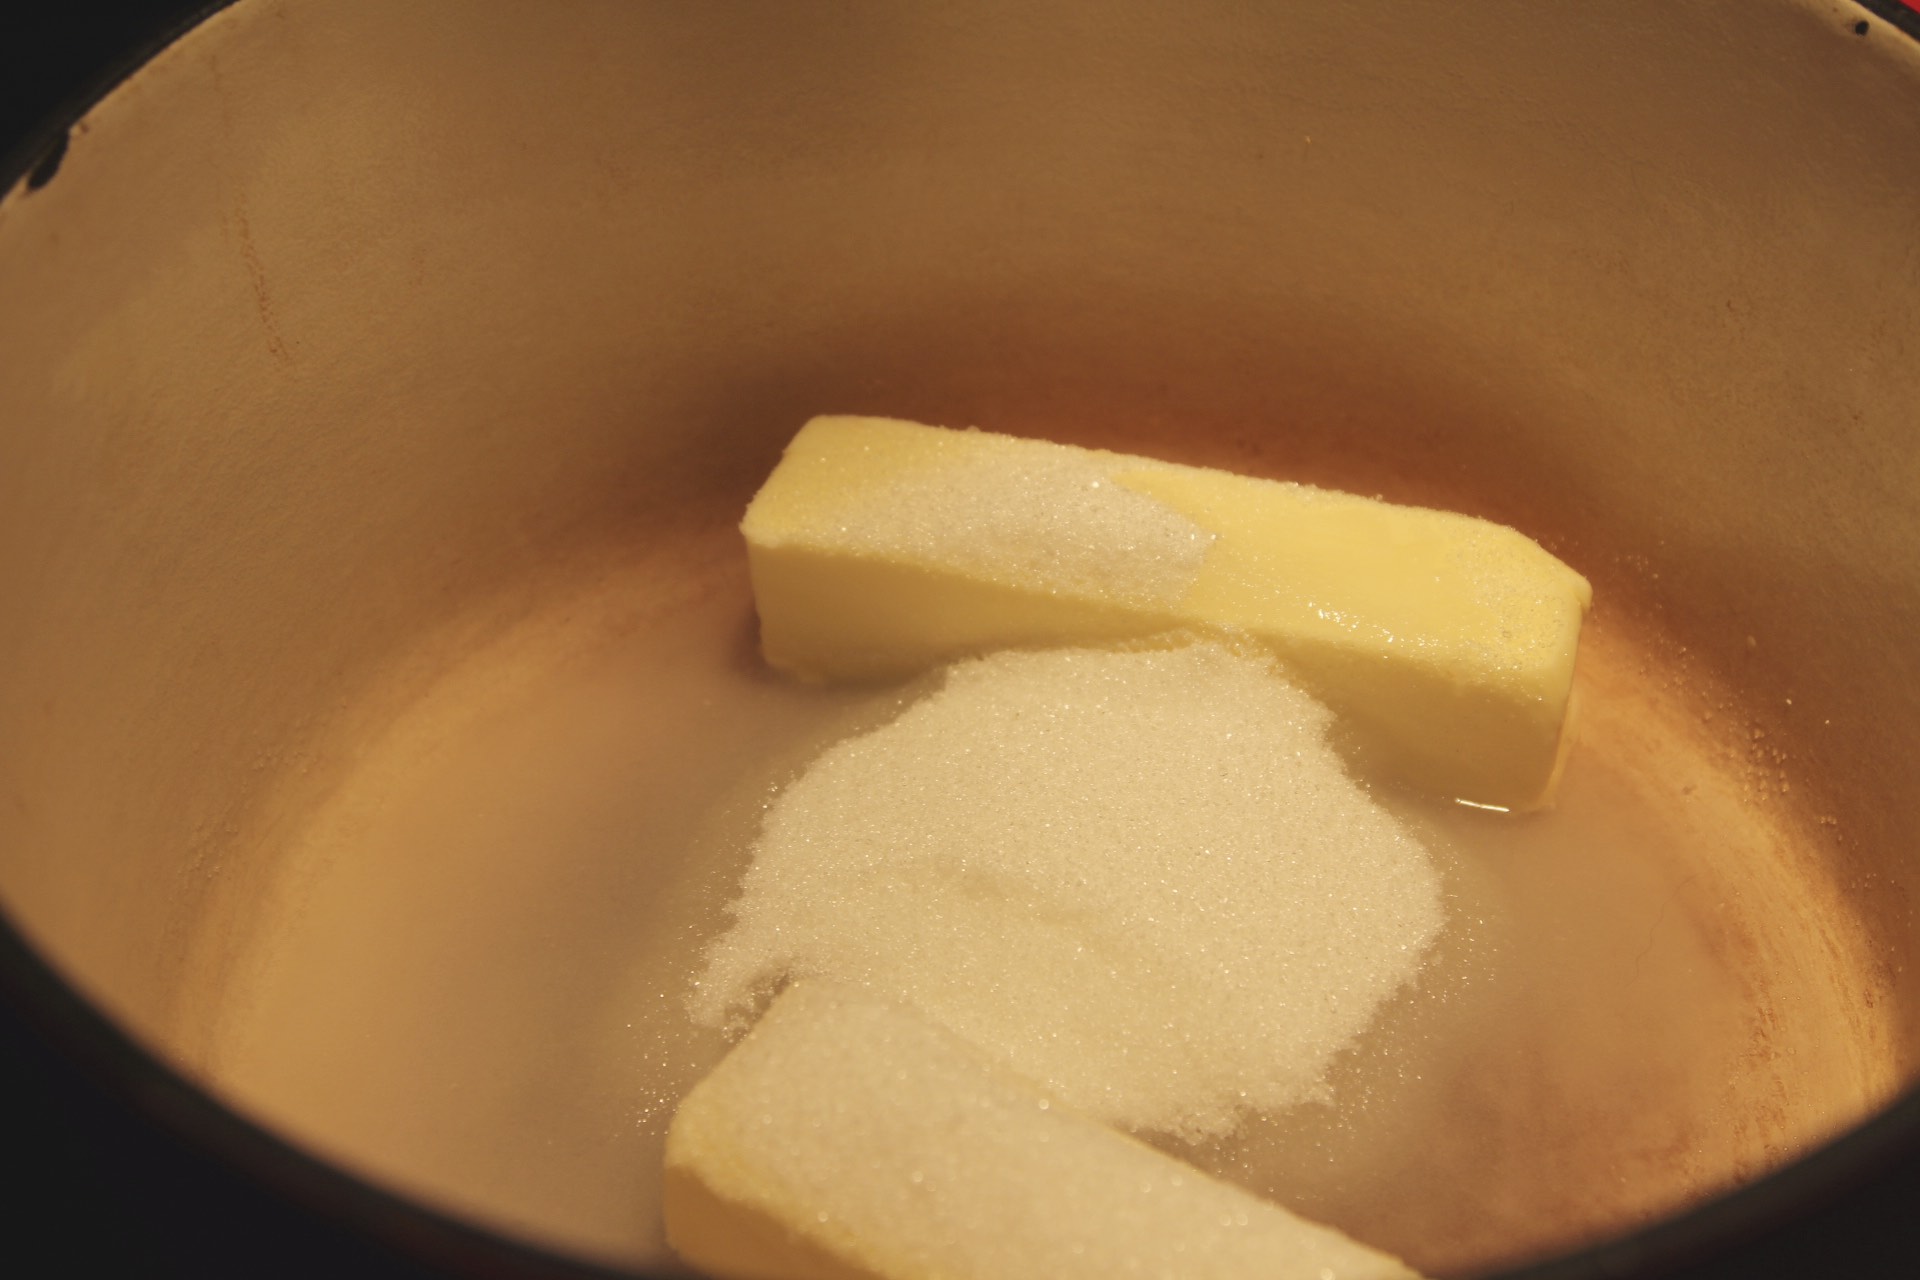
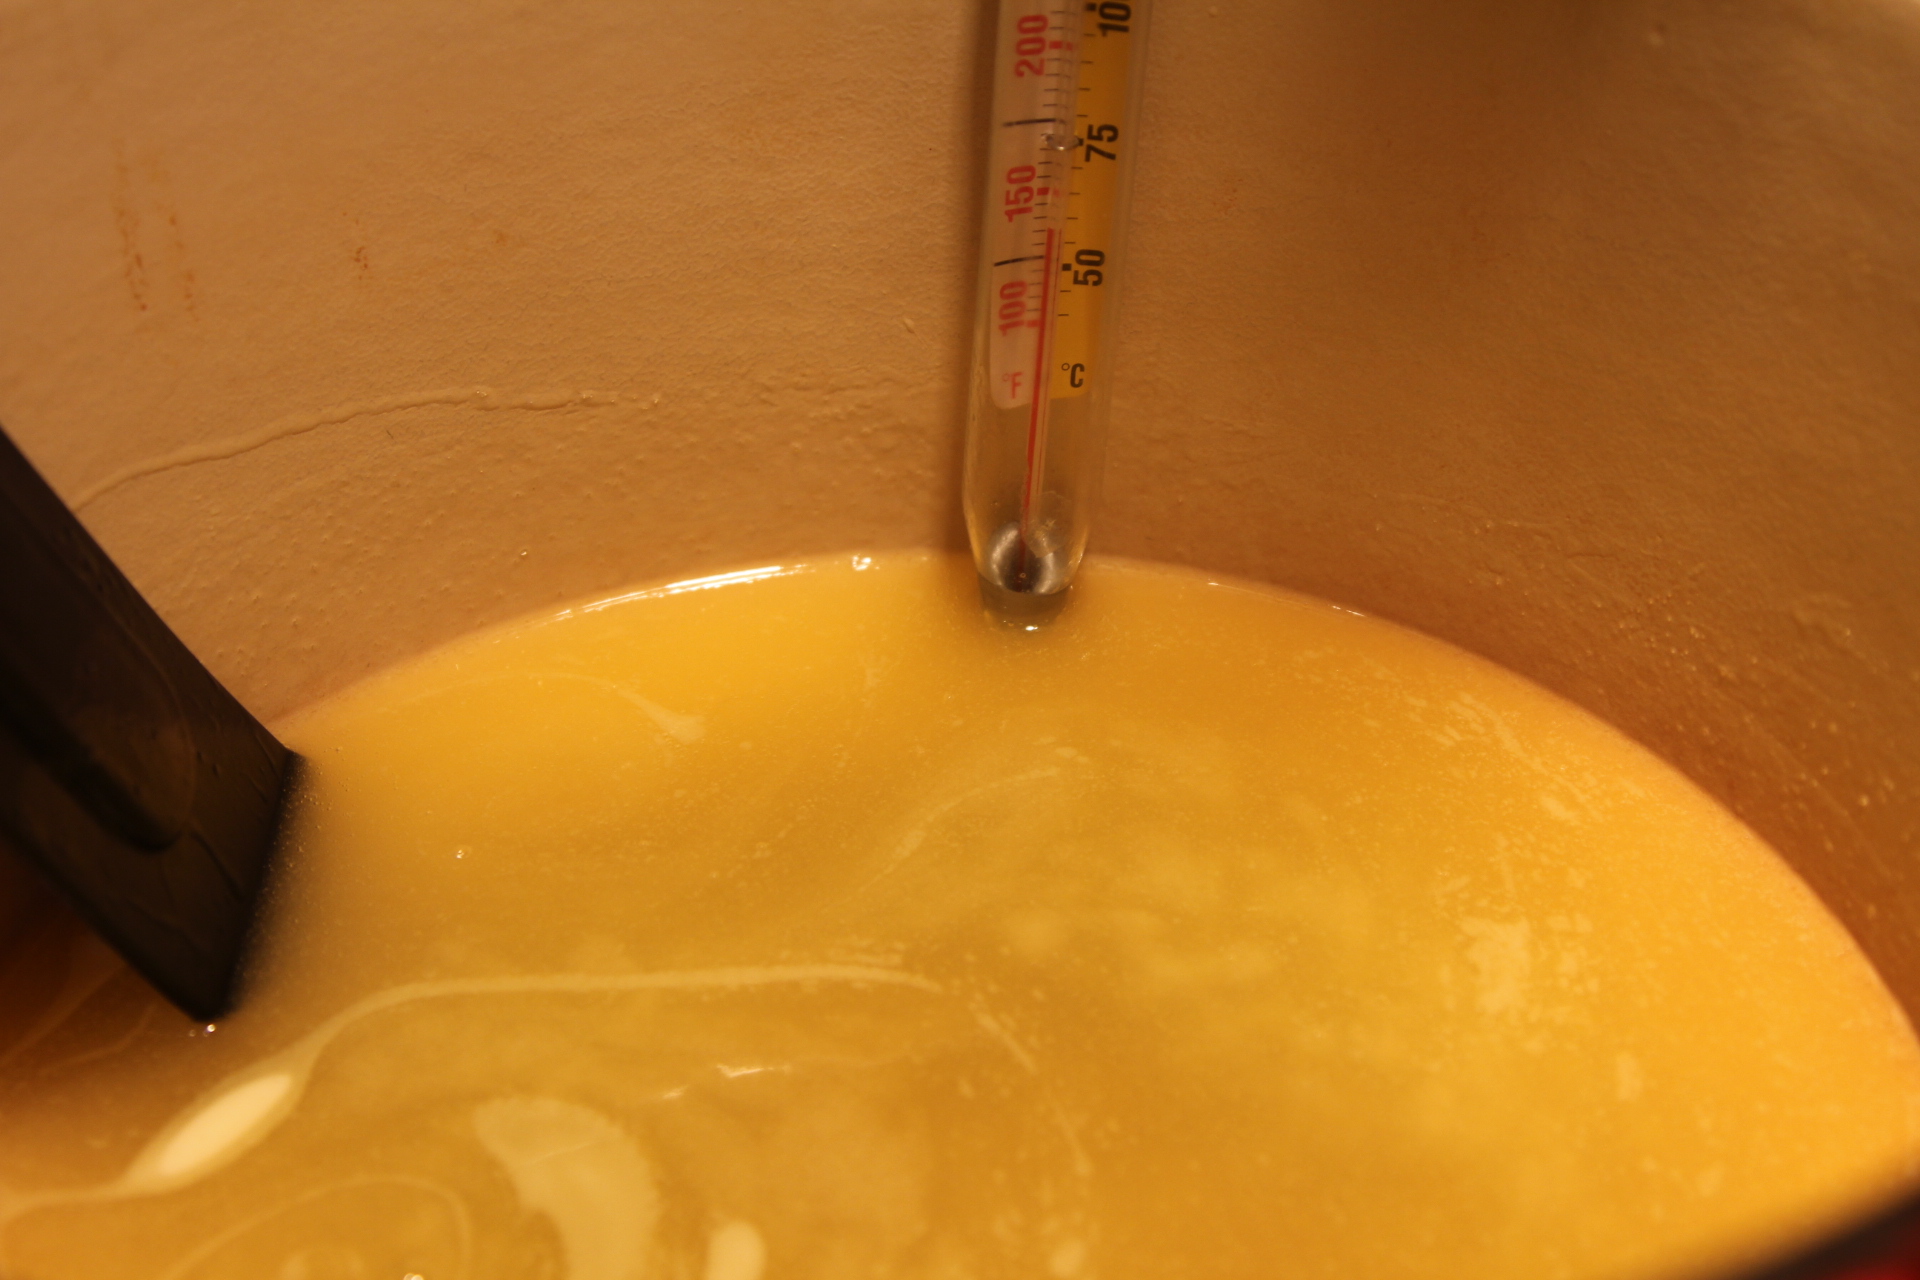
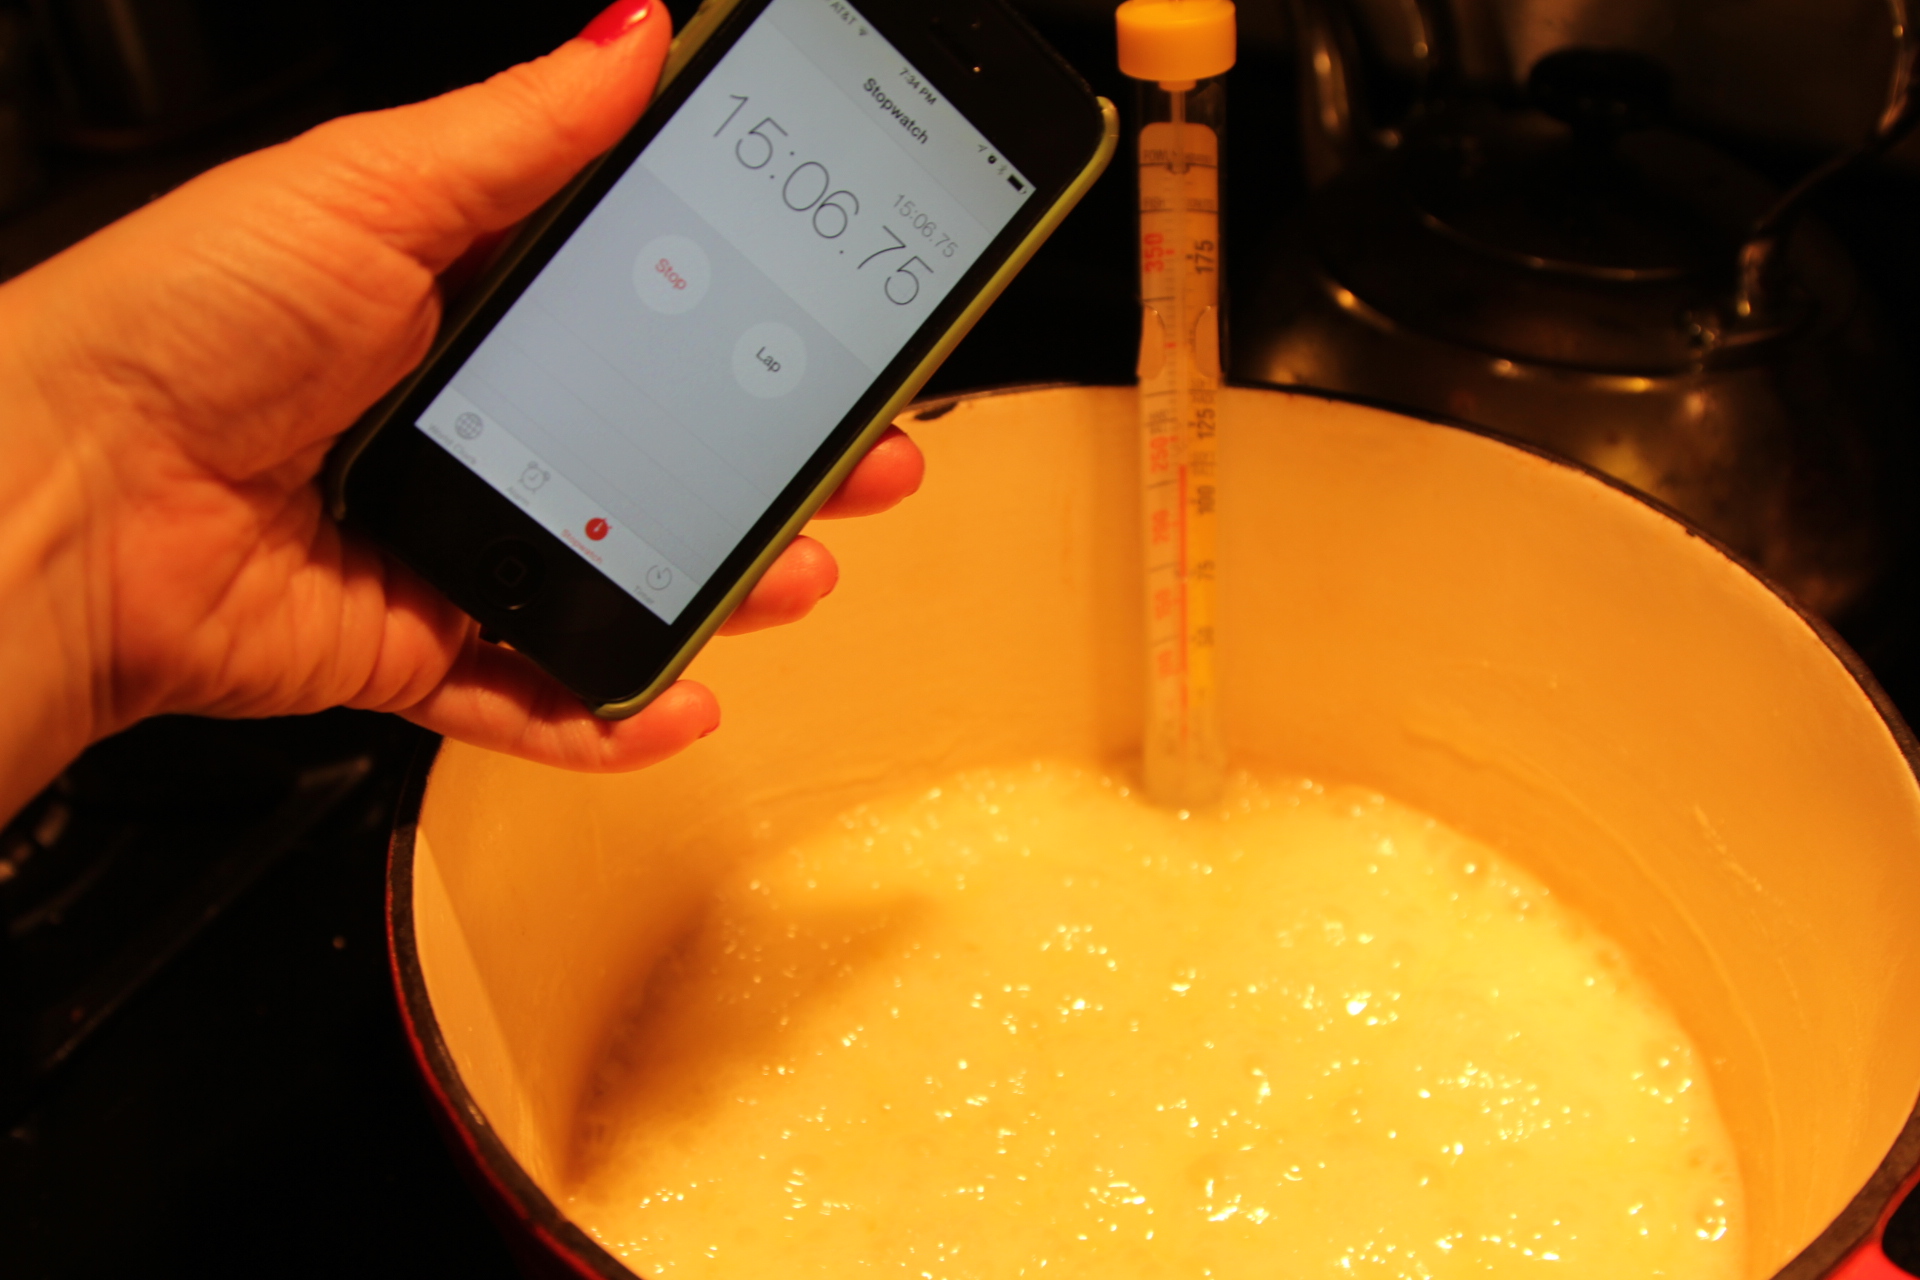
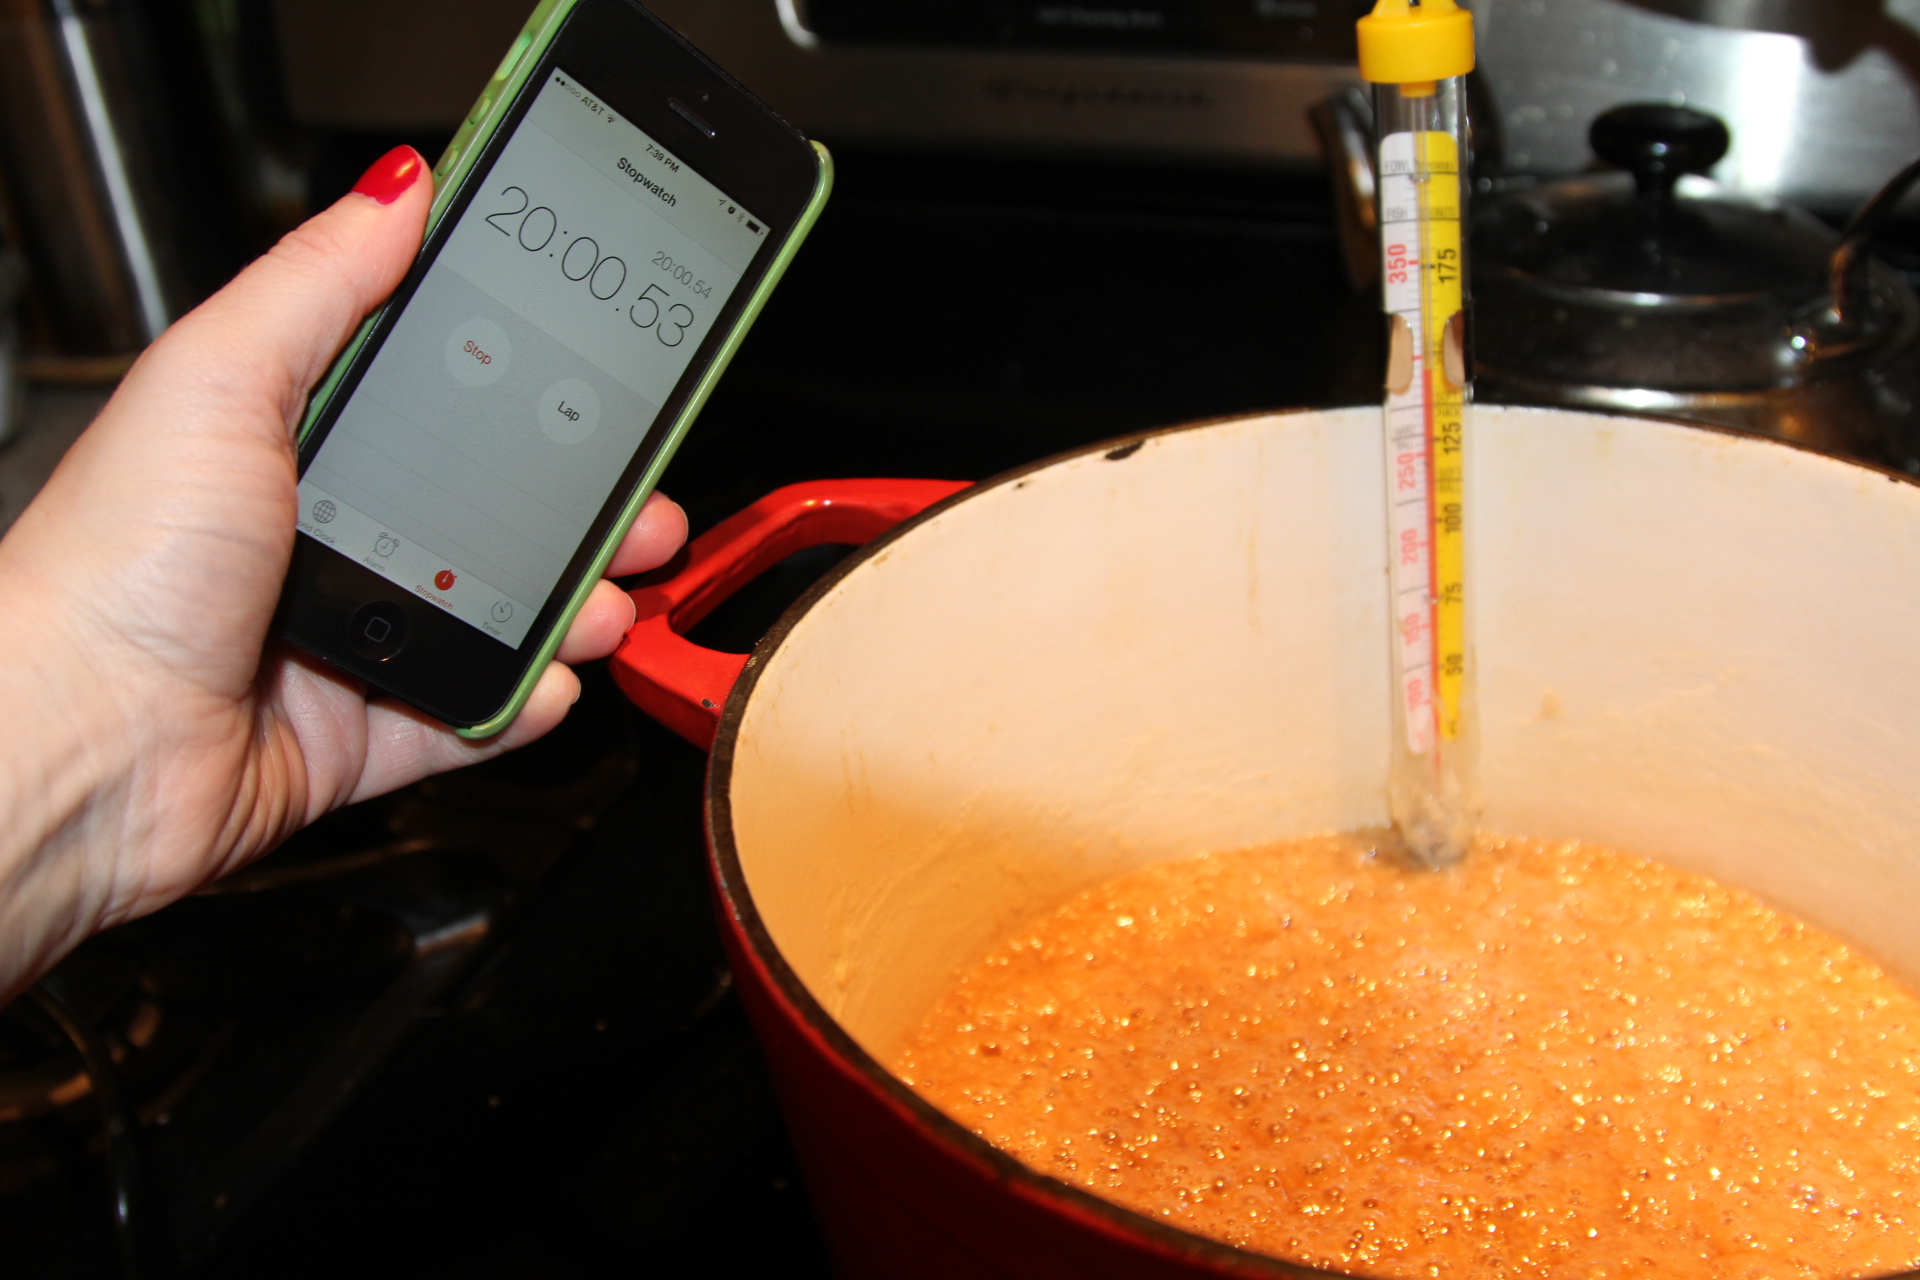
In a large heavy pot, combine butter, sugar, and water. Stir frequently over medium – low heat, only stirring in one direction and scraping the sides of the pot until it reaches about hard crack stage or around 305-310 degrees F. This will take around 20 minutes, depending on your heat setting. Take your time and do not have your heat too high. You want it to be a nice light golden brown color. Once it reaches this temperature, remove from heat and carefully stir in the vanilla. It will pop and bubble, so be careful.
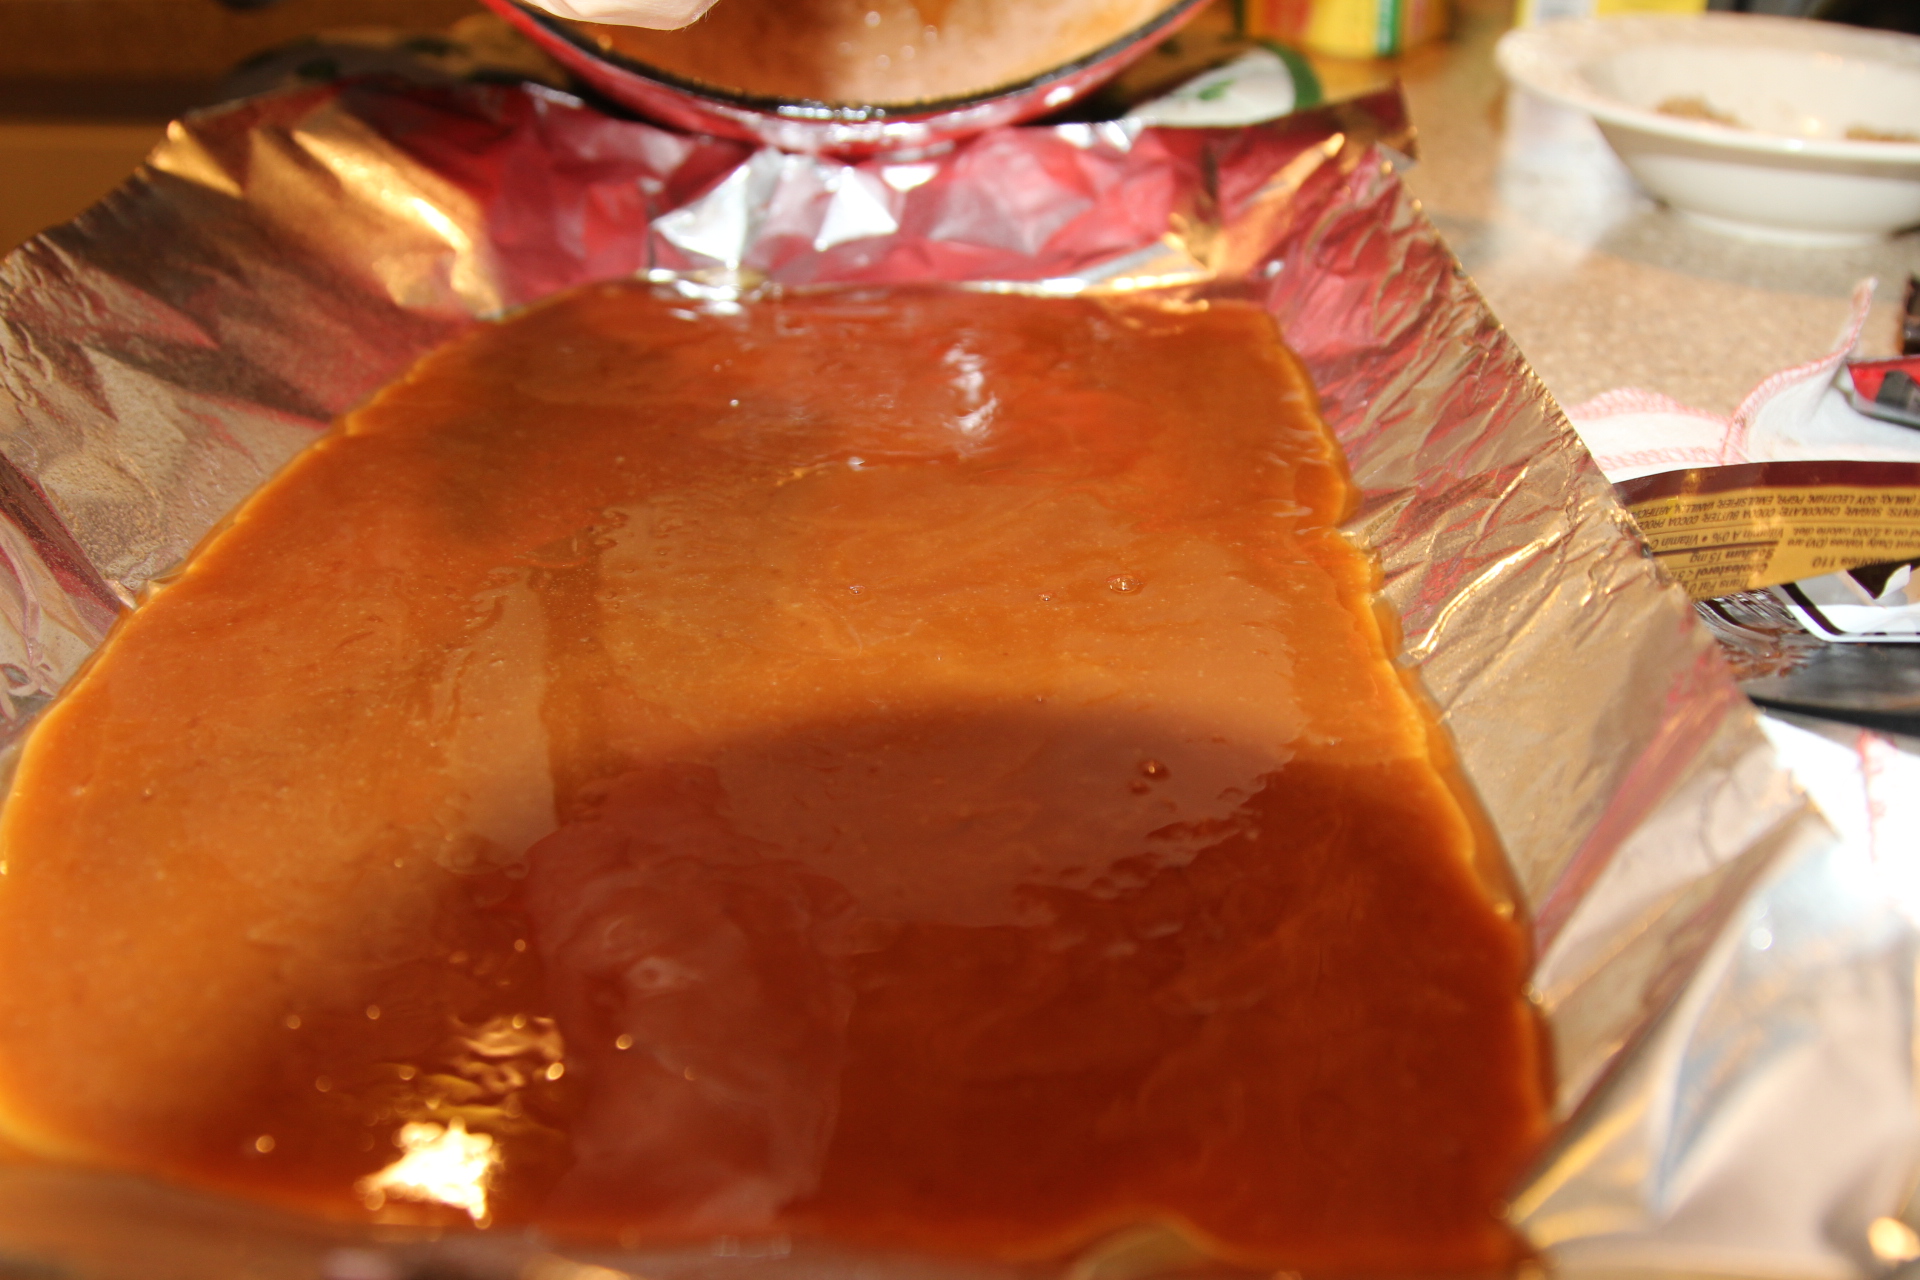
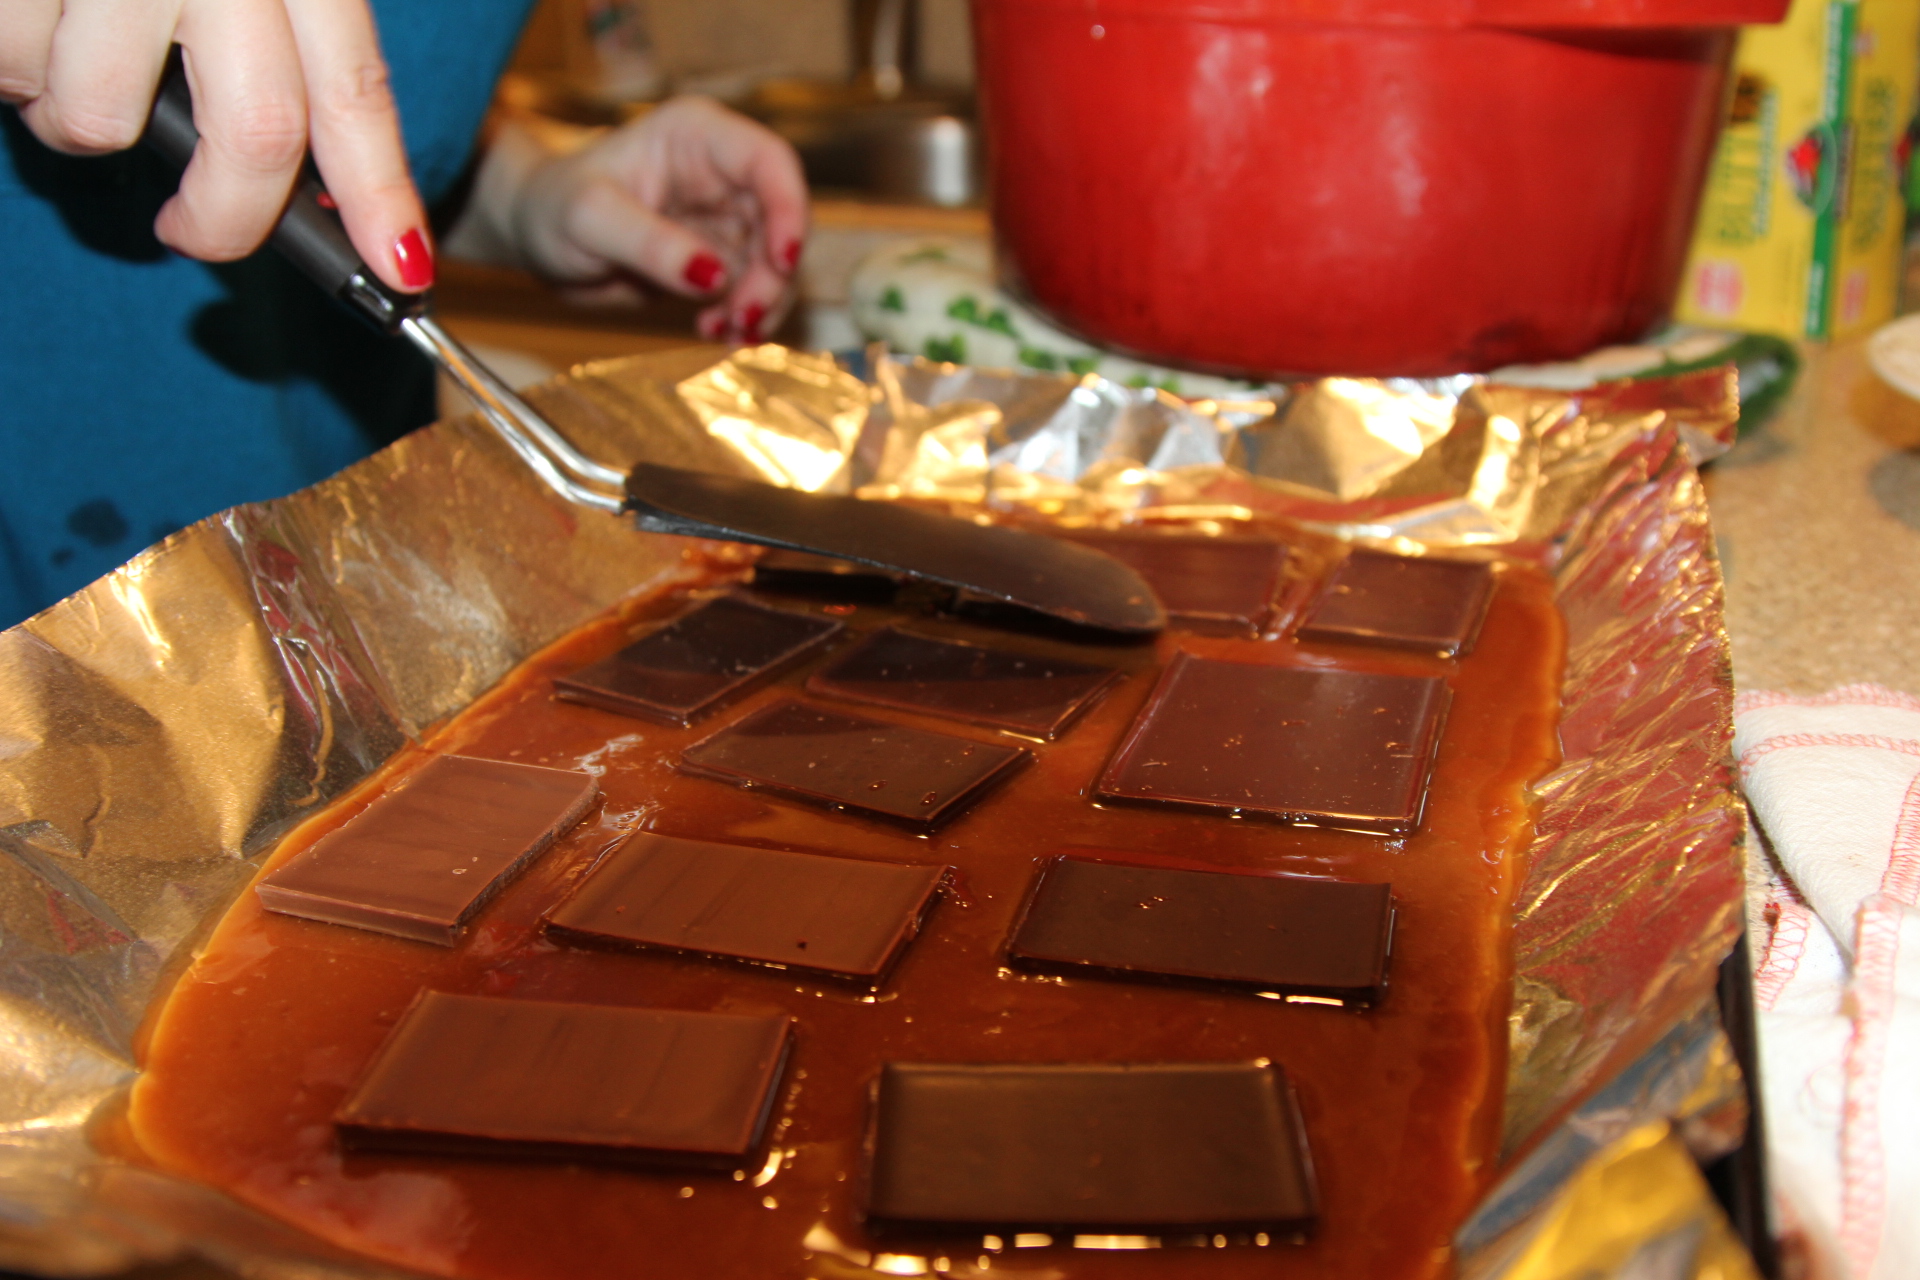
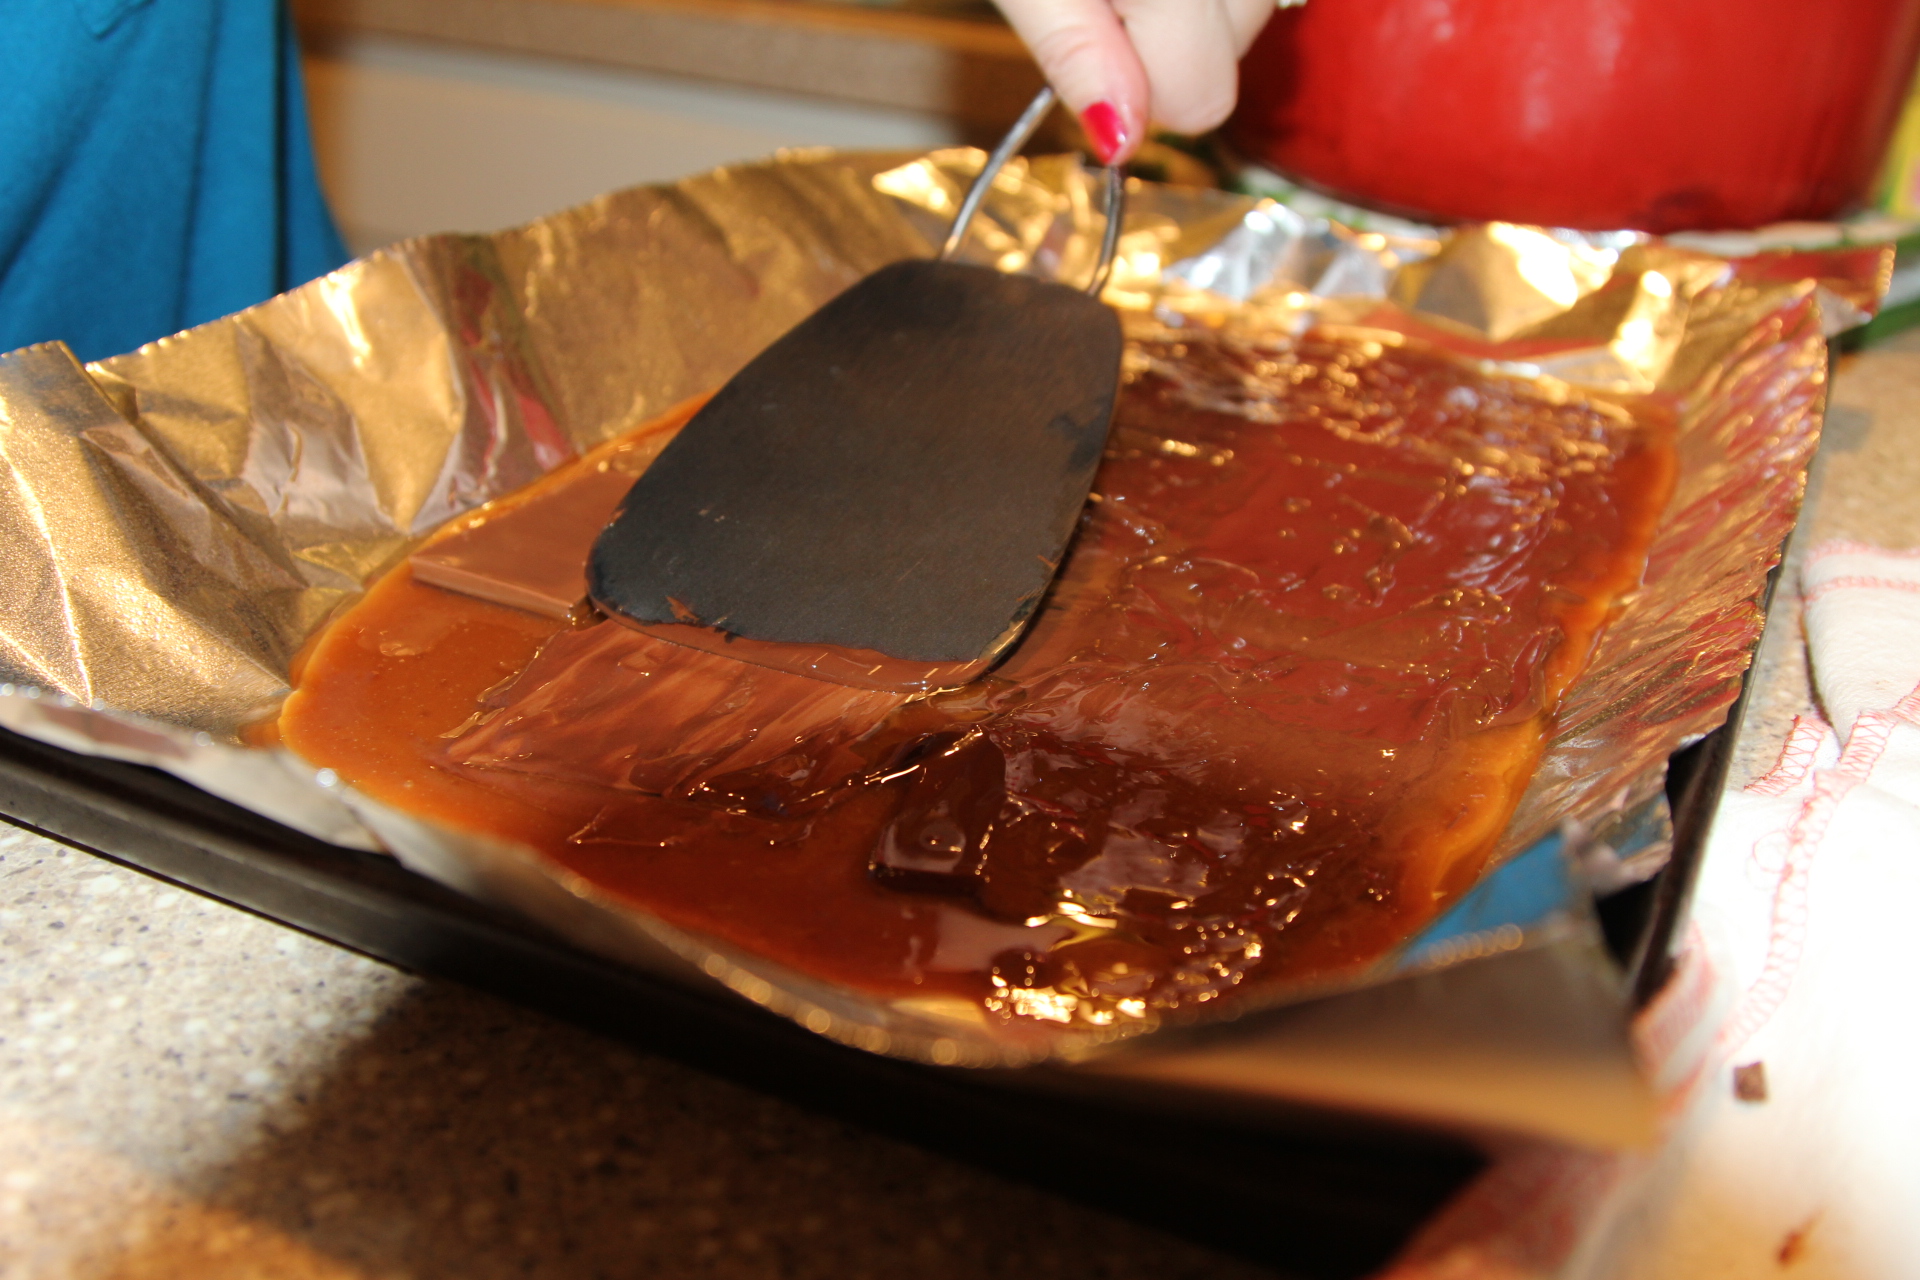
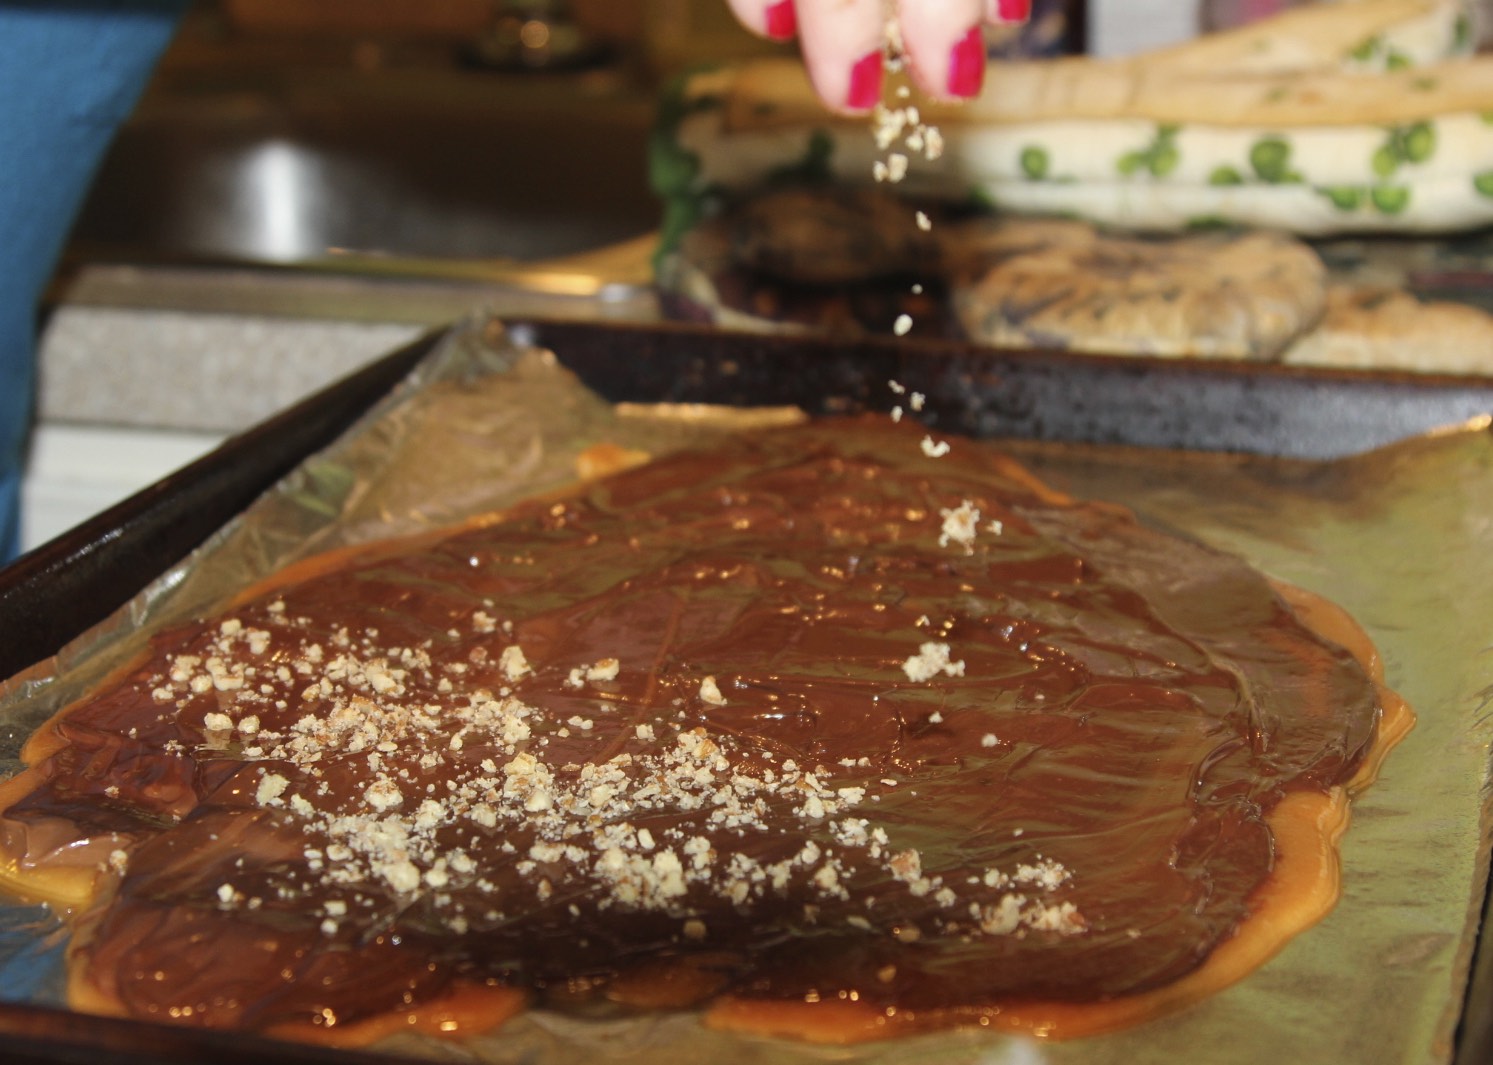
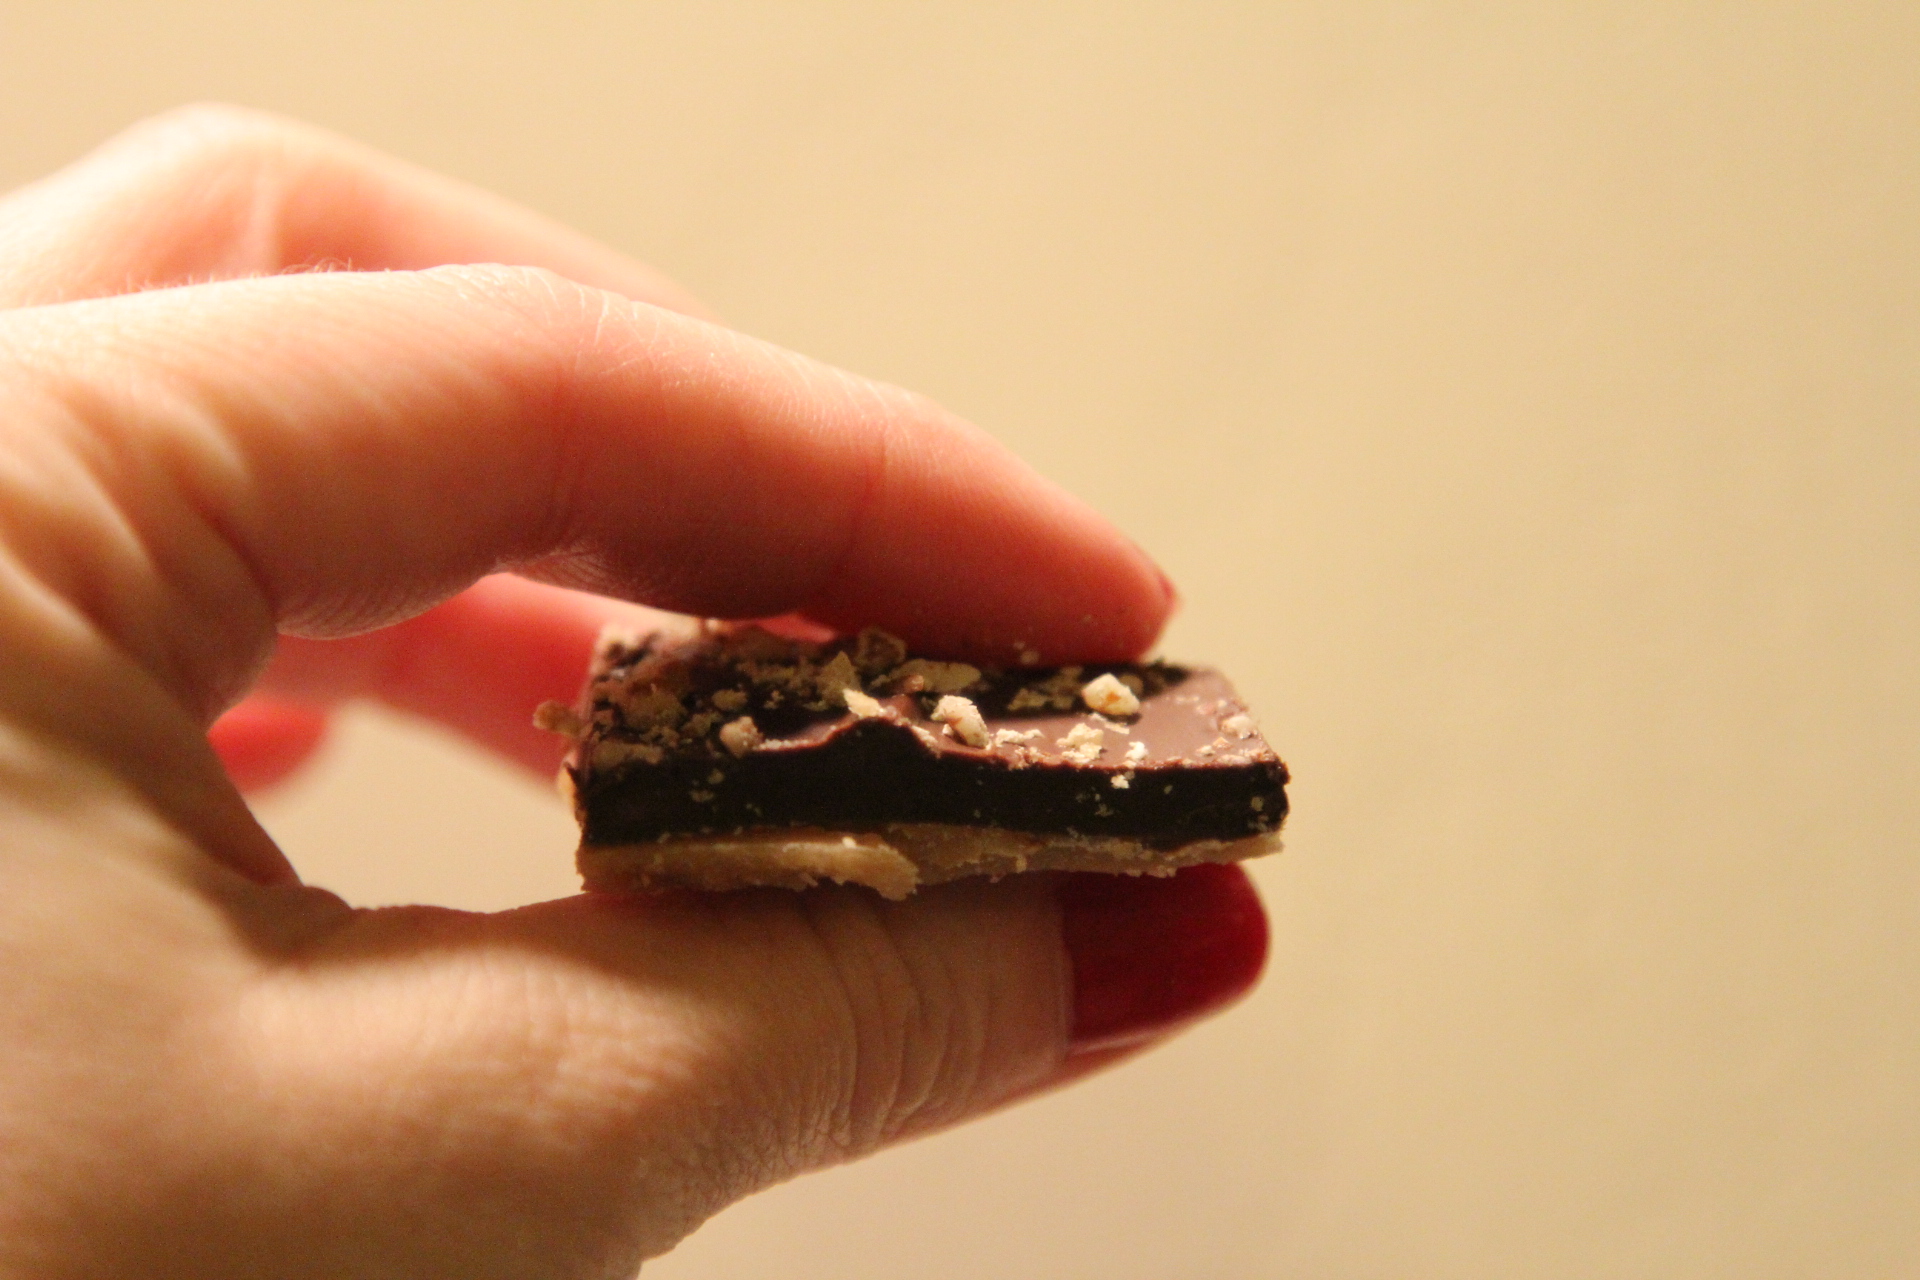
Immediately, pour out toffee onto buttered foil on pan and spread with spatula in a thin layer. I usually have two pans with foil ready to go, but one batch usually fits on one pan. Lay chocolate bar pieces over top of the spread toffee. Use a spatula to gently spread the chocolate as it melts. Spread chocolate into a thin layer over all the toffee. Sprinkle chopped nuts over toffee and gently press with spatula. You could also add sea salt, or festive colored sugar sprinkles if you like.
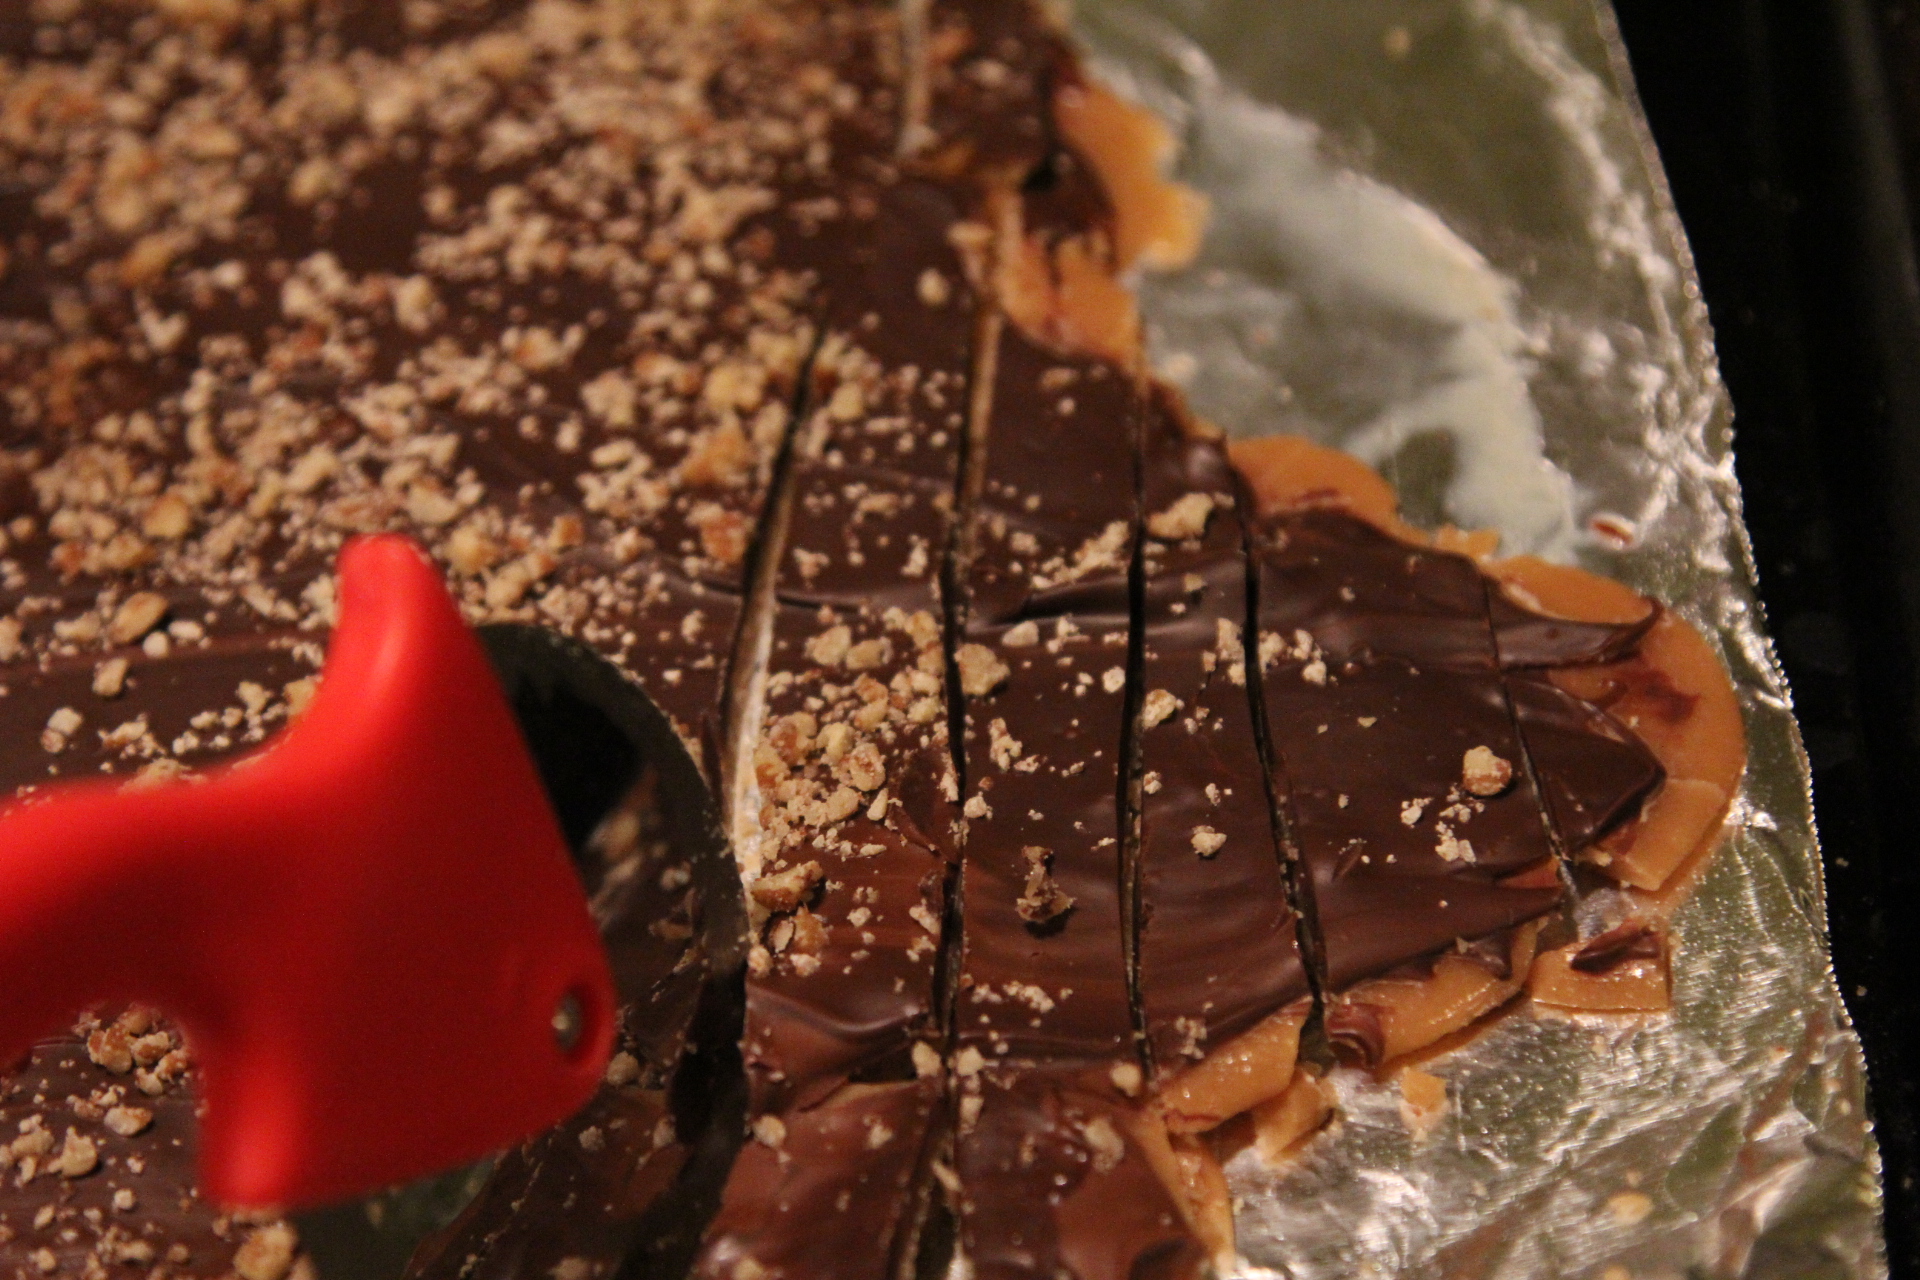
Leave toffee on the foil on the pan and let it cool. Do not place in fridge or freezer, as this will cause the chocolate to separate from the toffee and it will not stick. Once the toffee is cooled and chocolate is set, cut the toffee into pieces with knife or pizza cutter. Store in an airtight container.
Helpful Hints:
Jean told me to use good quality butter. If not, the mixture can separate as it nears the peak temperature. If you look at the ingredients, some butter has added flavoring. You want to avoid that. She only uses Land O’ Lakes brand. That is usually what I buy for this recipe, but this time I used Kirkland Butter from Costco. I made sure it did not have any added flavorings, but I still had issues with separation toward the end of cooking.
The pot: The non stick coated cast iron Circulon pot I normally use for toffee was being used for my chicken and noodles, so I had to use another pot. I first tried a stainless steel pot. I don’t think this worked very well. The mixture seemed to separate easily. I drained a little of the oil off of the toffee quickly after adding the vanilla before pouring out onto the foil. I switched to one of my heavy cast iron pots after my second batch and was much happier. It also cleaned a lot easier than the stainless steel. You may need someone to help you scrape out the toffee if your pot is heavy. So use a good heavy pot!
I’ve also made this using white and milk chocolate chips instead of the chocolate bars. It tasted fine and made a nice swirly look, but they don’t melt as evenly as the bars so you may have a little bit bumpier texture to your toffee.
No rushing here, keep your heat on medium – low. I had my high power gas burner on a 3 during cooking. You don’t want to burn the sugar with your heat too high.
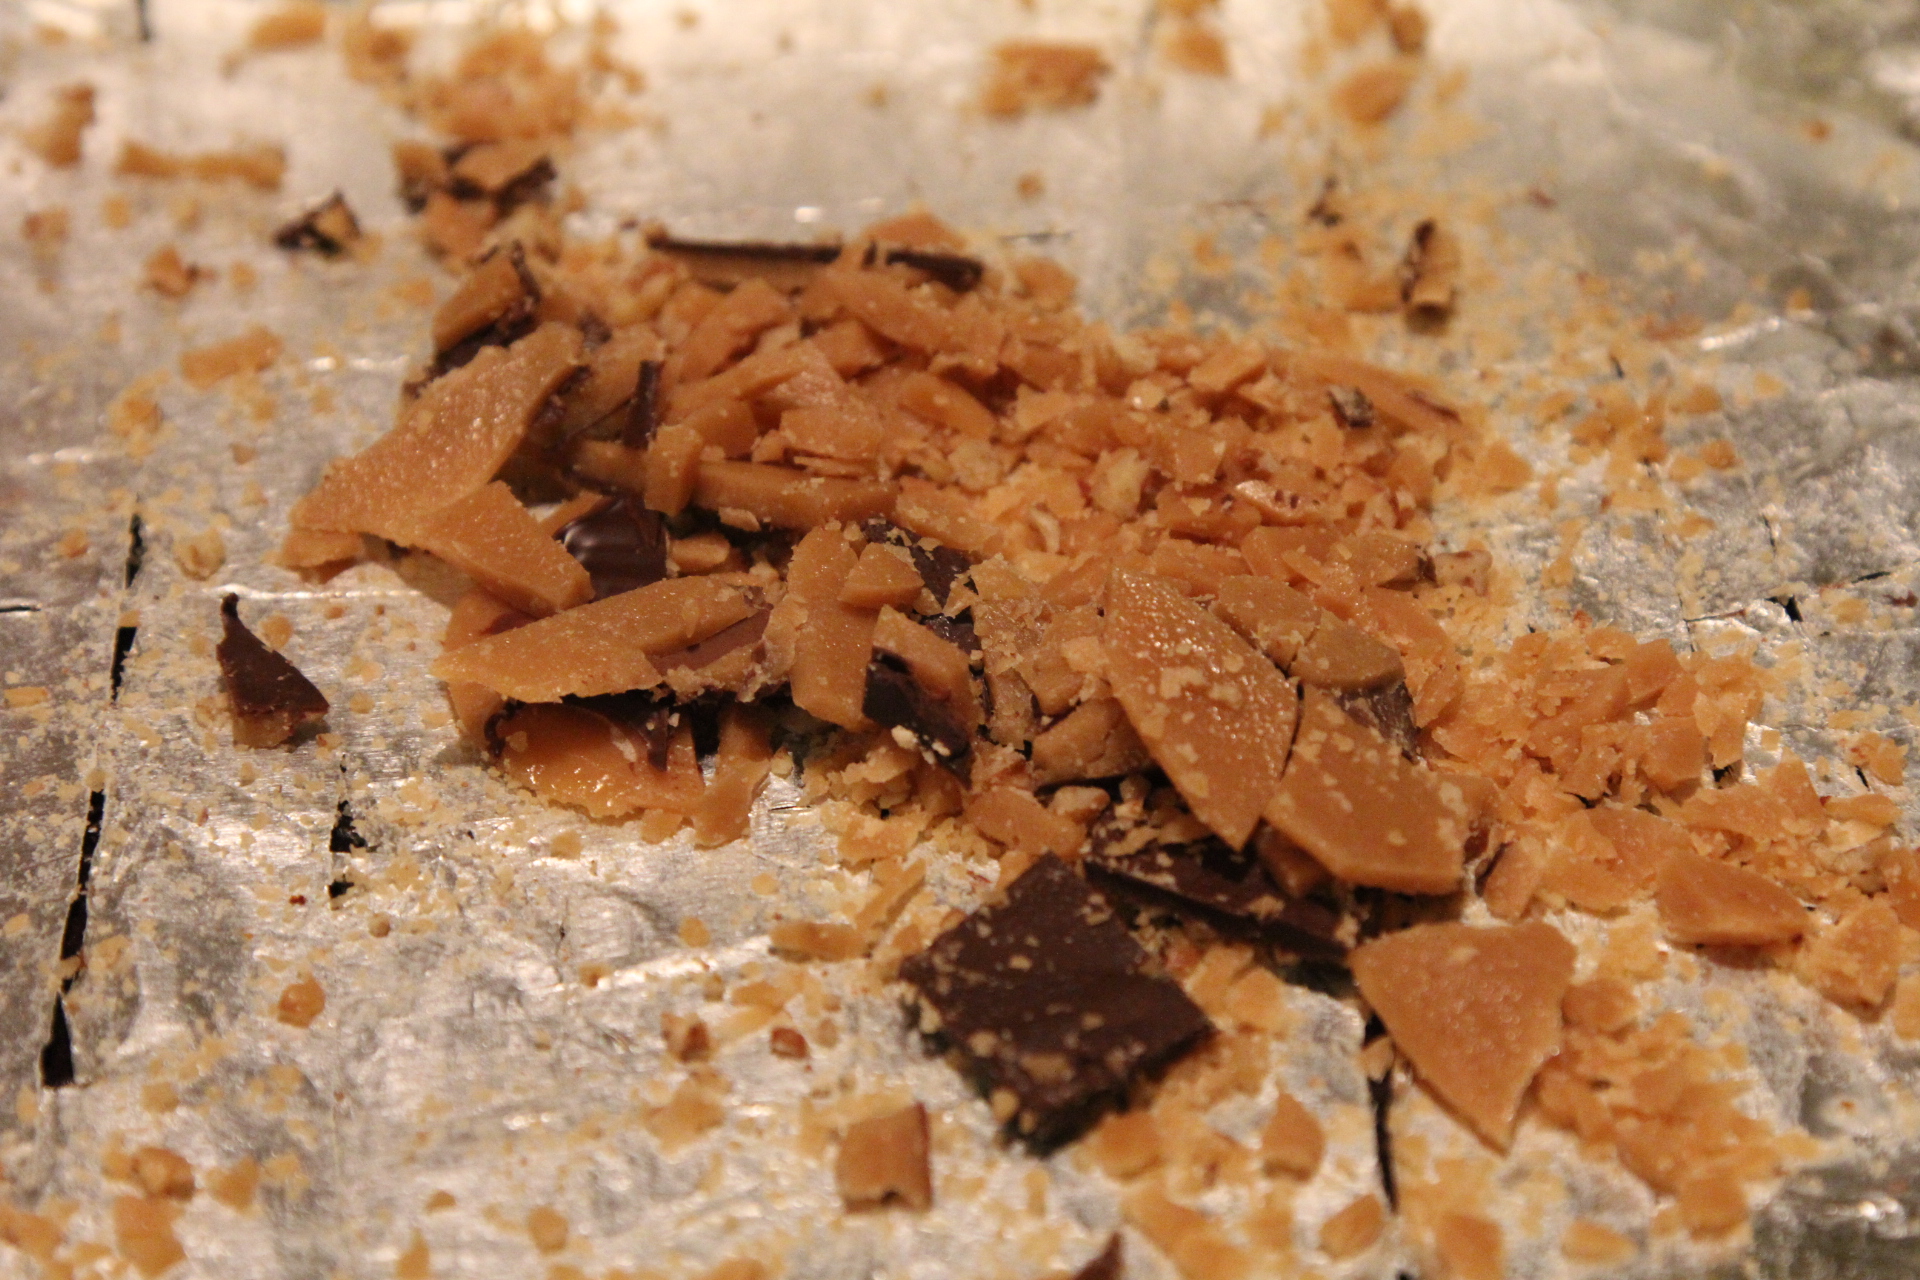
Scraps: After you cut up the finished toffee, you will have little crumbs and scraps. There may be some pieces that the chocolate didn’t stick to, or edge pieces that didn’t have chocolate on them. Don’t throw these goodies away. Put them in a storage bag and toss into the freezer. They make great ice cream toppings!
It may be tempting to double the recipe so you can quickly get all the toffee made and done. This is wrong. Don’t do it. First of all, if it fails or separates, or over cooks, you have wasted double the ingredients. Also, it is harder to lay out and spread double the amount of toffee quick enough and evenly spread the chocolate over it all without the toffee hardening too fast as it cools. So just wash your pot, spatulas and anything else after each batch and make several batches until you have all the toffee you need!
As noted in the recipe, only stir in one direction. If you switch up your stirring directions, the mixture can separate. Basically you are stirring the entire time it is cooking which is around 20 minutes. You must babysit this stuff the entire time. Not fast or vigorous stirring, but just a slow steady stir, scraping the sides of the pot as you stir. I like to use a sturdy rubber spatula for stirring the toffee so I can really scrape the sides clean as I stir.
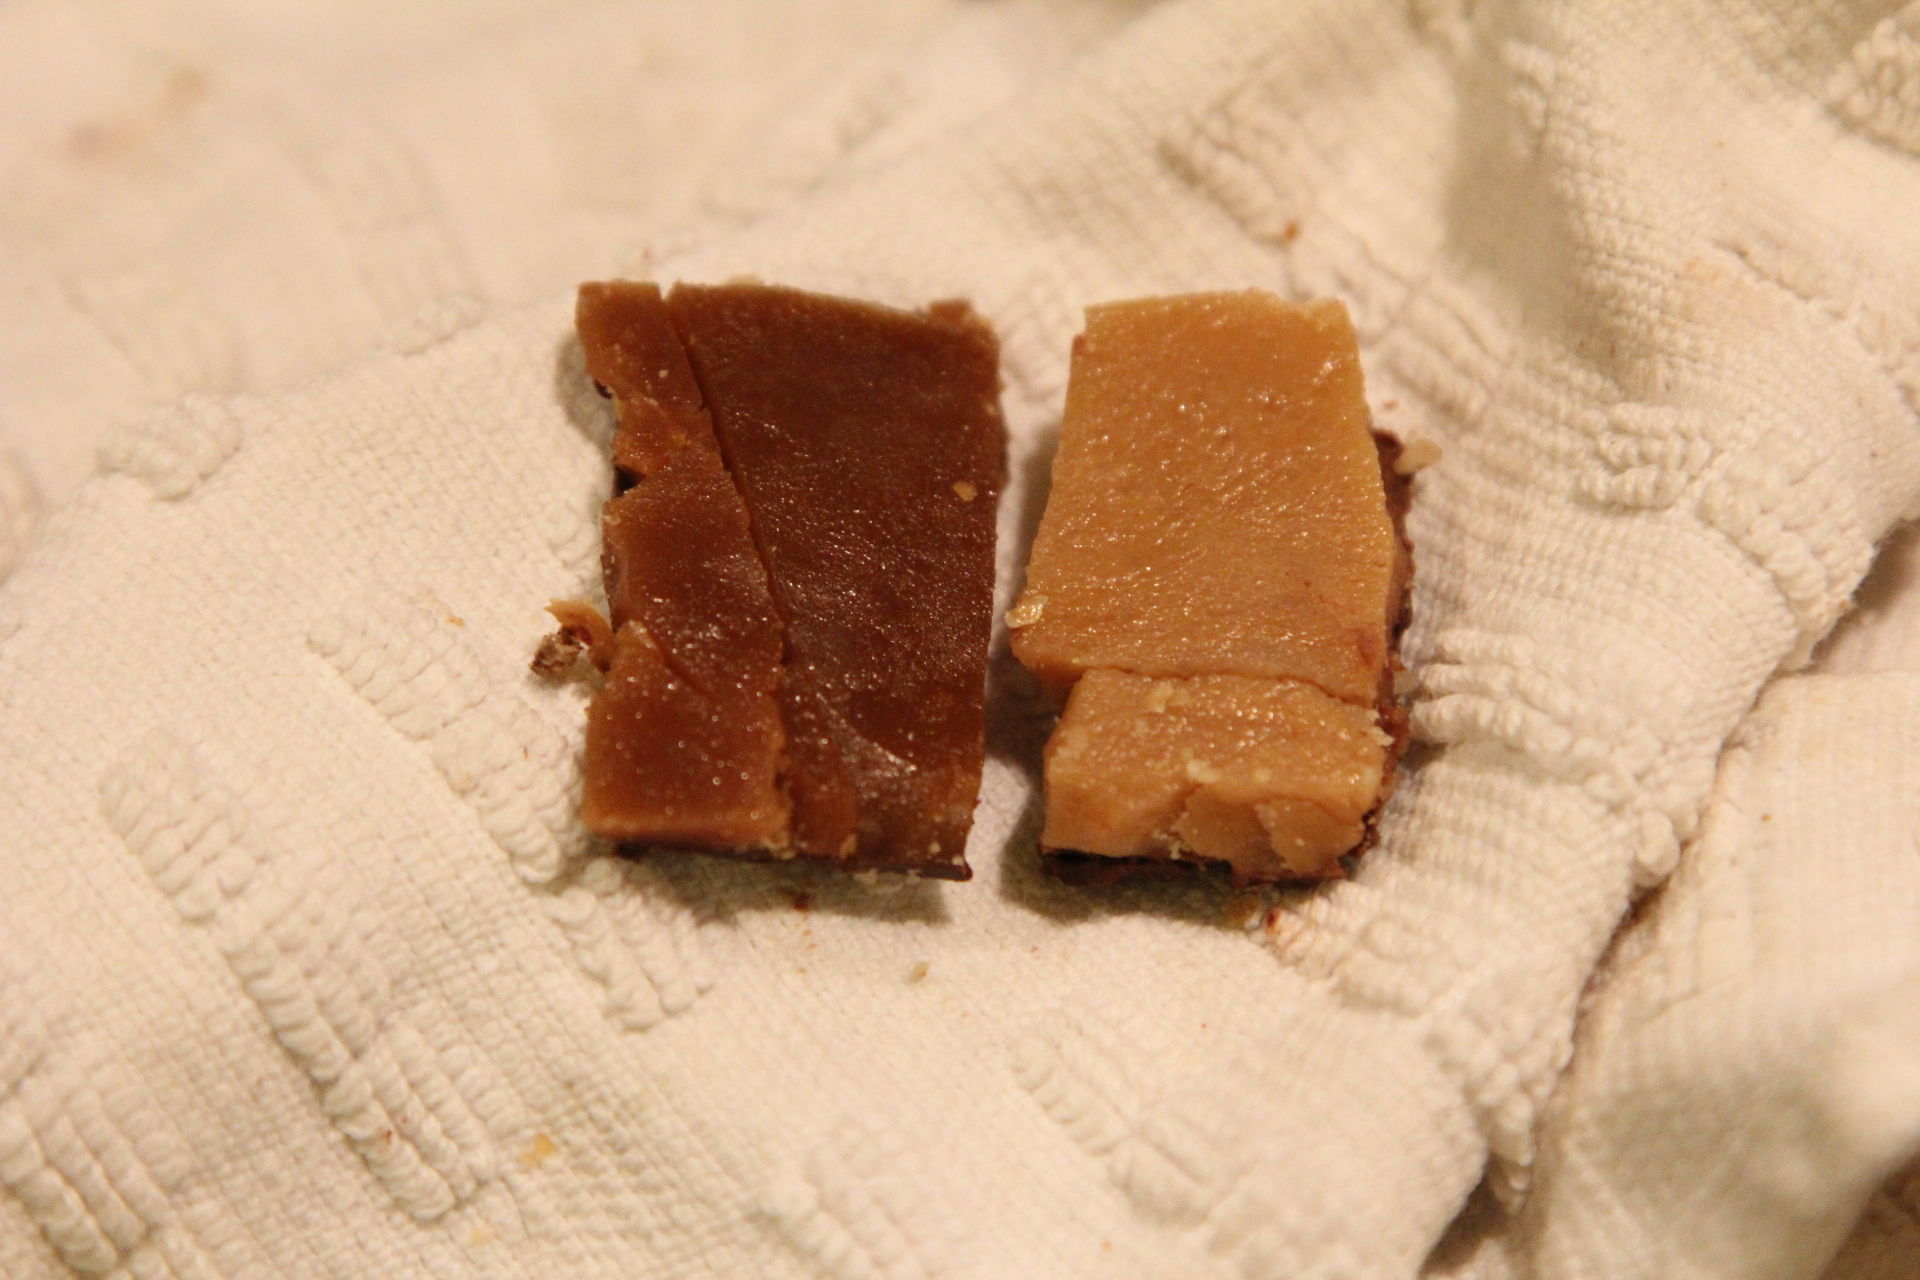
I would go by color more than temperature. Now that I know the color I am after, I will use that as a gauge rather than always relying on the thermometer. I over cooked one batch last night and I’ll show you a comparison of the color of the toffee below. I flipped them over so you could see. The toffee on the left is too dark, over cooked and doesn’t have that smooth melt in your mouth buttery toffee taste. It doesn’t taste horrible, it’s still edible, but it just isn’t as good. I won’t give it out to friends and neighbors, but my girls will still enjoy eating it. The lighter colored toffee on the right is perfect. It has the true toffee taste and melts in your mouth.

Enjoy!

