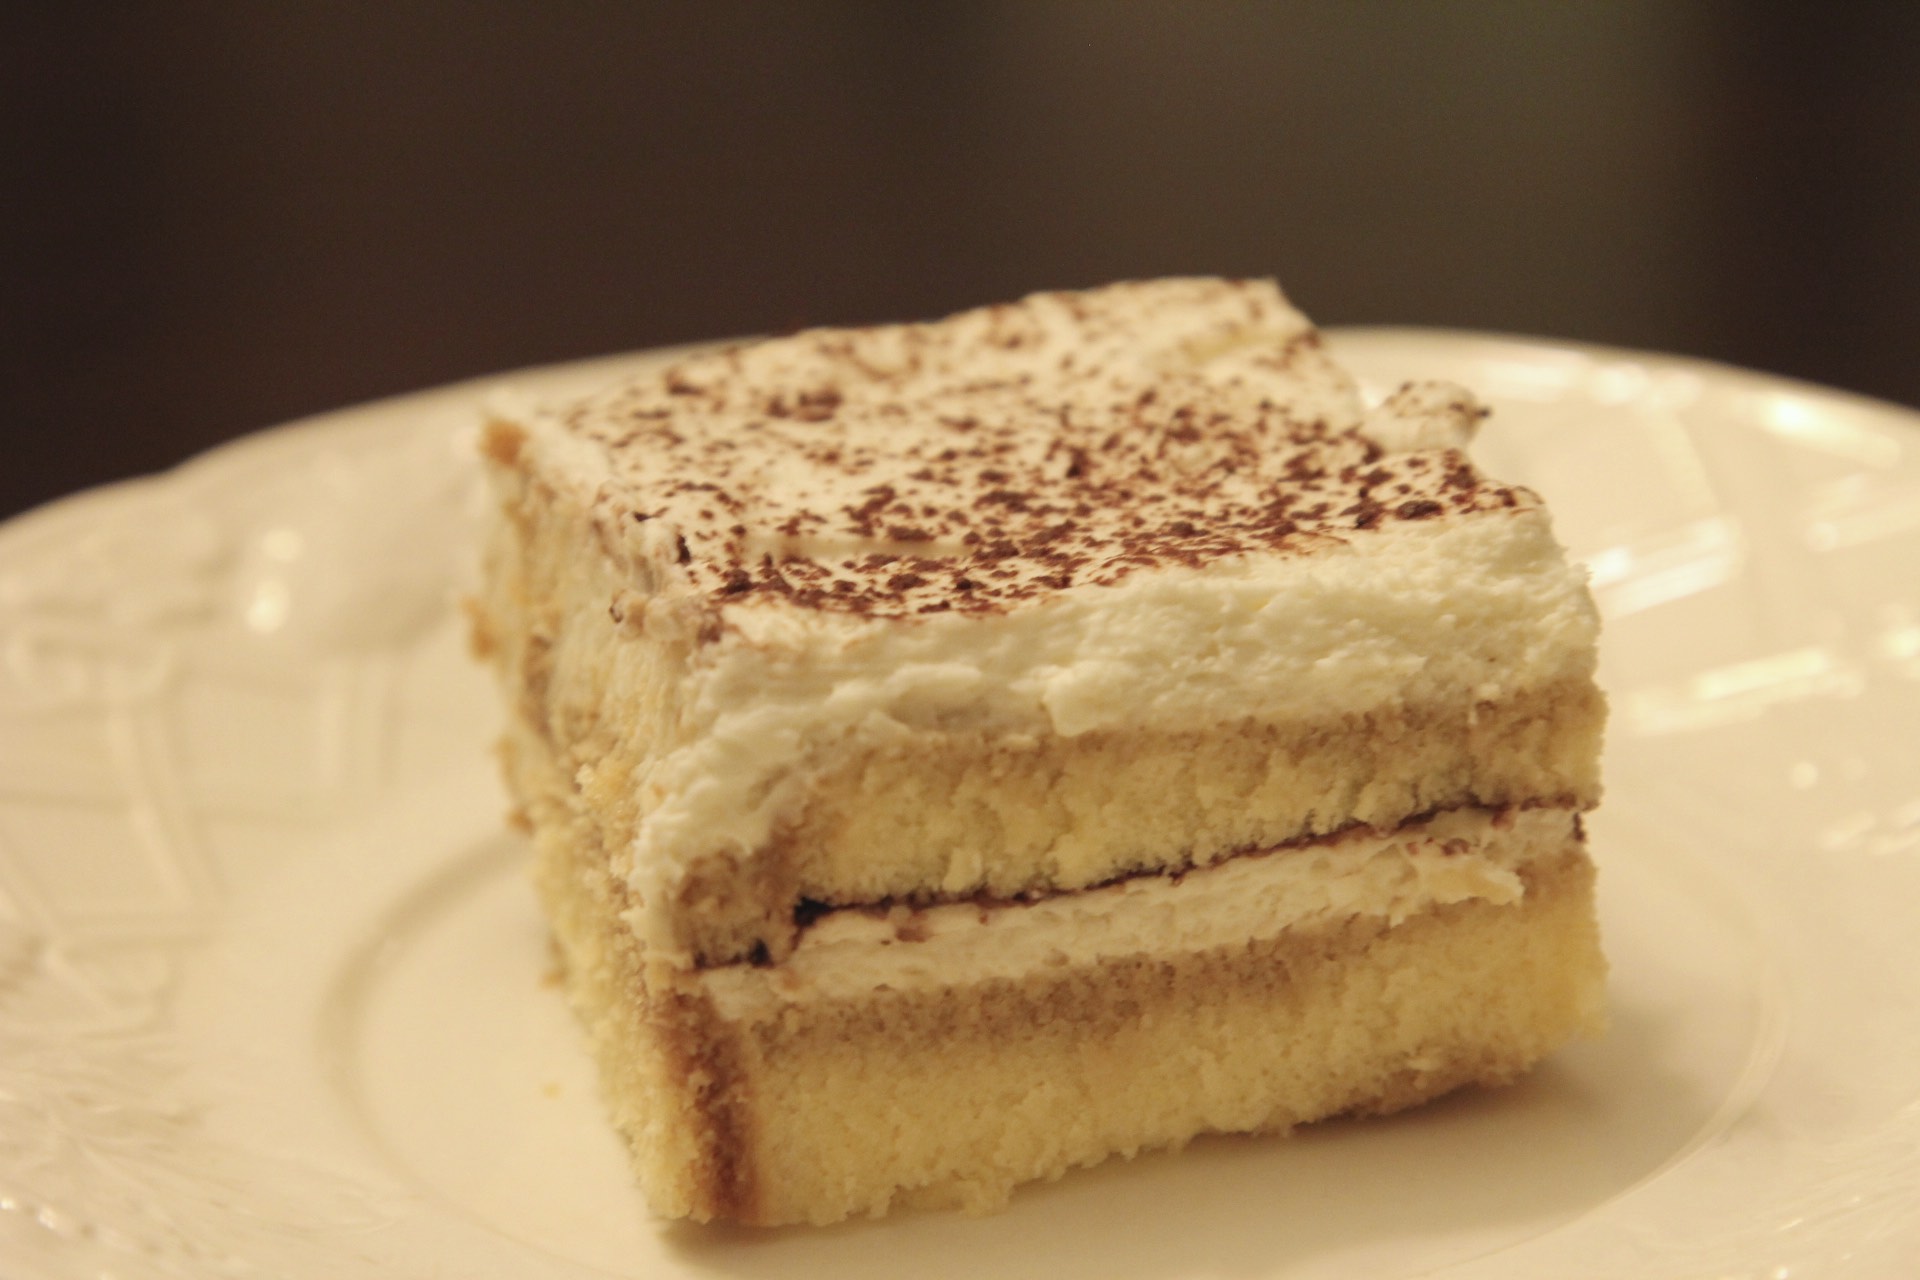
If you can tell from most of my posts, I’m not a huge dessert person. Don’t get me wrong, I can put away a big bowl of ice cream and enjoy a good chocolate cake, but I don’t make a lot of desserts simply because of time and spreading out those calories I consume per day. I’d rather have an extra-large helping of mashed potatoes or another taco, than have dessert on most nights. But I know lots of you out there have that sweet tooth and I want to post some recipes for you to enjoy as well! This dessert is simple, quick to make and keeps for a few days so it can be made in advance for those large gatherings, dinner parties, food days at work, you name it! Best of all, I think this Tiramisu impresses guests with its light and delicate texture, bold coffee flavoring, and mixture of sweet whipped cream to tie it all together. It almost just melts in your mouth!
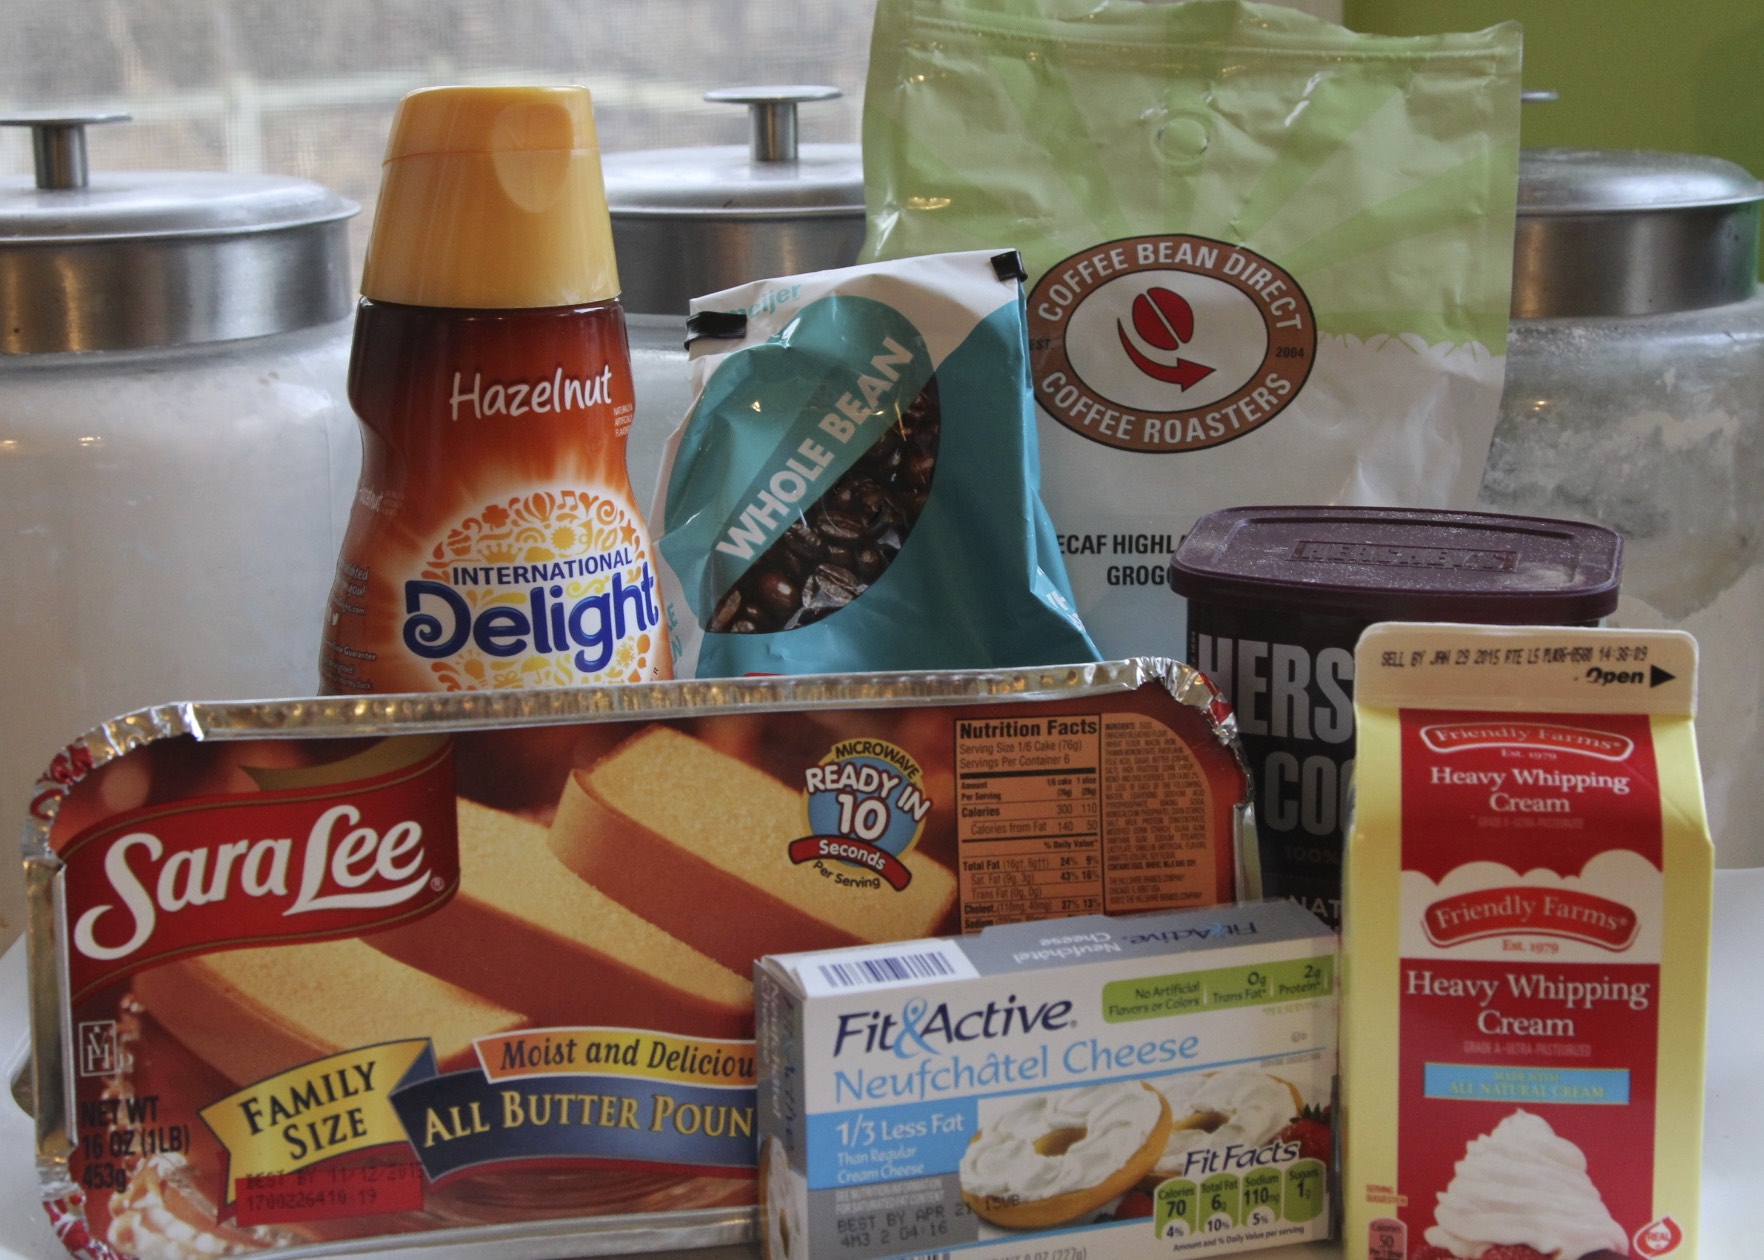
Tiramisu is an Italian dessert, normally made with lady fingers or a light cake in layers with whipped cream. I usually do not make Tiramisu with the traditional Lady Fingers. Instead, I use pre made Sara Lee Butter Pound Cake (it’s found in the freezer section at the grocery store). I prefer the pound cake for a few reasons: It’s less expensive, easier to find at most grocery stores where not all stores carry lady fingers, also the pound cake holds up better where the lady fingers become too soggy for my taste. This helps if you are making a day in advance or if you have any leftovers of the Tiramisu and want to enjoy it for a few days after making it. This recipe uses every bit of a family size pound cake so you may want to pick up an extra one to have on hand so you do not somehow make your slices too large and run out of slices when assembling. These are nice to keep on hand for quick strawberry shortcakes, trifles and other desserts. They keep in the freezer for a few months which is great. Many traditional Tiramisu’s call for mascarpone cheese. It’s a soft Italian cheese. I prefer to use Neufchâtel cheese which is a lower fat and higher moisture content than regular cream cheese. Mascarpone is not available in all grocery stores and usually more expensive than the Neufchâtel and I don’t think the slight flavor difference makes any difference in the overall taste of the dessert. I like the Neufchâtel rather than regular cream cheese because of it’s lighter consistency and slightly milder taste.
A couple tips to making this dessert is chilling your mixing bowl and heavy cream before mixing, and preparing everything before you begin assembly. This will ensure a whipped cream that will hold it’s height and airiness as well as speed along your preparation. If you’ll notice in my ingredients, I use a Highlander Grogg flavored coffee as well as house blend coffee. Highlander Grogg was introduced to me years ago by a friend. She is from a small town in WI where a family owned Berres Brothers Coffee Roasters has grown into a booming business and offers over a hundred different flavors of coffee. She described one of her favorite flavors which was the Highlander Grogg to me as a mix of caramel and hazelnut. I was intrigued the second she said hazelnut. I’m a nut for hazelnut, what can I say! One time on a visit up to see her family, she brought me back my first bag of Highlander Grogg to try. Oh, such a sweet friend! I think the description of Grogg from Berres Brothers is pretty accurate. “It’s an explosion of caramel, butterscotch and hazelnut.” It’s my favorite coffee of all! The combination of flavors is perfect and not too overpowering. Such a rich warm taste that enhances that coffee so well. A few years ago, my husband and I were up in WI for her wedding and went to the Berres Brothers cafe/store which is also where they produce these yummy flavored beans and loaded up our stock of Grogg. You can purchase Berres Brothers Coffee at some retailers and online at berresbrothers.com. We used to buy it from Amazon. I would buy three pounds of whole bean at once that would last us for a few months since we don’t make coffee every day. But then every time I went to order my Grogg, it was not available for the longest time. So I tried a few different brands that carry their version of Highlander Grogg flavor. That is why the coffee in the picture is Coffeebeandirect.com’s version of Highlander Grogg. My husband accidentally ordered three pounds of it in Decaf too! Oh, the horror! That’s also the reason, I mix a little house blend in there too so we get a little pick me up! I just checked and Berres Brothers Highlander Grogg is back at Amazon. Yippee! I prefer Berres Brothers over the others we’ve tried. So my point to all this is, Highlander Grogg is the flavor of coffee we prefer so it’s also what I use for my Tiramisu. But if you are more of a Irish Cream, House Blend, or even a good old Breakfast Blend person, then go with that. Also I use Hazelnut creamer because as I stated before, I’m a nut for hazelnut. I like to add a little more hazelnut flavor into the dessert. You could use any coffee creamer you like, or just use vanilla extract or even hazelnut extract if you are lucky enough to have that.
Here are the steps:


And repeat . . .


Tiramisu:
This is just enough for 2 layers in a 9 x 13 pan. If you want a third or fourth layer, you will need to double the recipe.
Ingredients:
2 C very strong brewed coffee
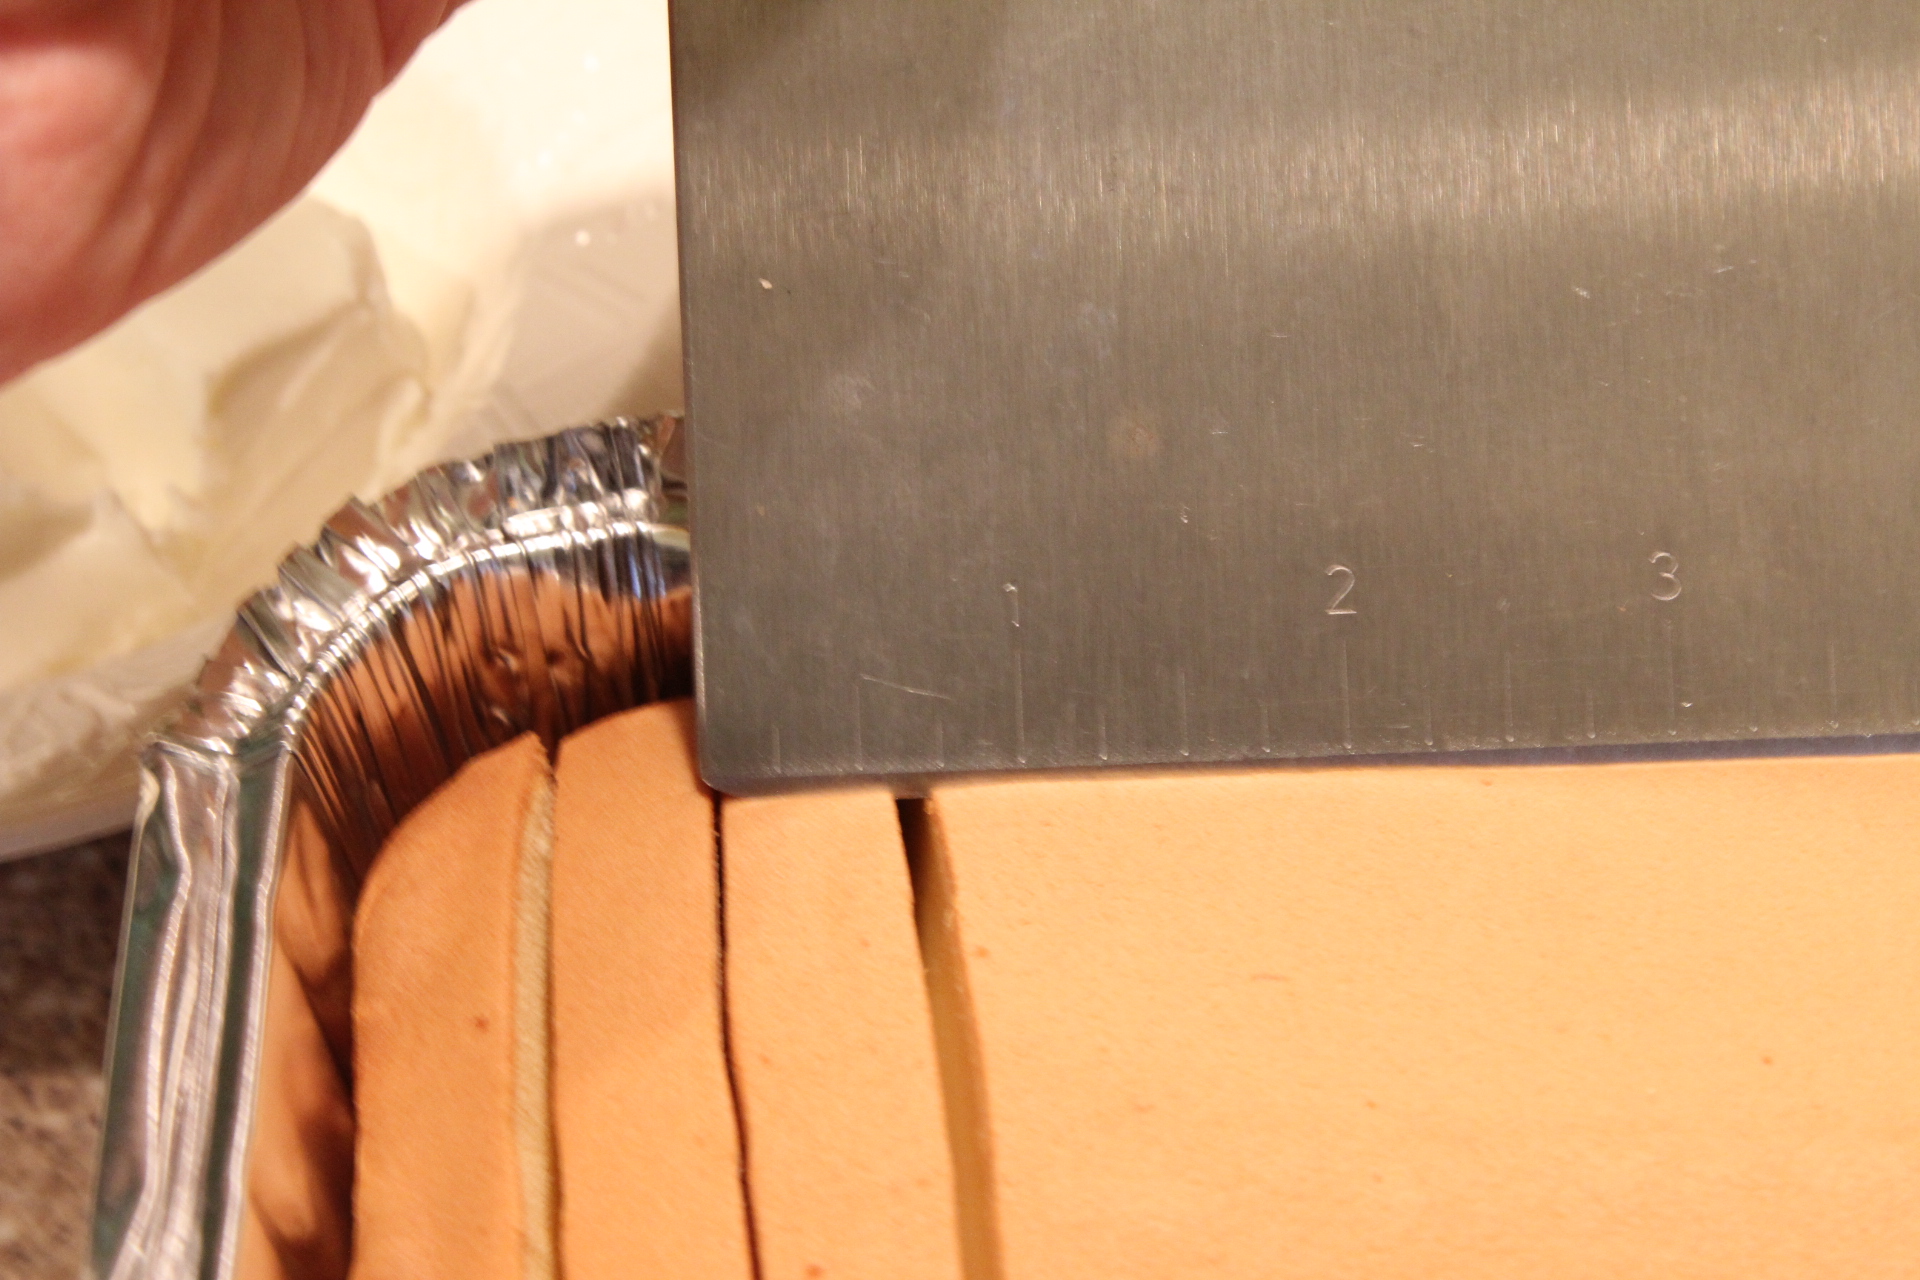
1 family size Sara Lee Butter Pound Cake – slightly thawed and sliced into 1/3 inch slices
1 pint of heavy whipping cream, very cold and chill bowl before mixing
2 TBS coffee creamer – hazelnut or flavor you like
1 TBS of granulated sugar
3 oz Neufchâtel cheese – softened
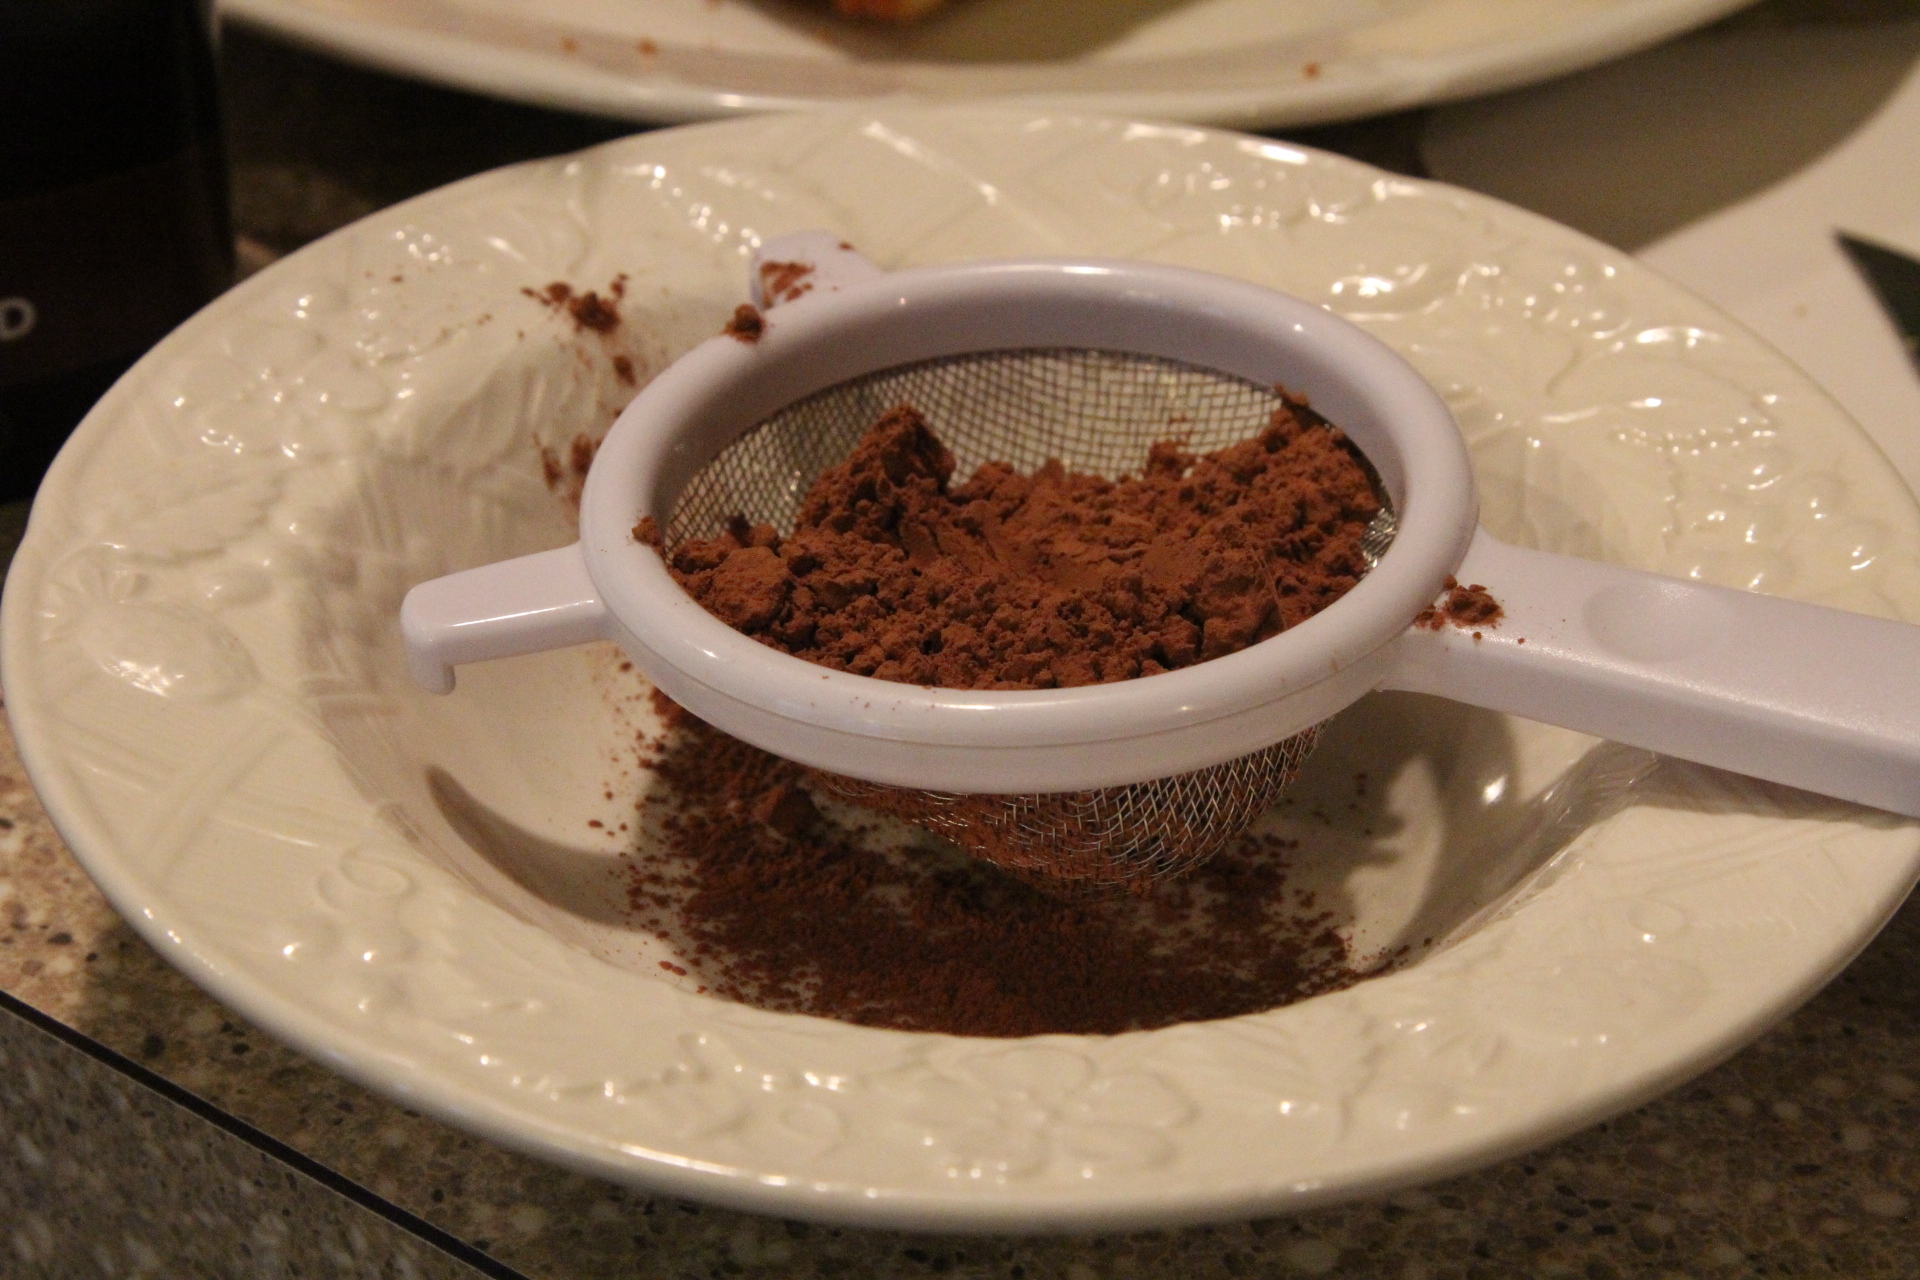
1 TBS Unsweetened Cocoa Powder for Dusting
Directions:
Chill your mixing bowl that you’ll use for your whipping cream. Keep Heavy Cream in the fridge until ready to mix it.
Brew Coffee. Remember it needs to be very strong. I use it warm, but you could chill this before hand as well.
Slice Pound Cake into 1/3 inch slices.
Have Cocoa powder ready for dusting.
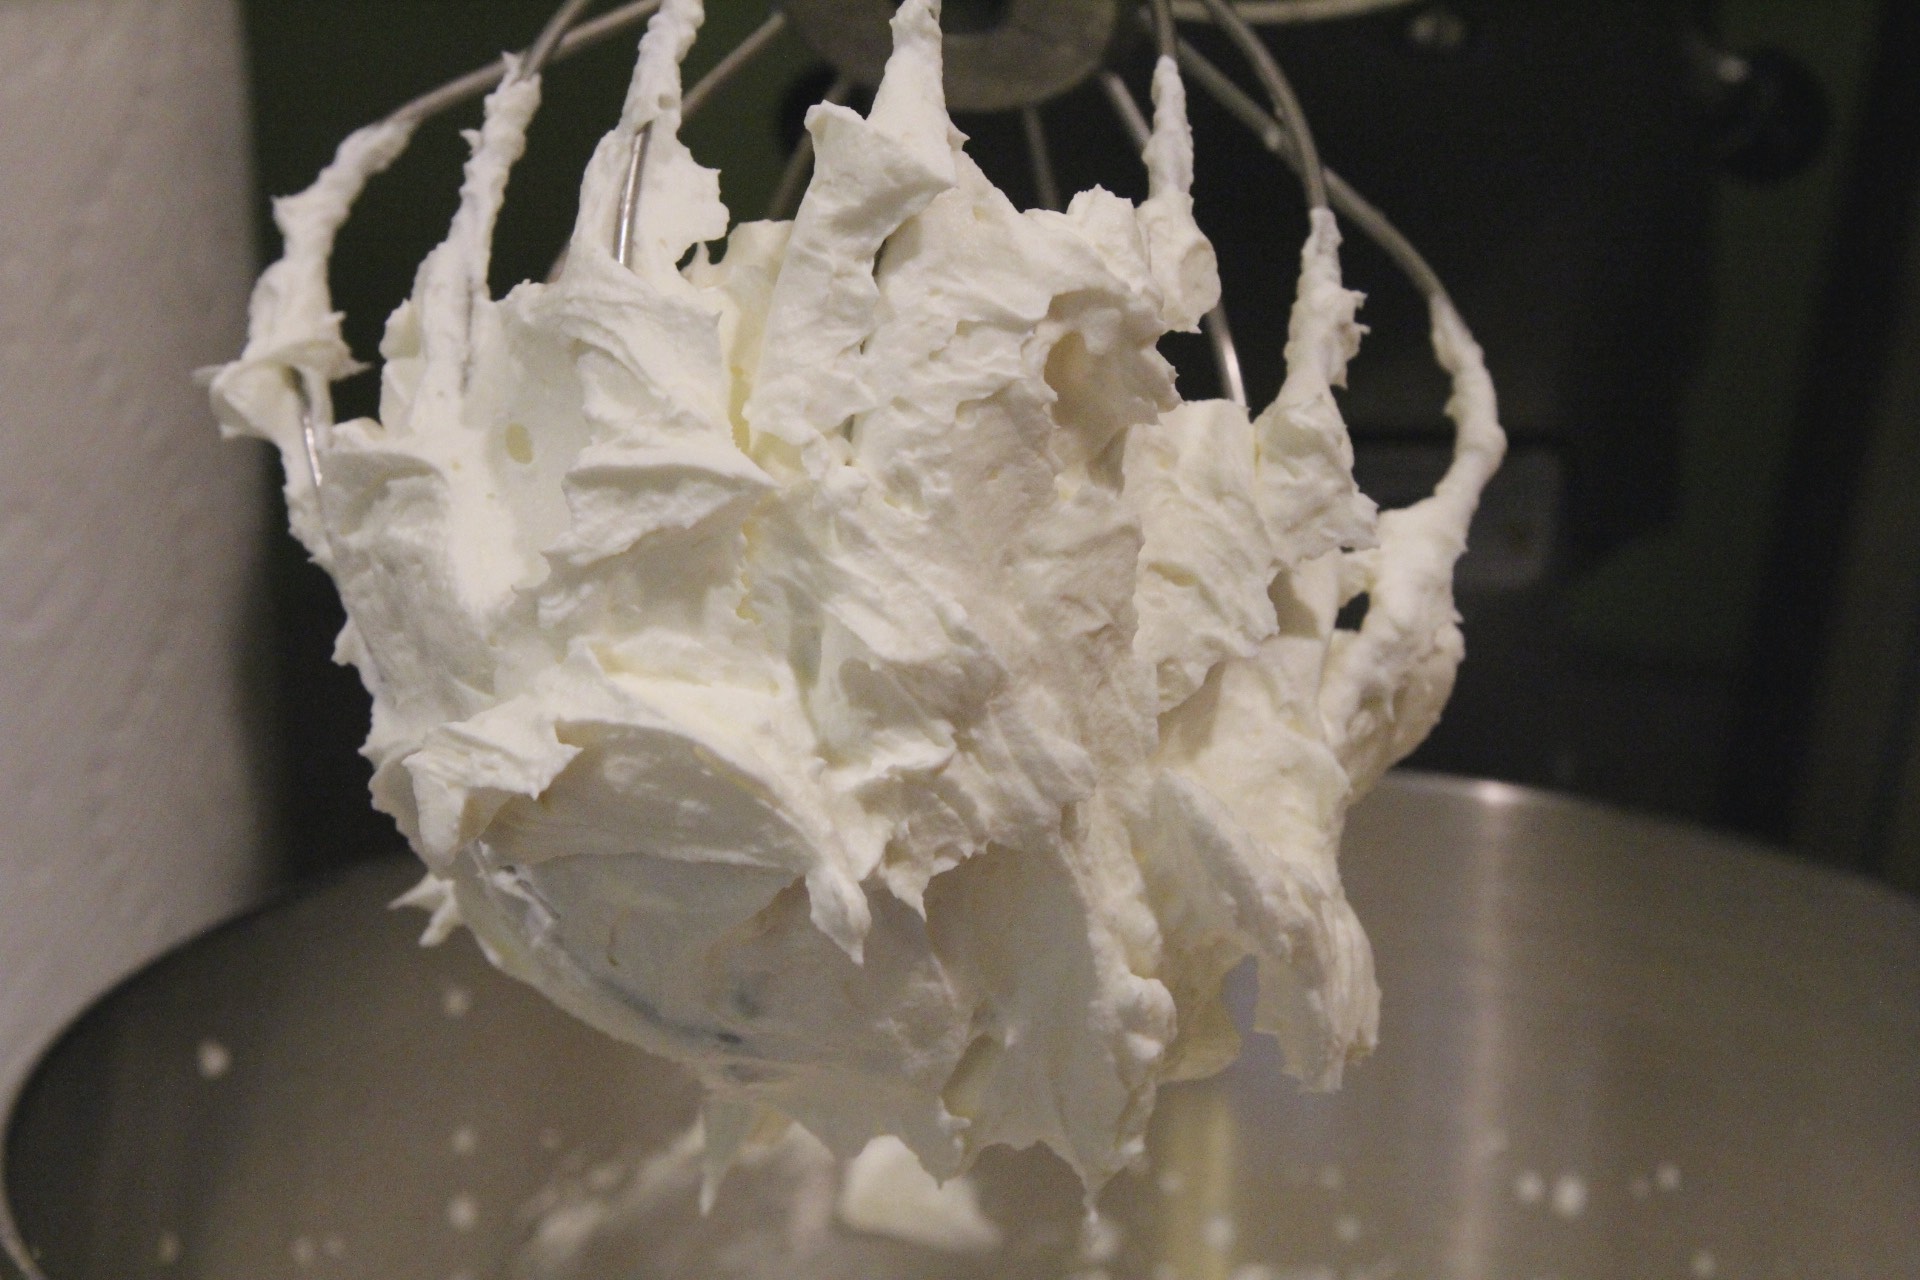
Add softened Neufchâtel to mixing bowl and beat with whisk attachment.
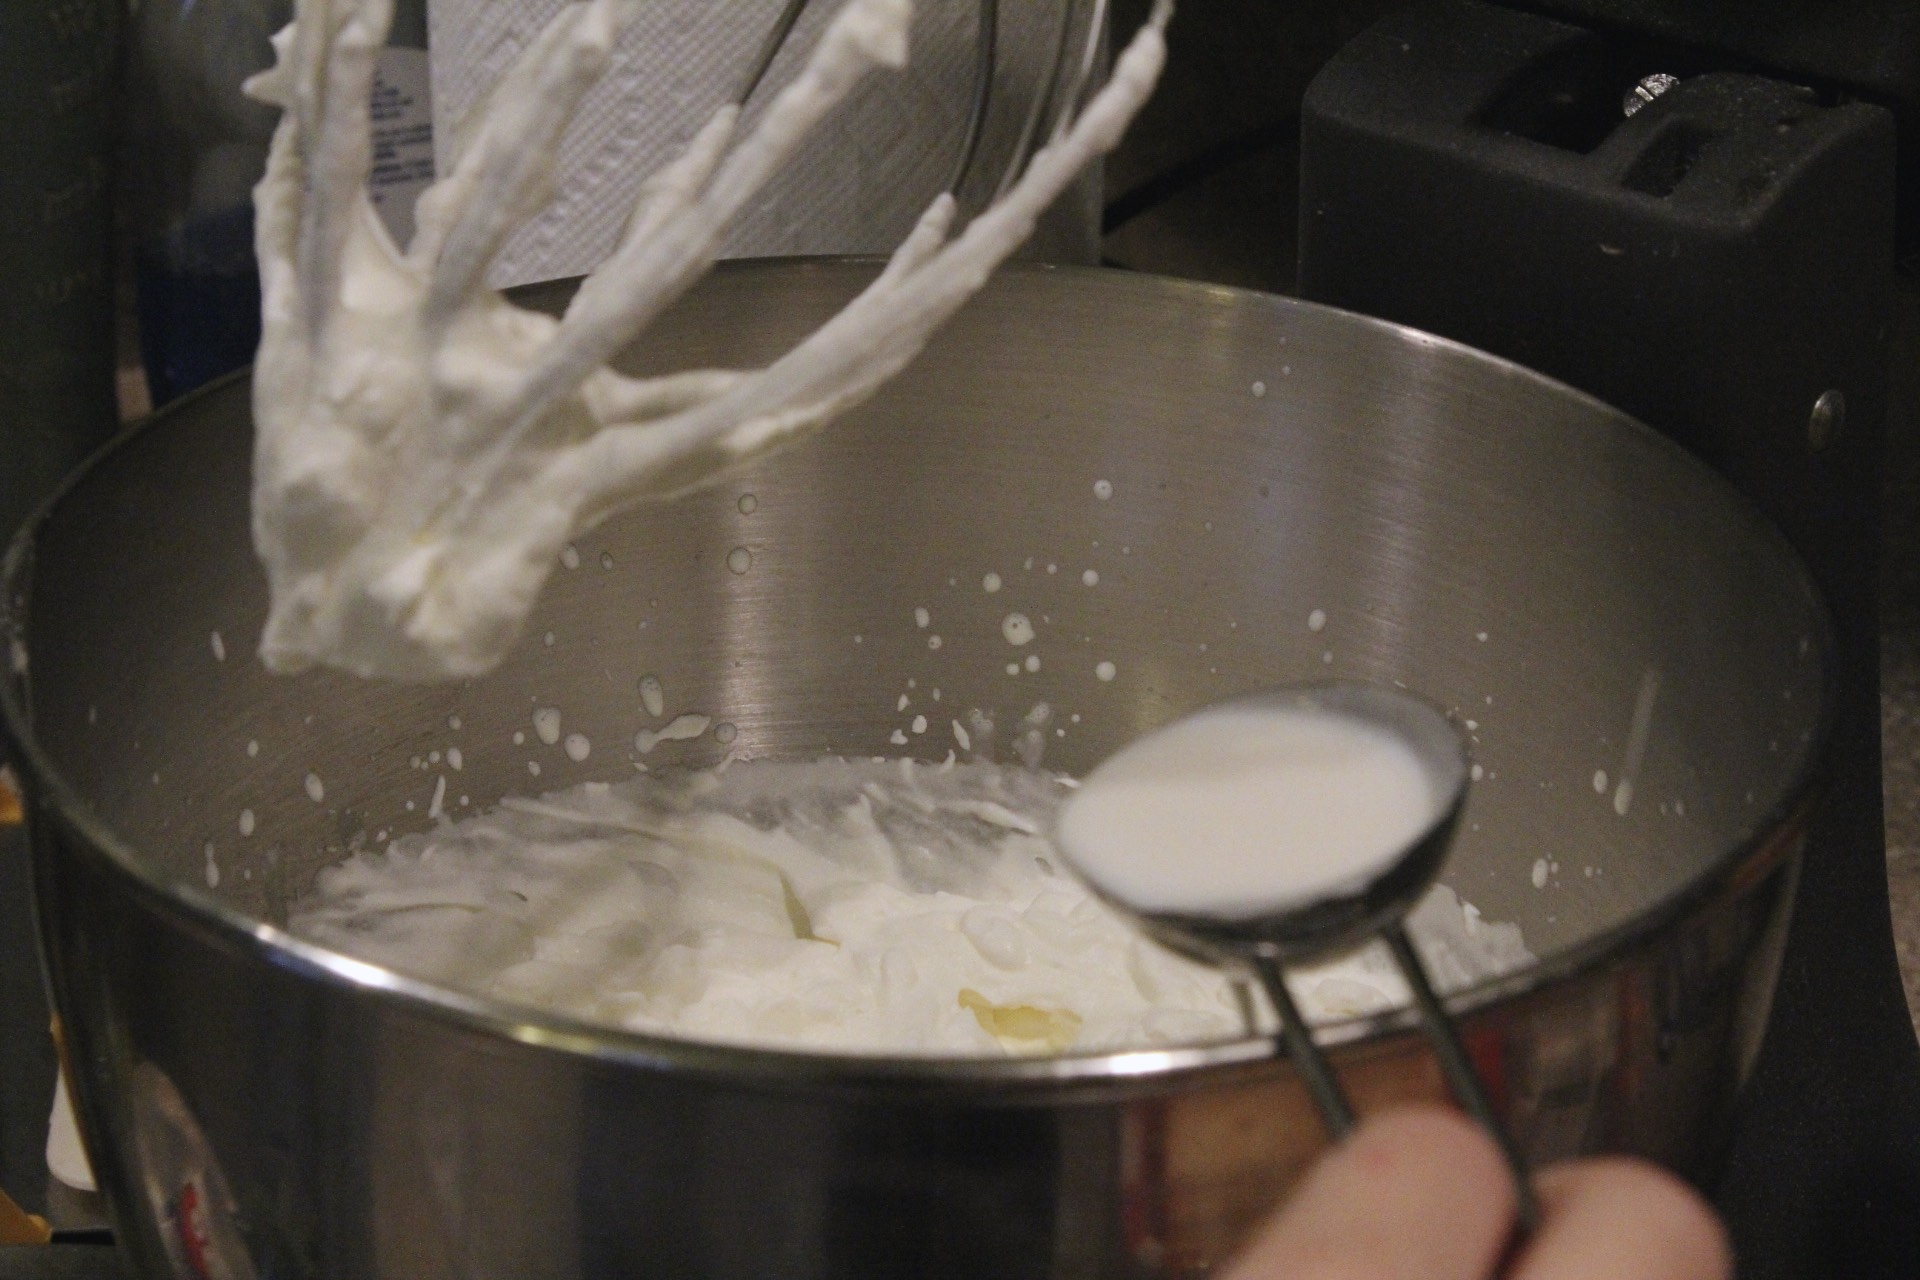
Add in the pint of heavy cream and mix for until soft peaks form.
Scrape bowl, , add in the coffee creamer, sugar and keep mixing for a minute or two longer until still peaks form. You want to avoid over beating because the whipped cream can lose its air and turn grainy.
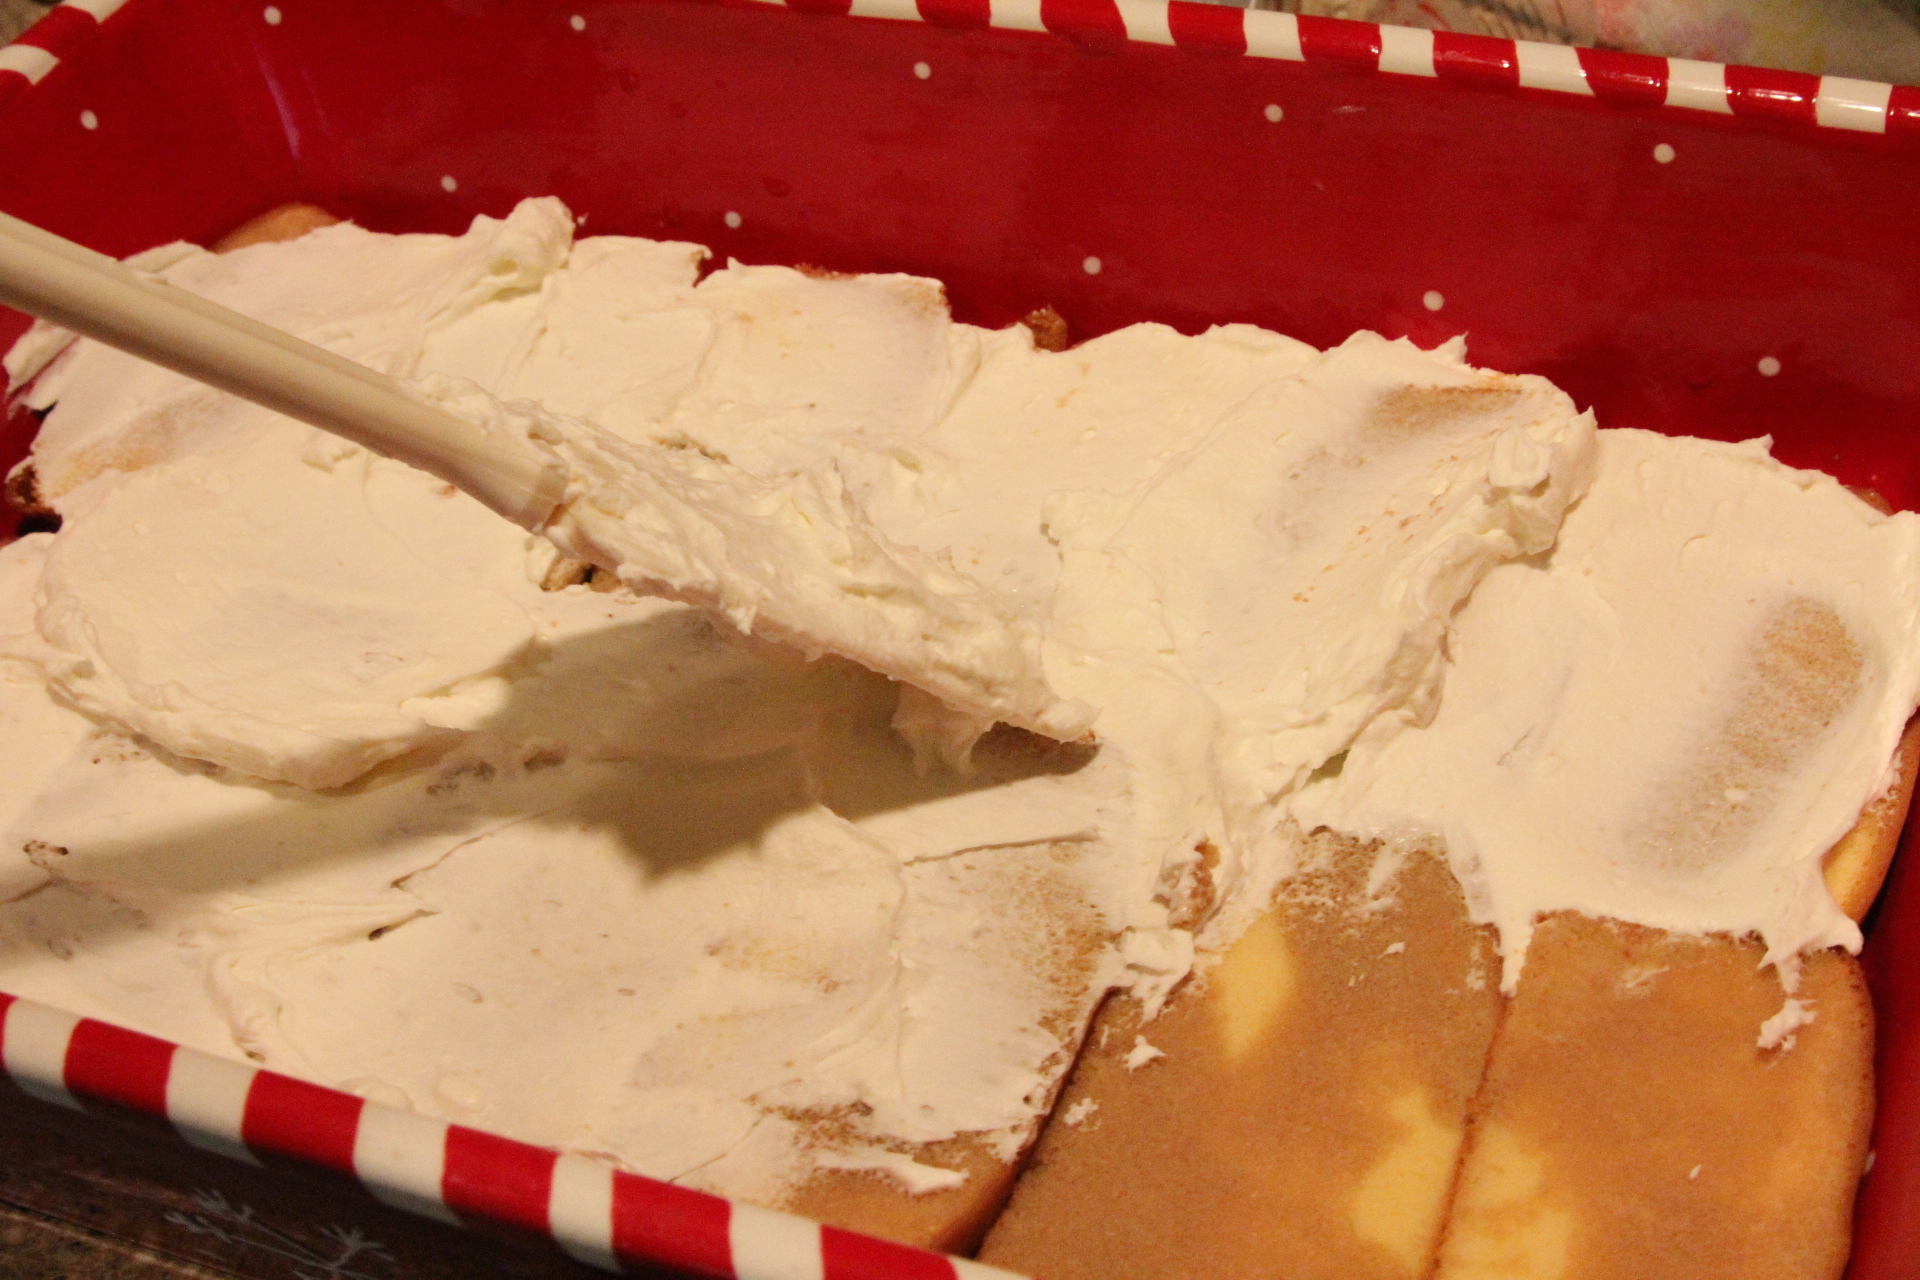
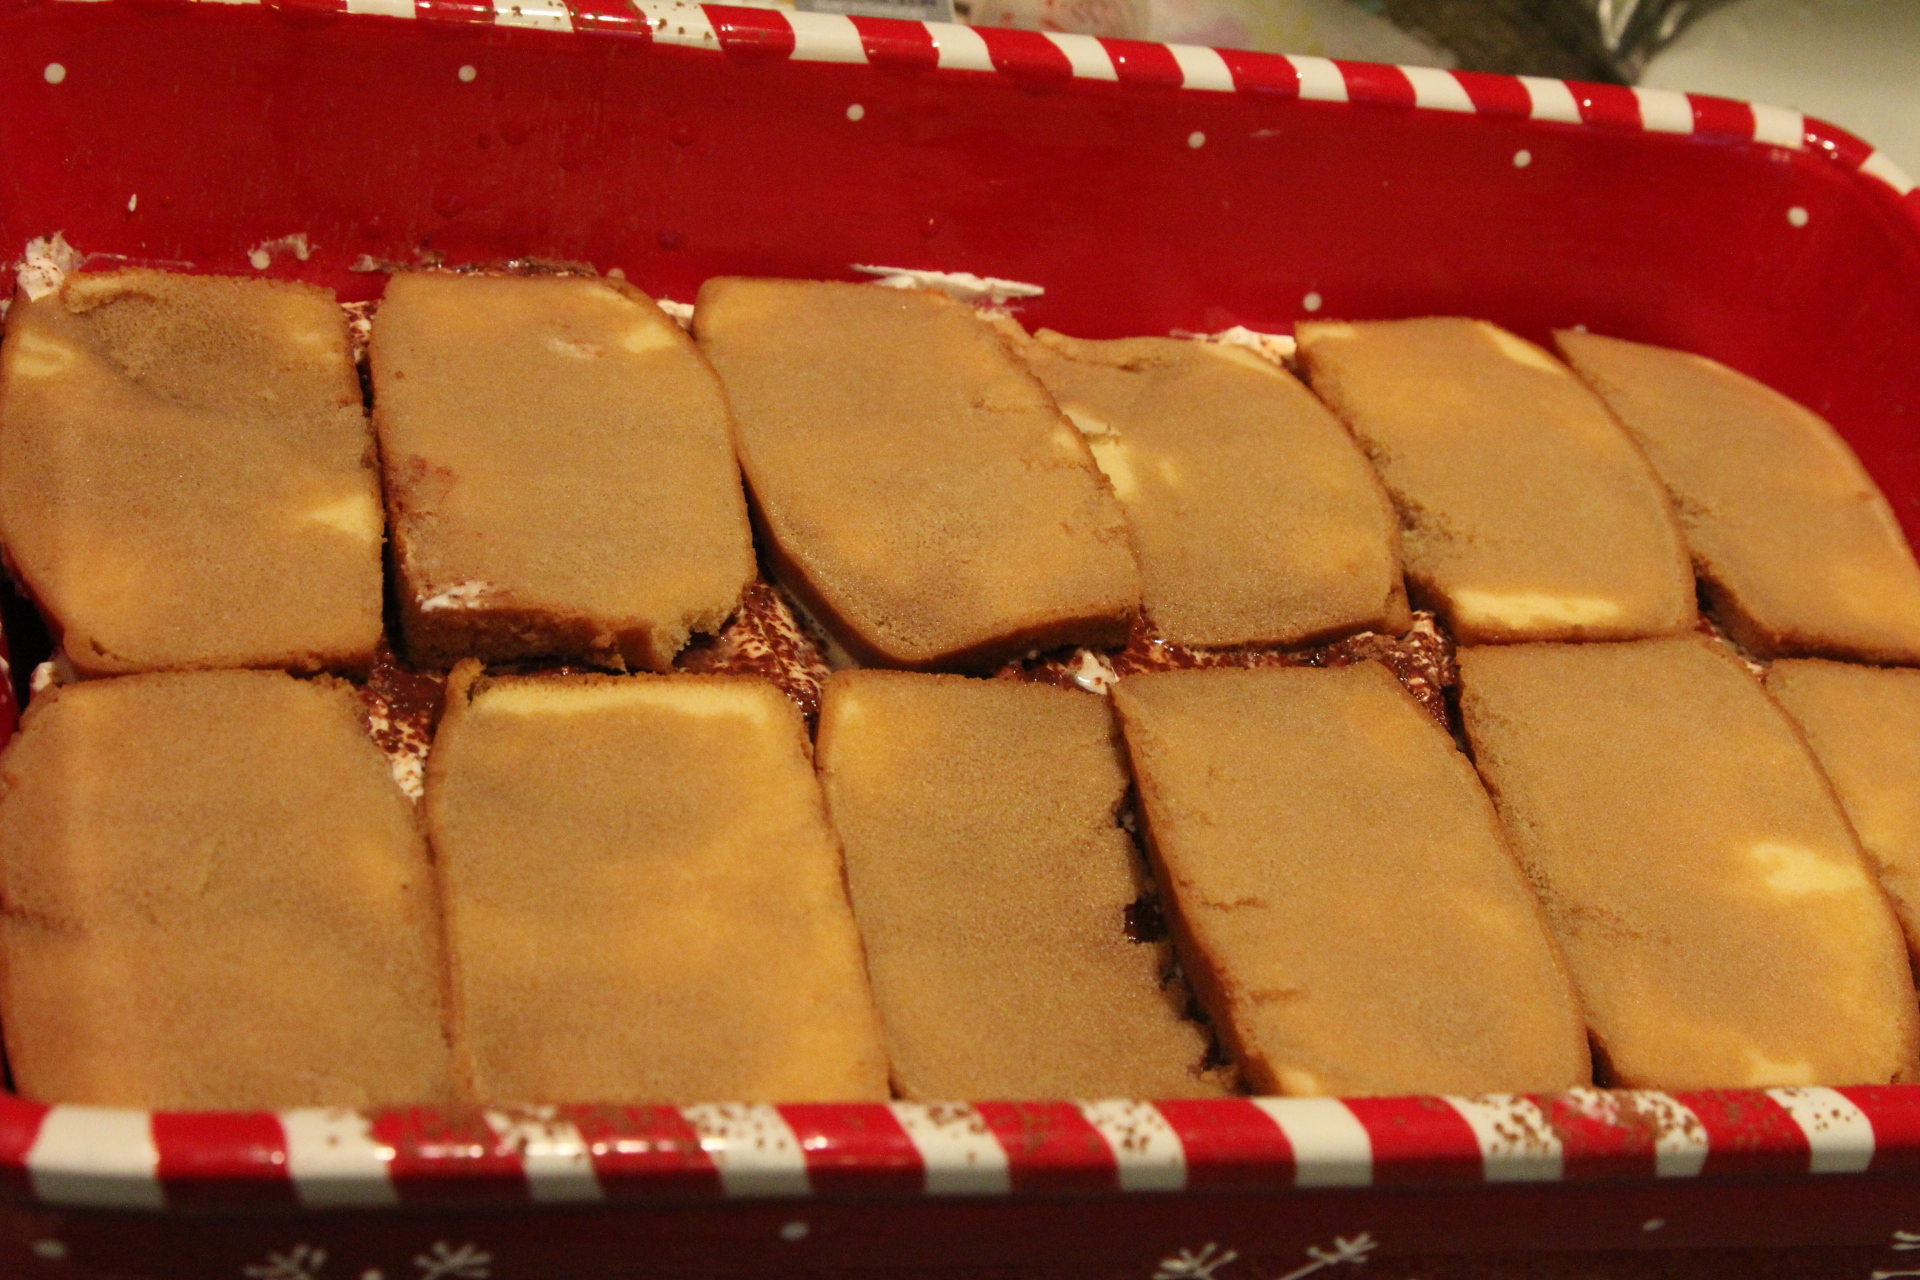
Lay one layer of sliced pound cake in 9 x 13 inch pan.
Spoon coffee over the sliced pound cake. It doesn’t have to be perfectly covered.
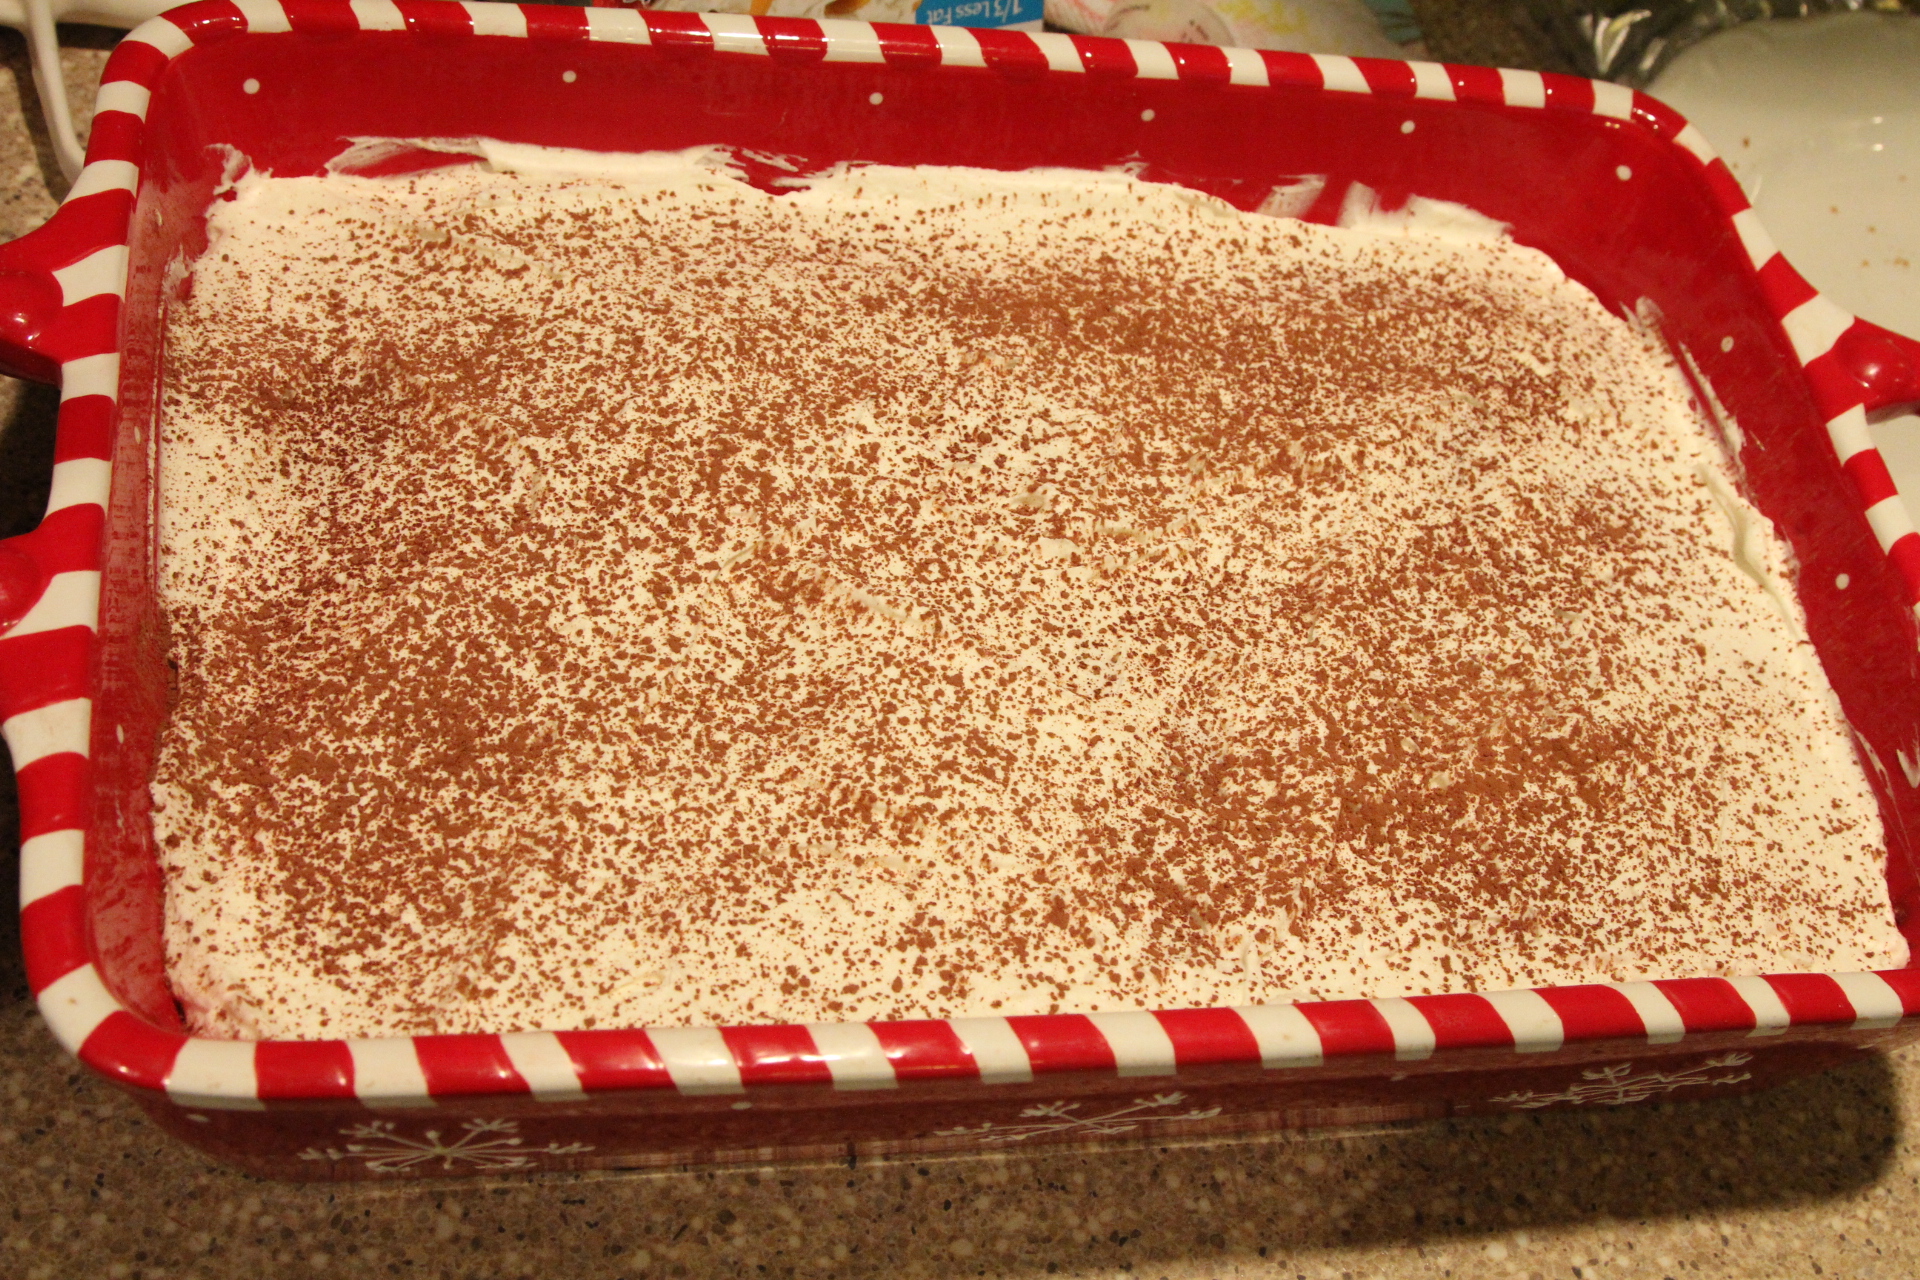
Smooth a layer of cream over the sliced pound cake.
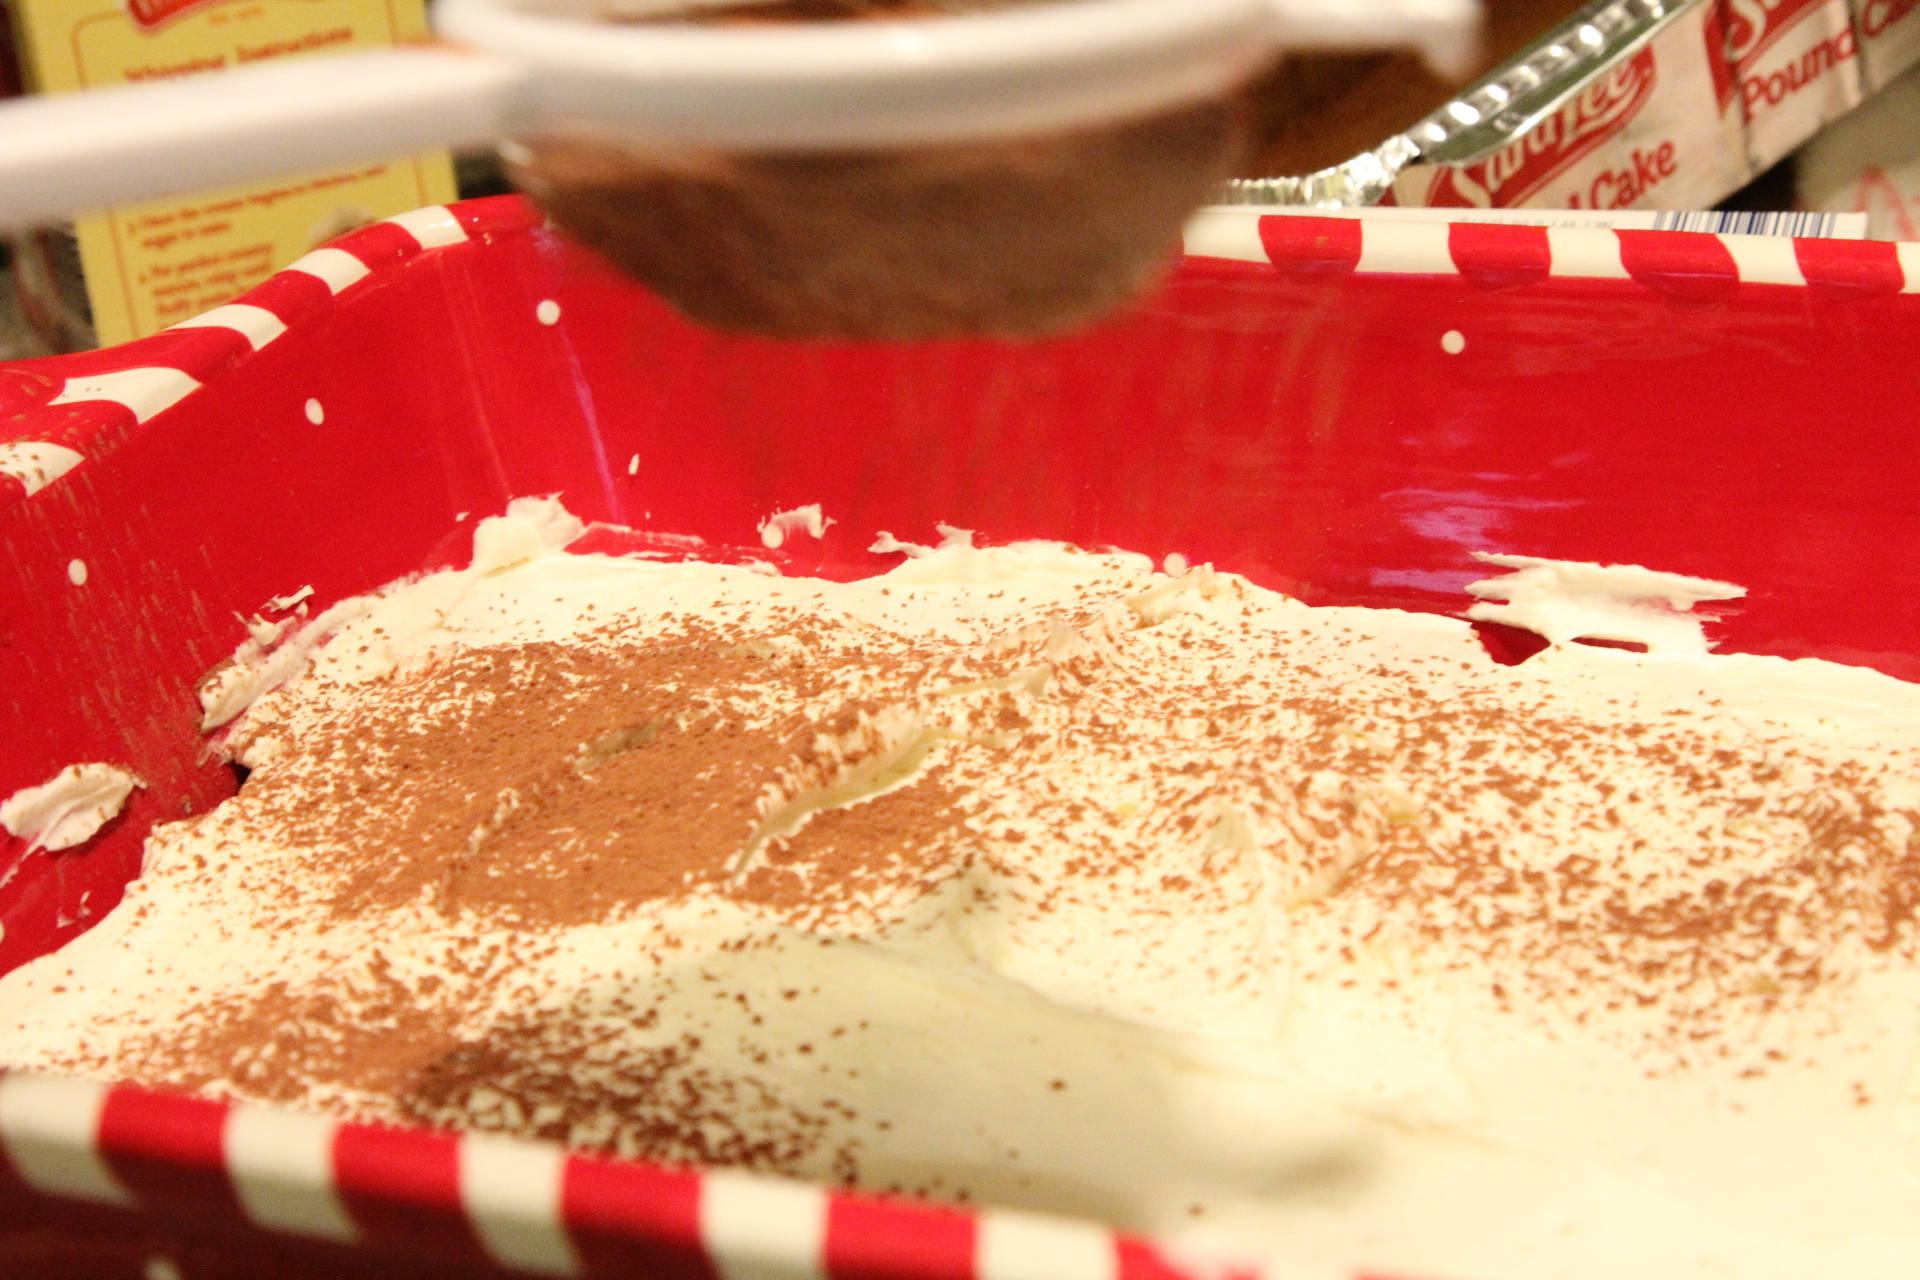
Dust with cocoa powder.
Repeat this process with layer of pound cake, spoon coffee over, spread cream, dust with cocoa powder.
Keep chilled until ready to serve and is best if chilled for at least an hour before serving. Can be made a day in advance.
Enjoy!

